When I originally considered renovating our living room fireplace, the previous brick hearth felt archaic and inadequate for our growing family. The tiny expansion barely protected against sparks, and the red brick clashed with our modern design. After investigating various materials and architectural techniques, I was drawn to the timeless elegance and practical benefits of natural stone fireplace installations. The project appeared difficult at first, but I learned that with careful design and material selection, we could transform our fireplace into a gorgeous focal point.
Choosing the perfect stone material proved more difficult than expected, with several alternatives providing varying aesthetic and functional properties for fireplace applications. I spent weekends visiting stone yards and inspecting samples of granite, slate, limestone, travertine, and bluestone. Each material offered distinct advantages: granite provided outstanding durability and heat resistance, whilst limestone provided a softer, more classic look. I ultimately decided on Pennsylvania bluestone because of its stunning blue-gray coloring, good heat tolerance, and ability to suit both rustic and contemporary design elements throughout our home.
The design step necessitated careful consideration of safety rules, space proportions, and practical needs for our particular fireplace configuration. For our wood-burning fireplace, local construction standards required a minimum hearth extension of 18 inches in the front and 8 inches on each side. I chose to go above and above these criteria, designing a generous 24-inch extension with plenty of room for fireplace tools and ornamental components. The raised hearth design adds visual weight and provides comfortable seating along the extended sides for family gatherings around the fire.
When I discovered the structural consequences of placing large stone materials over our old hearth foundation, I knew I needed professional help. The engineer verified that additional support would be required to accommodate the large weight increase caused by thick bluestone slabs. We rebuilt the subfloor with extra joists and installed a concrete backer board to evenly distribute the load. This preparation procedure took longer than anticipated, but it insured the safe and long-term functioning of our new stone hearth installation.

To achieve the desired aesthetic impact, layout planning requires exact measurements as well as careful consideration of stone joint patterns. Prior to ordering materials, I developed comprehensive drawings of stone arrangement, joint widths, and edge treatments. The modular strategy of using rectangular bluestone pieces provided flexibility in reaching precise proportions while eliminating waste from bespoke cutting. I used a running bond pattern with 1/4-inch joints filled with matching mortar to provide sleek, contemporary lines that compliment our room’s architectural style.
Installation day brought a mix of excitement and trepidation about handling expensive stone materials and producing professional-quality results. I rented specialist instruments such as a wet saw, stone lifter, and pneumatic grout removal equipment to ensure perfect cutting and fitting. Working with bluestone needed patience and attention to detail, as the material’s natural thickness variation necessitated continual inspection and modification. The massive slabs necessitated two personnel for safe handling and exact positioning on the adhesive bed.
Cutting bluestone posed unique obstacles that taxed my patience and tool abilities throughout the installation process. Complex cuts around the firebox hole need numerous passes with the wet saw and precise hand finishing with grinding tools. I learned to lightly score the stone before making full cuts to avoid chipping and assure smooth edges. Bluestone’s natural cleavage planes aided in some cuts, although completely straight lines and smooth surfaces on visible edges necessitated modification techniques.
Mortaring the joints requires careful color matching and uniform joint width throughout the hearth installation. Before the mortar began to set, I mixed tiny amounts to ensure consistency of color and workability. Because of the porous nature of bluestone, dampening was required prior to grouting to prevent quick moisture absorption, which could weaken the joint material. Striking the joints at the appropriate moment resulted in an appealing, consistent appearance while also assuring weather resistance and long-term endurance of the installation.

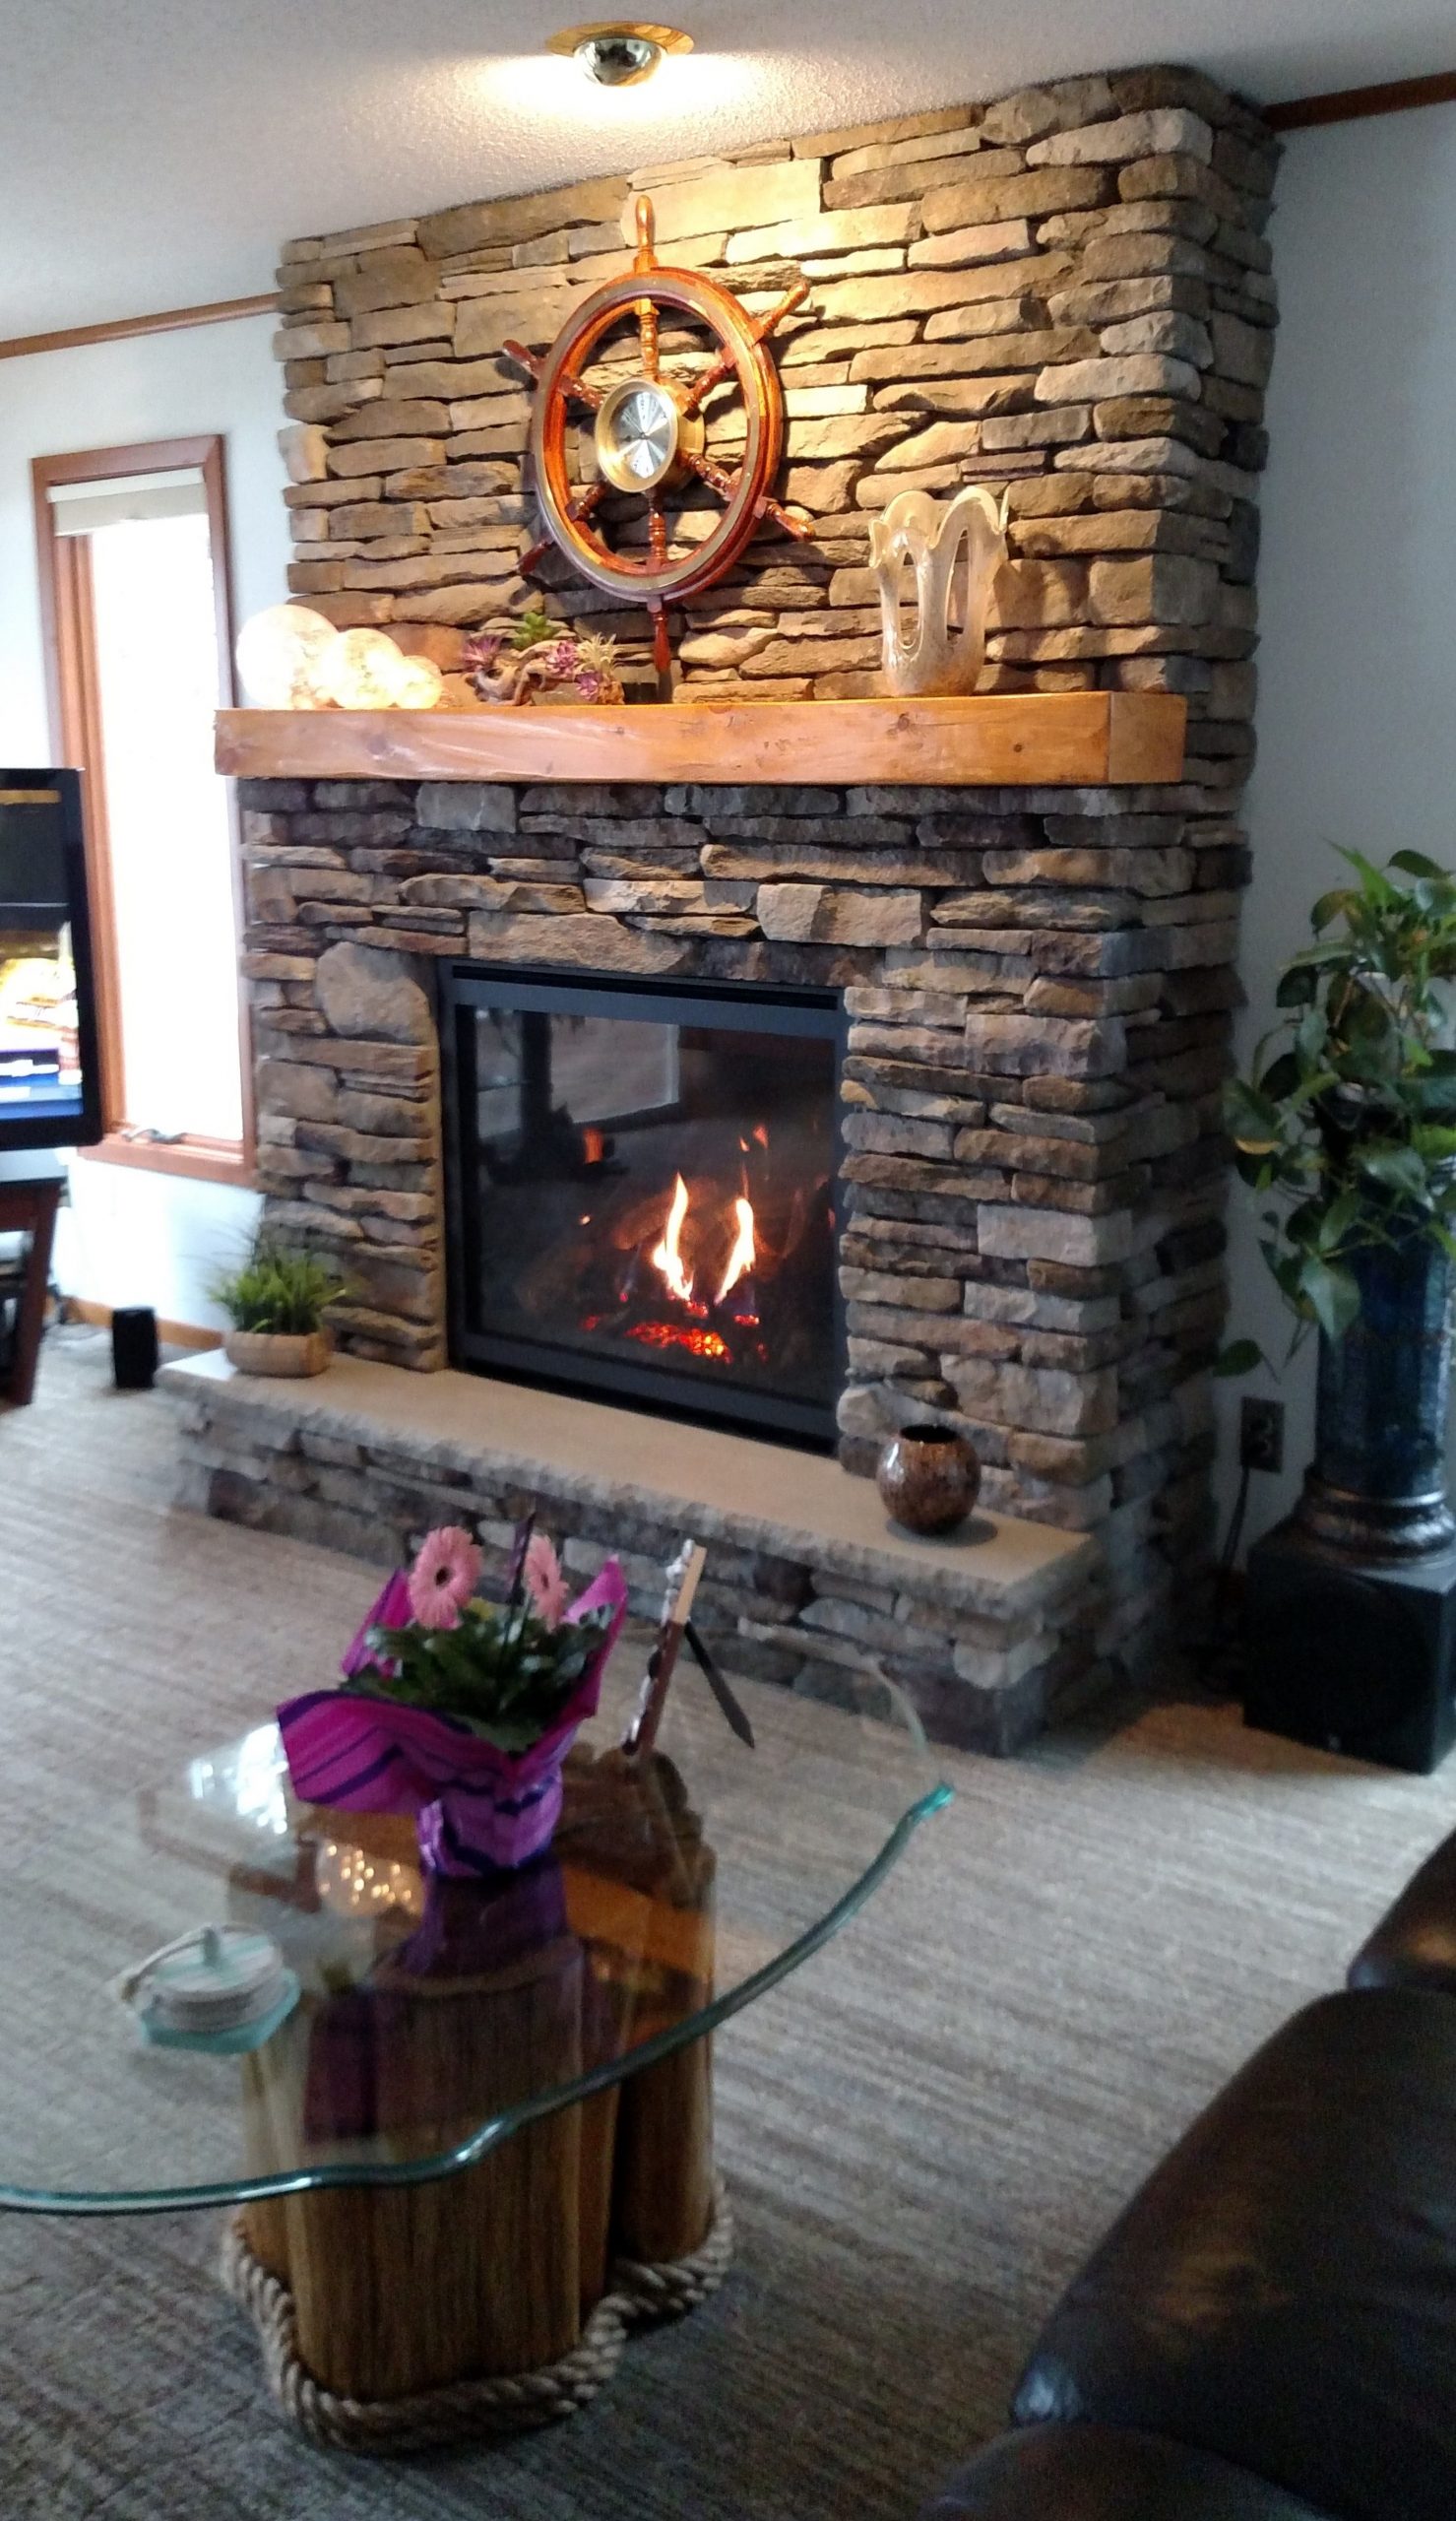
The finishing touches transformed our practical hearth into an attractive architectural feature that perfectly supports our living room design. I used a penetrating sealer to protect the bluestone from stains and moisture infiltration while keeping its original matte appearance. The elevated hearth adds seating for gatherings, while the broad extension accommodates decorative accessories and seasonal displays. The neutral stone color works well with a variety of furniture combinations and seasonal decorating trends throughout the year.
Despite initial fears about staining and weather damage caused by fireplace use, maintaining our stone hearth has proven surprisingly easy. Regular sweeping eliminates ash and debris, while periodic damp mopping keeps the surface clean and appealing. The sealed bluestone is resistant to most typical home stains, and the natural color variations help conceal minor marks in between deep cleaning sessions. After two years of frequent use, our stone hearth remains gorgeous and serves as the ideal meeting spot for family activities and hosting visitors.

What stone materials are most suited for fireplace hearth applications?
Granite, slate, bluestone, and limestone are ideal for fireplace hearths because to their heat resistance and longevity. Granite has the highest heat tolerance and stain resistance, whereas slate has appealing natural textures and colors. Bluestone is both beautiful and thermally efficient, although limestone has a softer, more classic appeal. Avoid marble and sandstone, as they might break or discolor when exposed to heat. When choosing stone materials, keep your local environment, maintenance needs, and design choices in mind.
How thick should stone hearth slabs be to ensure safety and durability?
Stone hearth slabs should be at least 1.5 inches thick to ensure adequate heat resistance and structural stability, with a 2-inch thickness ideal for heavy-duty installations. Thicker stones improve heat dispersion and lessen the possibility of cracking due to thermal expansion. Consider the greater weight while designing structural support, as thicker stones necessitate stronger foundations. Temperature variations can cause cracks in very thin stones under 1 inch, hence they should be avoided for active fireplace installations.
Do I require specific permits for stone hearth installation projects?
Most stone fireplace installations necessitate building permits owing to structural changes and fire safety concerns. Before beginning construction, contact your local building department to learn about the unique standards in your area. Permits often include a structural engineering examination for load-bearing alterations, as well as fire code compliance verification. Some jurisdictions may need professional installation, particularly for gas fireplace conversions or major building changes. Permit charges vary, but they ensure a safe and code-compliant installation.
How do I figure out the right hearth extension measurements for my fireplace?
Fireplace hearth extensions must fulfill minimum code requirements, which are typically 18 inches in the front and 8 inches on each side for wood-burning units. Measure the width and height of your firebox opening to calculate the exact needs, as larger openings require more extensions. Gas fireplaces normally require smaller extensions, but check the manufacturer’s specs. Consider room size and furniture arrangement when planning extensions larger than the minimum needs. Professional advice provides optimal size for both safety and aesthetic harmony.
What tools are required for a DIY stone hearth installation?
A wet tile saw with a diamond blade, stone lifter or suction cups, level, chalk line, measuring tape, rubber mallet, and safety equipment are all essential instruments. Pneumatic chisels and grinders are useful for detailed cutting and fitting tasks. Rent heavy-duty equipment instead of purchasing it for a specific project. Proper installation requires high-quality mortar and adhesive mixing equipment. Consider masonry vendors’ tool rental packages, which include a variety of specialist stonework tools.
How do I preserve and safeguard my stone fireplace hearth for the long term?
To protect against stains and moisture damage, apply penetrating stone sealer on an annual basis, following the manufacturer’s guidelines for your stone type. Clean routinely with pH-neutral stone cleaners, avoiding acidic or abrasive solutions that can harm natural stone surfaces. To avoid stains, remove ash and debris as soon as possible after using the fireplace. Respond to spills immediately, and reseal high-traffic areas more often. Professional restoration may be required every 10-15 years, depending on usage and maintenance frequency.

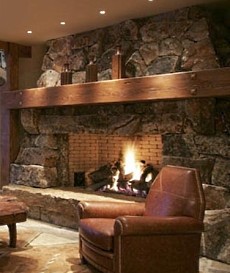
Feature Fireplace with Sandstone Hearth » Stoneworx Fireplace hearth, Stone fireplace wall

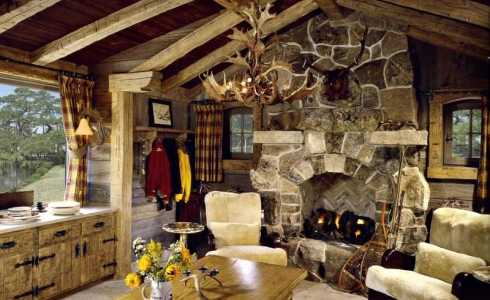
TN Fieldstone Veneer Outdoor fireplace patio, Outdoor stone fireplaces, Outdoor fireplace designs

Unique Modern Fireplace Design Ideas – Style Motivation

Fireplace hearth stone lowes medium size of design renovation ideas for fireplace hearth

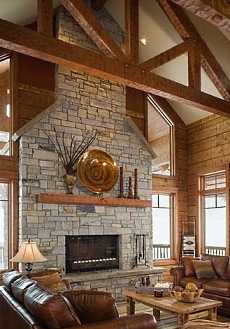
Floor to ceiling Alderwood stacked stone fireplace face with limestone hearth

Raised hearth for sitting + tall ceiling and stone Stone fireplace designs, Fireplace design

Corner Fireplace Inserts Corner Gas Fireplaces Fireplace Insert Fire Rustic Corner Ventless Gas

Related Posts: