My journey with creating a faux fieldstone fireplace began when I inherited a bland brick fireplace that dominated my living room with its outdated orange tones and uninspiring appearance. The existing structure was solid but aesthetically challenged, crying out for a makeover that would transform it into a stunning focal point. I researched various renovation options, from complete reconstruction to simple painting, but faux fieldstone techniques caught my attention for their dramatic results and reasonable costs. The prospect of achieving an expensive natural stone look without the massive expense and structural modifications appealed to my budget and timeline constraints.
Selecting the right materials for my faux fieldstone project required extensive research into paints, tools, and techniques that would create convincing stone textures and colors. I chose high-quality acrylic paints in earth tones, including gray, brown, tan, and cream, to mimic natural fieldstone variations. Sea sponges became my primary texturing tools, along with artist brushes for detail work and plastic bags for creating organic stone patterns. A high-adhesion primer was essential for proper paint bonding to the existing brick surface. I also invested in quality masking tape and drop cloths to protect surrounding areas during the multi-day painting process that would transform my fireplace.

Preparation work proved more time-consuming than the actual painting process, requiring careful cleaning and priming to ensure professional-looking results that would last for years. I thoroughly cleaned the brick surface with TSP substitute, removing decades of soot, dust, and residue that could prevent proper paint adhesion. Light sanding roughened the smooth brick surfaces, creating better texture for paint application. Two coats of high-adhesion primer covered the orange brick completely while providing the neutral base necessary for realistic stone colors. Careful masking of surrounding walls, mantle, and hearth prevented accidental paint splatter that could ruin the project’s professional appearance.
My base coat application established the foundation colors that would show through subsequent layers, creating depth and authenticity in the finished faux fieldstone appearance. I applied a medium gray base coat using a standard roller, ensuring complete coverage while leaving slight texture variations that would enhance the stone illusion. This base color represented the dominant tone of natural fieldstone, providing consistency throughout the entire fireplace surface. I allowed the base coat to cure completely before proceeding with additional layers, as rushing this step could compromise the durability and appearance of subsequent paint applications that would create the realistic stone texturing.

Creating individual stone shapes became the most artistic and challenging aspect of my faux fieldstone project, requiring patience and attention to detail for convincing results. I sketched irregular stone outlines lightly with pencil, varying sizes and shapes to mimic natural fieldstone patterns found in authentic installations. Using artist brushes, I painted darker gray and brown outlines to define each stone, creating the mortar joint illusion between stones. This step required steady hands and careful planning to maintain realistic proportions and avoid repetitive patterns that would reveal the artificial nature of the finish. The outlined stones began resembling actual fieldstone construction immediately.
Layering colors and textures brought my faux fieldstone fireplace to life, creating the depth and variation found in genuine stone surfaces through careful paint application techniques. I used sea sponges to dab lighter colors including cream and tan onto each painted stone, varying the application to create natural highlighting and shadowing effects. Darker brown and charcoal accents added depth to stone crevices and created realistic weathering patterns. I worked on small sections at a time, blending colors while still wet to achieve smooth transitions and avoid harsh lines that would appear artificial. This layering process required multiple sessions to complete the entire fireplace surface.
Highlighting and shadowing techniques added the final realistic touches that transformed painted surfaces into convincing stone textures that fooled even close inspection. I used dry brush techniques with light cream and white paints to create natural stone highlighting on raised areas where light would naturally hit actual fieldstone surfaces. Darker brown and gray shadows were carefully placed in recessed areas and along stone edges to enhance the three-dimensional appearance. These subtle details made the difference between obvious fake stone and convincing faux fieldstone that guests consistently mistake for genuine material. The patience invested in these finishing touches justified the dramatic final results.
Sealing my faux fieldstone fireplace became crucial for protecting the painted surface from heat, moisture, and daily wear that could compromise the finish over time. I selected a high-temperature clear coat specifically designed for fireplace applications that would withstand heat without yellowing or peeling. Two thin coats provided adequate protection while maintaining the matte finish that mimics natural stone appearance. The sealer also made cleaning easier by creating a washable surface that resists soot and dust accumulation. This protective coating ensures my faux fieldstone finish will maintain its beautiful appearance for many years with minimal maintenance required.
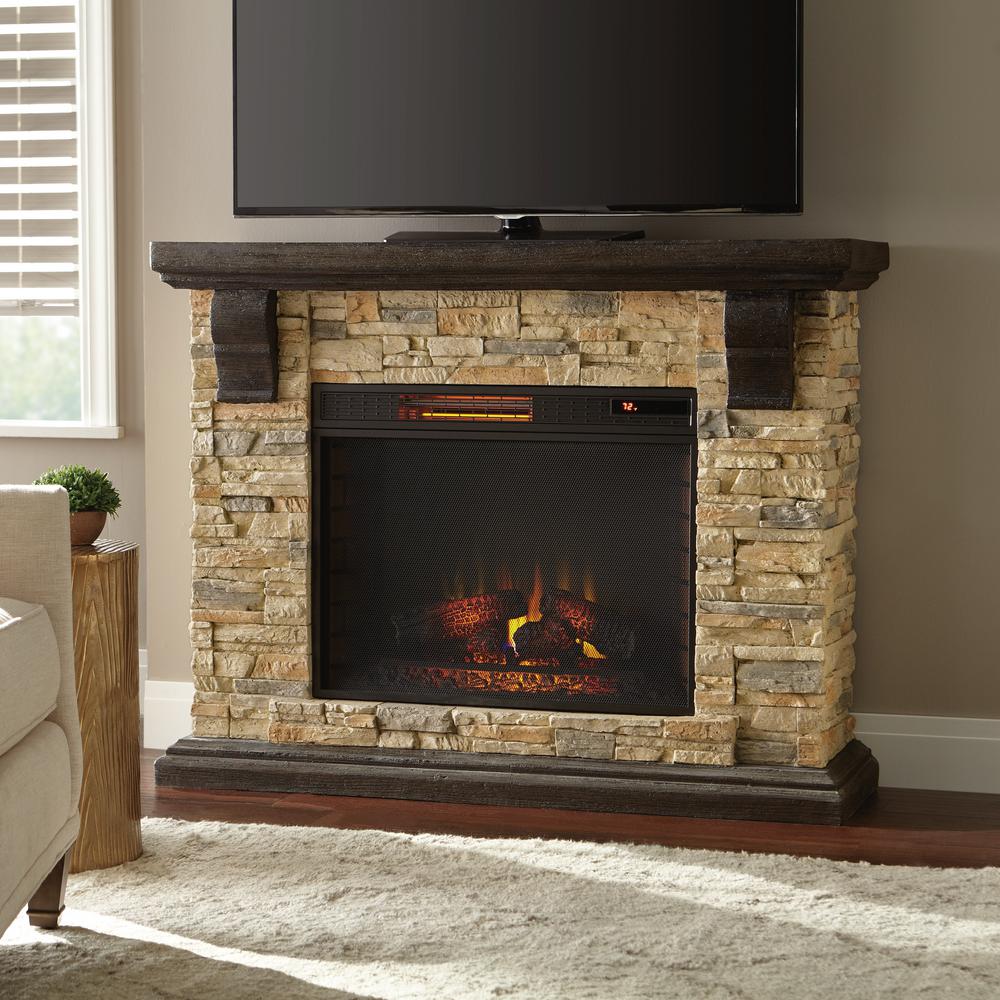
The dramatic transformation of my fireplace exceeded all expectations, creating a stunning focal point that completely changed my living room’s character and visual appeal. Friends and visitors consistently compliment the beautiful stone fireplace, often expressing surprise when I reveal the faux finish technique used to achieve the look. The project cost less than $200 in materials compared to thousands for genuine stone veneer installation. My confidence in tackling similar projects increased significantly through this successful experience. The skills learned during this project have inspired additional faux finishing projects throughout my home, each building on techniques mastered during the fireplace renovation.
Living with my faux fieldstone fireplace for two years has confirmed the durability and satisfaction this DIY project provides through daily use and seasonal changes. The finish shows no signs of wear, fading, or heat damage despite regular fireplace use during winter months. Cleaning requires only occasional dusting and gentle washing with mild soap when needed. The realistic appearance continues impressing guests who examine the surface closely, validating the time invested in proper technique and attention to detail. This successful project demonstrates how creative painting techniques can achieve expensive custom looks at fraction of professional installation costs while providing lasting beauty and personal satisfaction.

How long does a faux fieldstone fireplace painting project typically take to complete?
My faux fieldstone fireplace project required approximately four full days spread over two weeks to complete properly, allowing adequate drying time between coats and steps. Preparation including cleaning and priming took one full day, while base coat application required half a day. Creating stone outlines and initial color application consumed two days of detailed work. Final highlighting, shadowing, and sealing added another day to the timeline. Weather and humidity can extend drying times significantly. Rushing the process compromises results, so patience is essential for professional-looking outcomes that justify the time investment.
What tools and materials are essential for creating realistic faux fieldstone effects?
Essential materials for my successful faux fieldstone project included high-quality acrylic paints in multiple earth tones, high-adhesion primer, and protective sealer rated for fireplace use. Sea sponges proved invaluable for texturing, while various artist brushes enabled detailed stone outlining and highlighting work. Plastic bags created additional texture effects when needed. Quality masking tape and drop cloths protected surrounding surfaces during the multi-day process. A paint tray, roller, and extension pole facilitated base coat application. Total material costs remained under $200, making this an economical alternative to genuine stone installation.

Can faux fieldstone techniques be applied over different existing fireplace surfaces?
Through research and personal experience, faux fieldstone techniques work successfully over various existing surfaces including brick, concrete block, and previously painted surfaces with proper preparation. Brick provides excellent texture base, while smooth surfaces may need light sanding for paint adhesion. Previously painted fireplaces require thorough cleaning and appropriate primer selection. Metal fireplace surrounds need special primer and paint formulated for metal surfaces. The key lies in proper surface preparation and using appropriate primers for specific materials. Some surfaces may require additional preparation steps, but most existing fireplaces can be transformed using these techniques.
How do I maintain and clean a faux fieldstone fireplace finish?
Maintaining my faux fieldstone fireplace requires minimal effort while preserving its beautiful appearance over time. Regular dusting with soft cloths or vacuum brush attachments removes accumulated particles without damaging the painted surface. Occasional gentle washing with mild soap and water removes soot or stubborn dirt when necessary. The protective sealer makes cleaning easier while preventing staining from fireplace use. Avoid abrasive cleaners or scrubbing that could damage the painted texture. Touch-up paint should be kept available for addressing any minor damage, though my two-year-old finish shows no signs of wear with normal fireplace use.

What are the cost savings compared to installing genuine fieldstone veneer?
My faux fieldstone project cost approximately $200 in materials compared to $3,000-8,000 for professional natural stone veneer installation, representing savings of over 90%. Professional faux finishing services typically charge $1,500-3,000, still significantly less than genuine stone. The DIY approach eliminates labor costs while providing personal satisfaction and skill development. Additional savings include avoiding structural modifications often required for heavy natural stone installation. The realistic appearance achieved through proper technique provides the same visual impact as expensive natural materials while maintaining budget-friendly costs that make fireplace transformation accessible to most homeowners.
How realistic can faux fieldstone painting techniques appear when properly executed?
When executed with attention to detail and proper techniques, faux fieldstone finishes achieve remarkably realistic appearances that consistently fool casual observers and even close inspection. My fireplace regularly receives compliments from visitors who assume it’s genuine stone until I reveal the painting technique. The key lies in studying actual fieldstone patterns, using appropriate color variations, and investing time in proper highlighting and shadowing details. Multiple paint layers create depth that mimics natural stone texture convincingly. While expert examination might reveal the faux finish, the overall effect provides the same visual impact as expensive natural fieldstone at fraction of the cost.
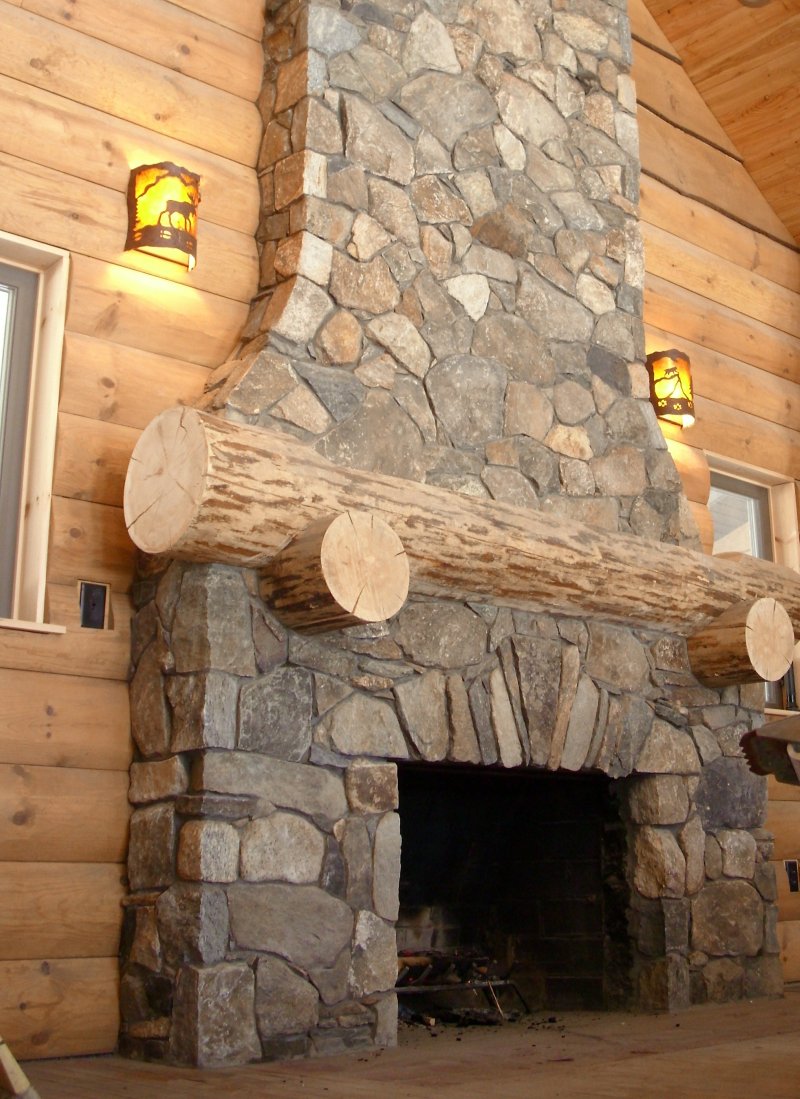
The Fieldstone Fireplace . . . Outstanding In Its Field!
Fireplaces Artistic Stone Masonry
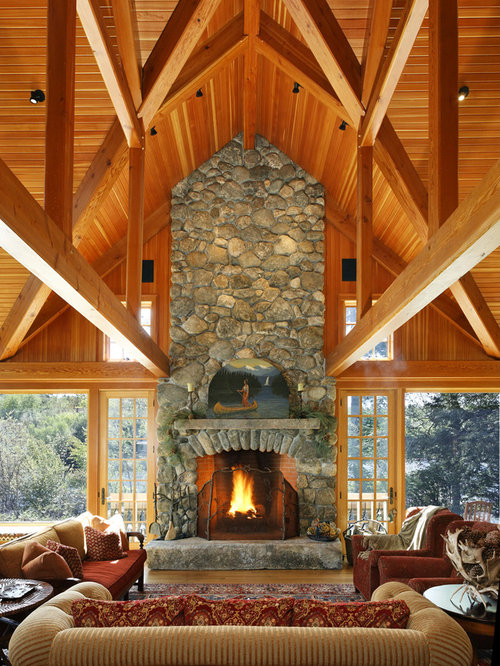
Favorite Field Stone Fireplace Designs . . . Fields Of Dreams!
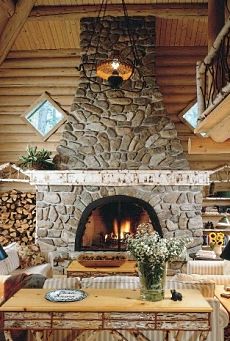
» Fire Features

Related Posts: