My fireplace renovation journey began with a hideous brick surround from the 1970s that dominated my living room like an eyesore. The orange-tinted bricks clashed with every decorating attempt I made over three years. After countless Pinterest searches and magazine inspiration, I decided to tackle this project myself rather than hire expensive contractors. The transformation process taught me valuable skills while saving thousands of dollars. Each step revealed new possibilities I never considered before starting. My friends now seek my advice for their own fireplace makeovers.
Reclaimed wood became my first successful fireplace surround material after discovering a local barn demolition sale. The weathered planks possessed character that new lumber could never replicate authentically. I spent weekends cleaning, sanding, and treating each board with protective stain to preserve the natural aging process. Installing horizontal planks created a modern farmhouse aesthetic that complemented my rustic furniture perfectly. The wood’s texture added warmth and visual interest that transformed the entire room’s atmosphere. This project cost only three hundred dollars compared to professional quotes exceeding two thousand.
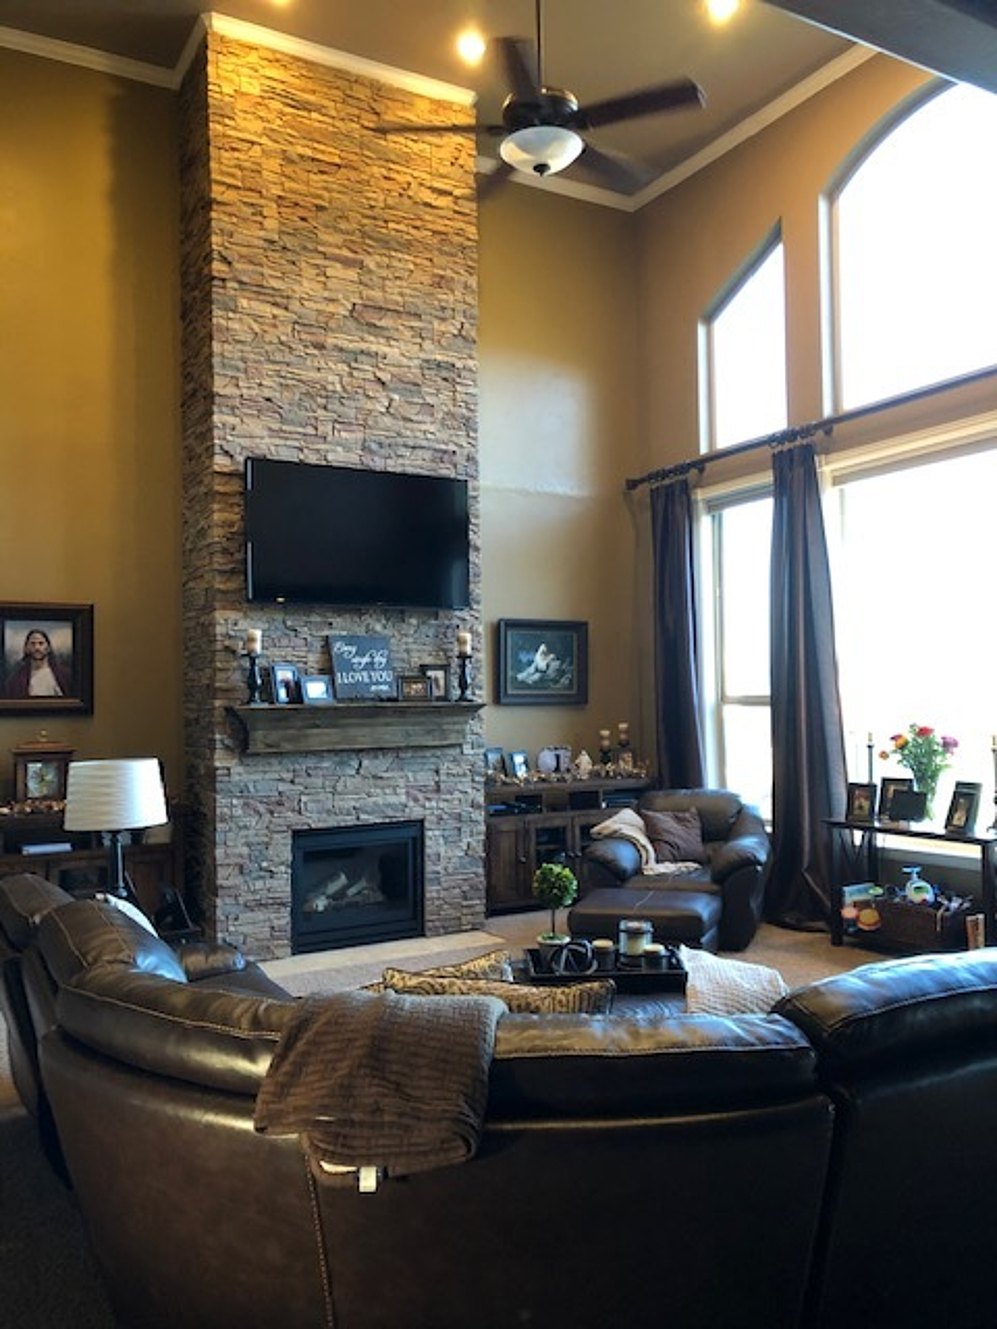
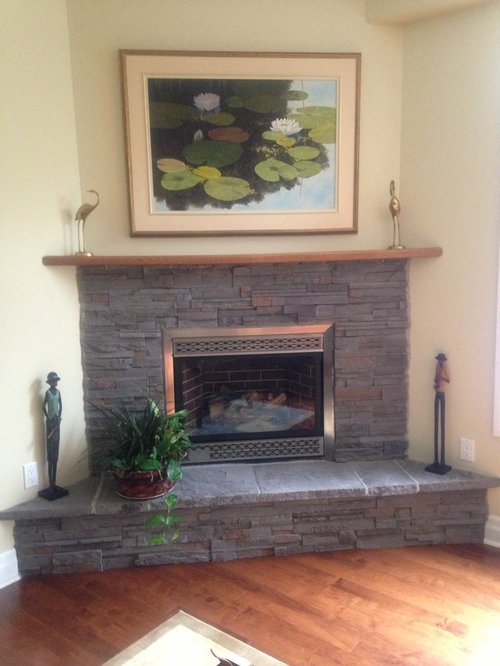
Stone veneer offered another stunning option when I renovated my basement fireplace the following year. Lightweight manufactured stones eliminated the need for structural reinforcement while providing authentic texture and appearance. I chose a stacked ledgestone pattern in neutral gray tones that coordinated with my contemporary decor. The installation process required patience and careful planning to achieve natural-looking random patterns. Cutting stones to fit around outlets and corners challenged my problem-solving skills significantly. The finished result rivals expensive natural stone installations at a fraction of the cost.
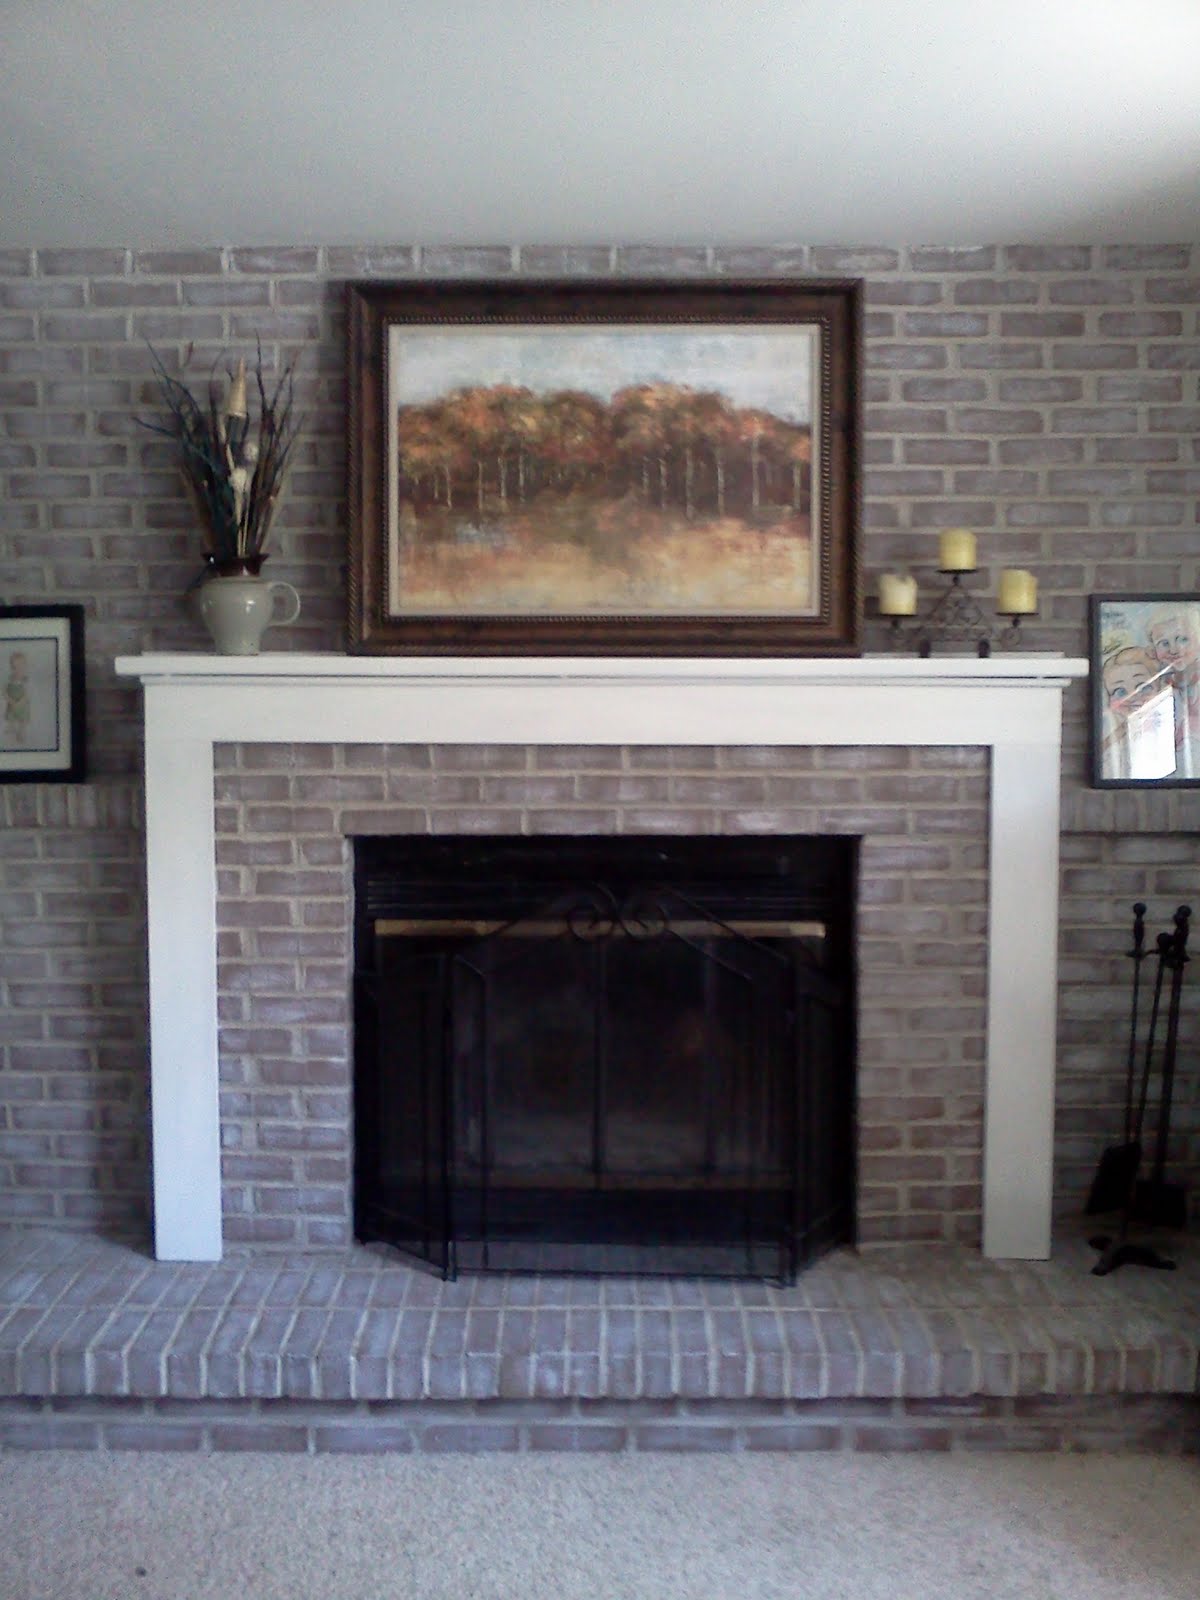
Painted brick transformed my bedroom fireplace from dated to sophisticated using nothing more than primer and quality paint. I initially hesitated about painting original brick, worried about ruining a classic feature permanently. After researching techniques and products extensively, I chose a high-quality masonry paint in crisp white. The preparation process involved thorough cleaning and filling gaps with appropriate caulk. Two coats provided complete coverage while preserving the brick’s natural texture beautifully. This budget-friendly solution cost under fifty dollars and dramatically brightened the entire room.

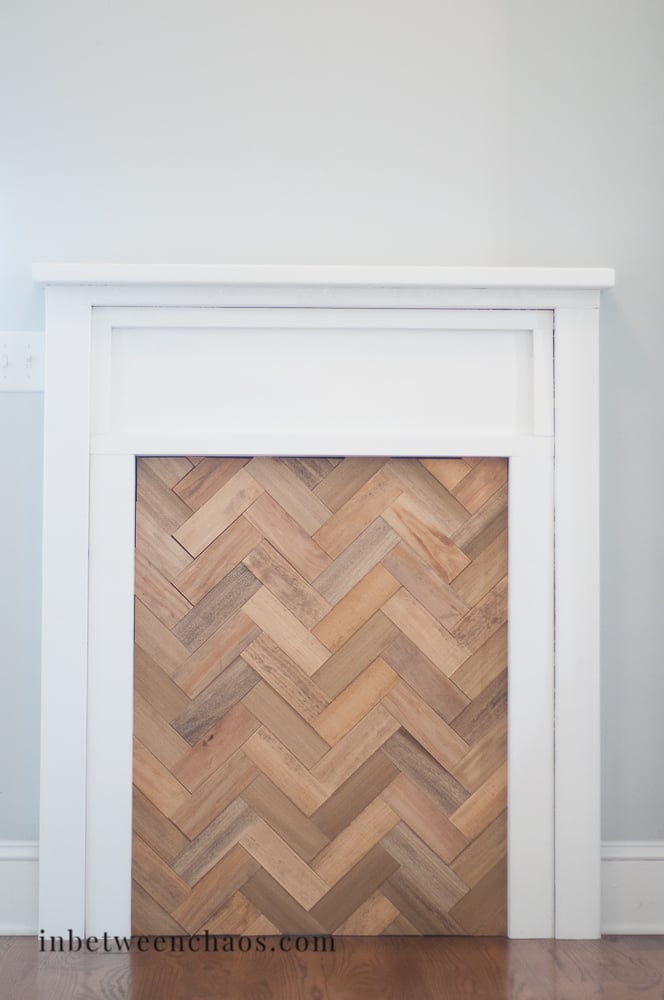
Tile installations opened up endless design possibilities for my kitchen fireplace surround project. I selected large format subway tiles in a soft gray color that complemented my cabinet hardware perfectly. The herringbone pattern required precise measurements and careful cutting around irregular spaces. Grouting became meditative work that allowed me to perfect every detail slowly. The finished surface cleans easily and reflects light beautifully throughout the cooking area. Professional installation would have doubled my material costs, making DIY the obvious choice for budget-conscious homeowners like myself.
Metal accents added industrial flair to my home office fireplace using salvaged materials from local scrap yards. Steel plates, copper pipes, and iron brackets created a unique steampunk aesthetic that matched my vintage desk collection. Welding classes at the community college equipped me with necessary skills for this ambitious project. The patina developed naturally over time, creating authentic weathering that cannot be artificially replicated. This unconventional approach sparked conversations with every visitor who noticed the creative combination of materials and textures throughout the space.
Built-in shelving around my family room fireplace maximized storage while creating architectural interest simultaneously. I designed custom bookcases that flanked the surround, incorporating hidden cable management for electronics. The project required advanced carpentry skills I developed through online tutorials and practice sessions. Matching the existing trim work throughout the house created seamless integration that appeared original to the home’s construction. The additional storage eliminated cluttered surfaces while showcasing my book collection and decorative objects beautifully within the newly organized space.
Mosaic tile work challenged my artistic abilities when I decided to create a custom mural around my dining room fireplace. Tiny glass tiles in ocean blue and seafoam green created a wave pattern that reflected my coastal decorating theme. Each piece required individual placement and adjustment to achieve the flowing design I envisioned. The project consumed evening hours for three months, but the meditative process provided stress relief after demanding work days. Visitors consistently comment on this unique focal point that adds personality and artistic flair to formal entertaining spaces.

Faux finishing techniques transformed my guest bedroom fireplace into an elegant marble-like surface using basic paint and glazing products. I practiced the veining technique on sample boards until achieving realistic results that fooled even experienced contractors. Layering different shades of gray and white created depth and movement that mimics natural stone patterns. The process required patience and artistic vision, but the cost savings justified the time investment completely. This sophisticated look elevated the entire room’s appearance while maintaining the budget I established for the renovation project.
Mirror installations created dramatic focal points around my powder room fireplace while making the small space appear larger. Antique mirror tiles reflected light beautifully and added glamorous sparkle to intimate gatherings. The installation required careful measuring and marking to ensure perfectly aligned seams throughout the entire surface area. Special adhesives designed for high-heat applications prevented mirror damage from fireplace use. This unconventional material choice surprised guests who expected traditional surrounds but instead discovered a stunning conversation piece that enhanced the room’s sophisticated atmosphere perfectly.
What materials work best for DIY fireplace surrounds?
Reclaimed wood, stone veneer, painted brick, and tile offer excellent options for DIY fireplace surrounds. Wood provides warmth and character while remaining budget-friendly and easy to install. Stone veneer delivers authentic texture without structural concerns. Painted brick transforms existing surfaces affordably. Tile offers endless design possibilities with easy maintenance. Choose materials based on your skill level, budget, and desired aesthetic. Always verify fire-safety ratings and local building codes before beginning any fireplace renovation project to ensure safe installation.
How much does a DIY fireplace surround typically cost?
My fireplace surround projects ranged from fifty dollars for painted brick to eight hundred dollars for stone veneer installations. Reclaimed wood cost three hundred dollars including stain and hardware. Tile projects averaged four hundred dollars for materials and tools. Labor savings provide the biggest benefit, as professional installation typically costs two to five thousand dollars. Shopping sales, using recycled materials, and doing preparation work yourself reduces expenses significantly. Quality tools require initial investment but serve multiple projects, making them worthwhile purchases for active DIY enthusiasts.
What tools do I need for fireplace surround installation?
Basic tools include measuring tape, level, drill, circular saw, and safety equipment for most fireplace surround projects. Tile installations require wet saws, trowels, and spacers. Stone work needs masonry bits and diamond blades. Wood projects use standard carpentry tools like miter saws and nail guns. Specialized tools can be rented rather than purchased for single-use projects. Always prioritize safety equipment including eye protection, dust masks, and work gloves. Quality tools produce better results and last longer, making them worthwhile investments for serious DIY enthusiasts planning multiple projects.
How long does a DIY fireplace surround project take?
Project timelines vary based on complexity and available working time. Simple painted brick transformations take one weekend including prep work. Wood surround installations require two to three weekends for measuring, cutting, and installation. Stone veneer projects need four to six weekends due to careful planning and curing time. Tile work takes similar timeframes depending on pattern complexity. Built-in shelving projects can extend to several months for detailed carpentry work. Weather, material availability, and skill level affect timelines significantly. Plan extra time for unexpected challenges and learning curves.

Do I need permits for DIY fireplace surround renovations?
Most decorative fireplace surround changes require no permits since they don’t affect structural or mechanical systems. However, modifications involving gas lines, electrical work, or structural changes need professional permits and inspections. Built-in shelving may require permits depending on local codes and complexity. Always check with local building departments before starting projects to avoid violations. Safety should always be the primary concern when working around fire hazards. When in doubt, consult professionals for guidance on proper procedures and code compliance requirements.
What safety considerations should I keep in mind?
Fire safety remains the primary concern when renovating fireplace surrounds. Maintain proper clearances from combustible materials as specified by manufacturer guidelines and local codes. Use fire-rated materials and adhesives designed for high-heat applications. Ensure adequate ventilation during installation and curing processes. Wear appropriate safety equipment including eye protection, dust masks, and gloves throughout the project. Test smoke detectors and keep fire extinguishers nearby during work. Never compromise safety for aesthetic goals, and consult professionals when uncertain about fire-safety requirements.

fireplace surrounds on Pinterest Fireplace hearth, Diy fireplace and Wood

Home Heart and Hands: How to Build a DIY Fireplace

Fireplace with fabulous neutral geometric tile simple mantle design round mirror layered

A White Marble Tile Fireplace Update The DIY Playbook Built in around fireplace, White

Related Posts:
- Cottage Fireplace Surround
- DIY Rustic Fireplace Surround
- Vintage Cast Iron Fireplace Surround
- Delft Tile Fireplace Surround
- Fireplace Surround DIY Ideas
- Gas Fireplace Surrounds Ideas
- Grey Tile Fireplace Surround
- Modern Fireplace Surround Ideas
- DIY Electric Fireplace Surround Ideas
- How To Redo A Fireplace Surround