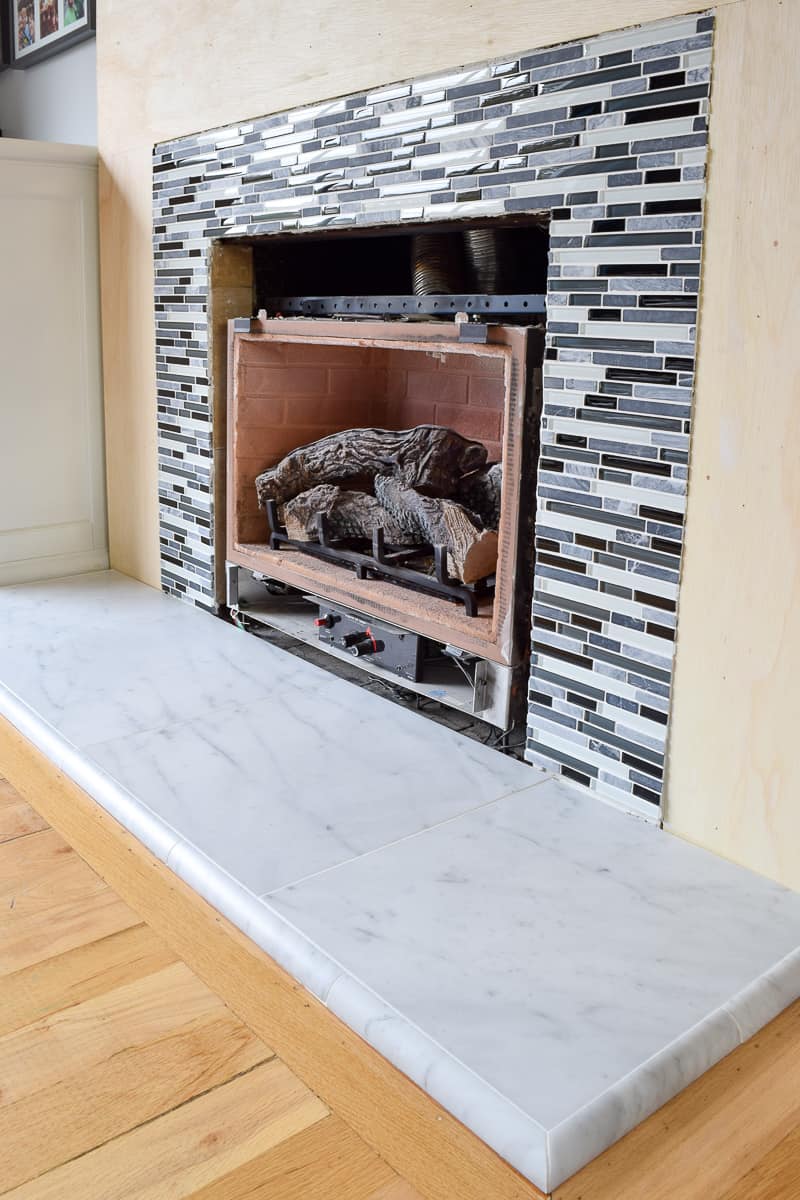
Tiling around a fireplace requires careful planning to ensure a polished, heat-resistant finish. Start by measuring the surround area and purchasing 10-15% extra tile to account for cuts and mistakes. Choose appropriate materials—ceramic, porcelain, or natural stone tiles rated for high temperatures. Prepare the surface by cleaning thoroughly and repairing any cracks in the existing surround. Use cement backer board over combustible materials like drywall for added protection. Dry-lay tiles first to plan the layout, adjusting to avoid awkward cuts near the firebox opening. Proper preparation prevents issues during installation and ensures long-lasting results.
Heat-resistant materials are essential for fireplace tiling projects. Porcelain tiles withstand temperature fluctuations better than many natural stones. Glass tiles require special adhesives and should be installed at least 6 inches from the firebox opening. Natural stone like slate or granite needs sealing to prevent smoke and soot absorption. Non-combustible thinset mortar and grout are mandatory for areas near the firebox. Metal trim pieces protect edges and provide clean transitions. Always check manufacturer specifications for temperature ratings before purchasing materials. The right products prevent cracking, discoloration, and safety hazards over time.

Layout planning creates a balanced, professional appearance. Center the tile pattern on the fireplace’s focal point, typically the firebox opening. Use spacers to maintain consistent grout lines, adjusting for any uneven surfaces. Mark reference lines with a chalk box to keep courses straight. For herringbone or diagonal patterns, start at the center and work outward. Cut tiles around the firebox opening first, leaving a 1/8-inch expansion gap. Plan the layout so cut tiles appear in less visible areas. Taking time to perfect the design before adhering tiles prevents costly mistakes and material waste.
Cutting tiles accurately ensures clean edges around the fireplace. A wet saw produces the cleanest cuts for ceramic and porcelain tiles. Score-and-snap cutters work for straight cuts on thinner tiles. Use tile nippers for small irregular cuts near the firebox opening. Polish cut edges with a rubbing stone for a finished look. Cut all tiles before mixing mortar to maintain consistent working time. Label cut pieces with painter’s tape to remember their placement. For intricate cuts around mantels or protruding features, create cardboard templates first. Sharp tools and patience yield precise results that enhance the fireplace’s appearance.

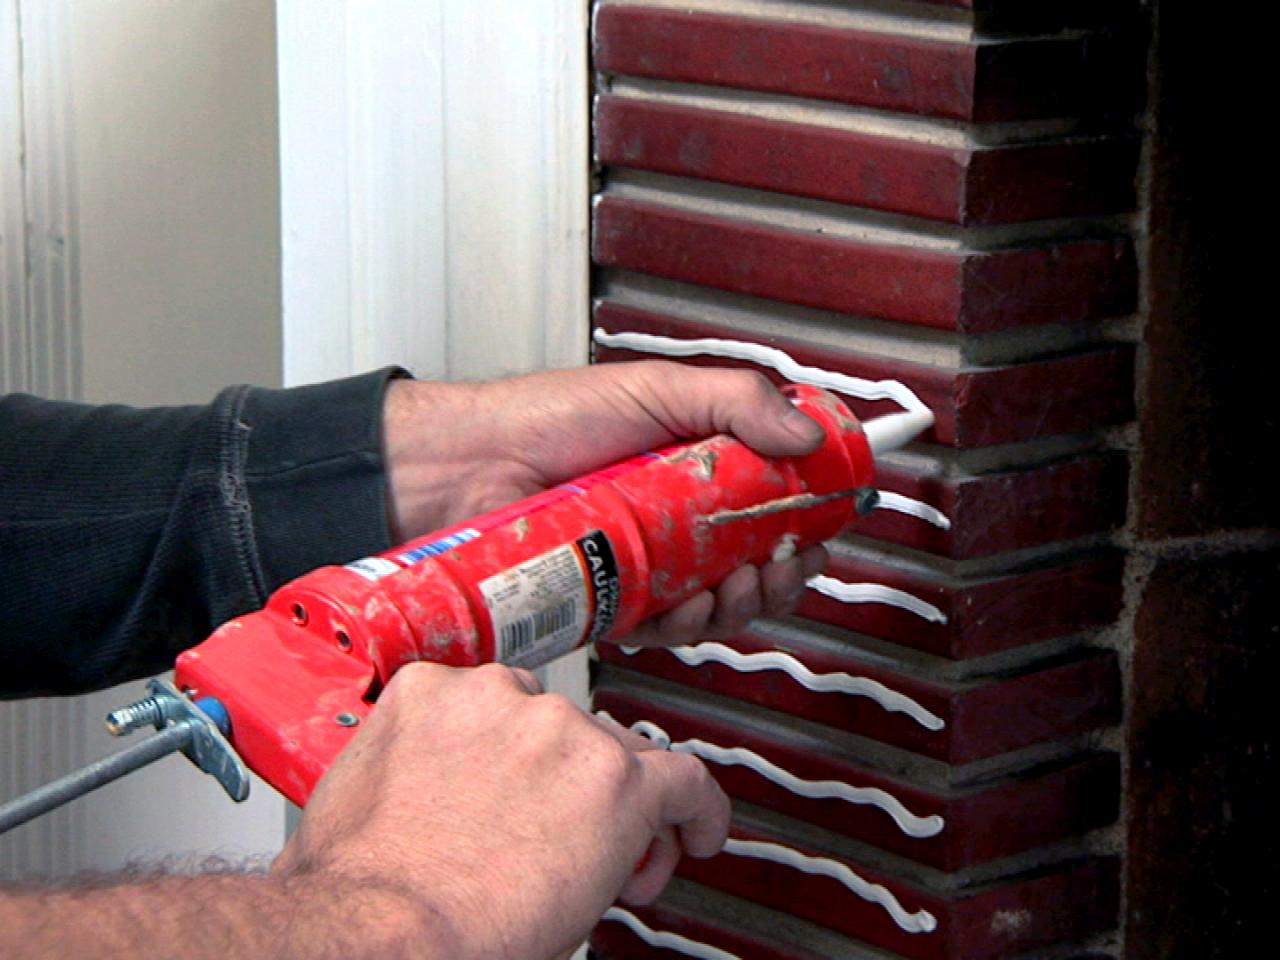
Applying thinset mortar correctly prevents tile failure over time. Use a notched trowel sized appropriately for your tile—1/4-inch for most wall tiles. Comb mortar in one direction for consistent adhesion. Work in small sections to prevent the mortar from skinning over. Press tiles firmly into place with a slight twisting motion. Check alignment frequently with a level and adjust before the mortar sets. Remove excess mortar from grout lines immediately with a damp sponge. For heavy stone tiles, apply mortar to both the wall and tile back (back-buttering). Proper mortar application ensures tiles remain securely bonded despite heat fluctuations.
Grouting completes the tiled surface with a polished finish. Wait at least 24 hours after setting tiles before grouting. Use sanded grout for wider joints (1/8-inch or more), unsanded for narrower spaces. Mix grout to a peanut butter consistency for easy application. Force grout deeply into joints with a rubber float held at a 45-degree angle. Remove excess grout with a damp sponge, rinsing frequently. Shape grout lines with a rounded tool for uniform appearance. After initial haze forms, polish tiles with a dry cloth. For natural stone, seal grout lines after full curing to prevent staining. Proper grouting protects edges and enhances the overall design.
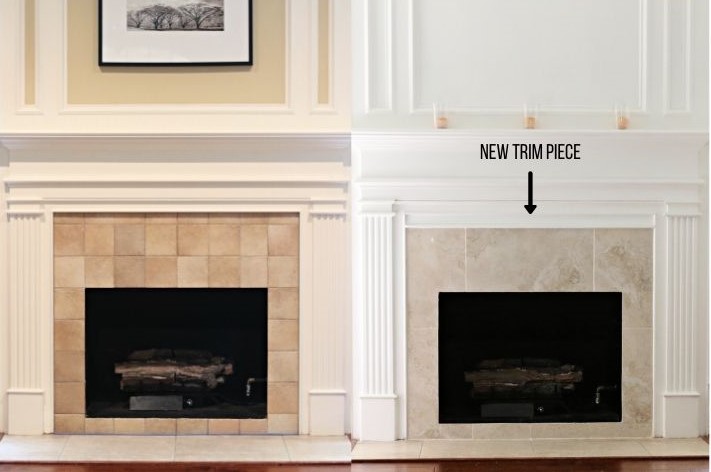
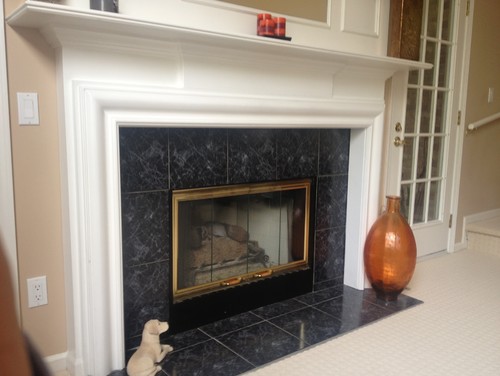
Finishing touches elevate the fireplace’s appearance. Install metal edge trim for clean borders where tile meets other surfaces. Apply silicone caulk at inside corners and where tile abuts the firebox for flexible expansion joints. Reattach or install a new mantel, ensuring proper clearances from the firebox. For painted surrounds, touch up edges with matching paint. Install decorative tile accents or listellos as final details. Clean the entire surface with a pH-neutral cleaner to remove residue. These final steps ensure a professional-quality installation that withstands daily use and temperature changes.
Maintaining tiled fireplace surrounds preserves their beauty. Regularly dust tiles to prevent buildup in textured surfaces. Clean grout lines with a soft brush and mild cleaner to prevent discoloration. Reapply sealant annually for natural stone tiles. Inspect for cracked grout or loose tiles before each heating season. Use fireplace screens to minimize soot accumulation on tiles. Avoid abrasive cleaners that could scratch glazed surfaces. Quick cleanup of ashes or debris prevents staining. Proper care keeps the tiled surround looking new while protecting your investment in the long term.
Troubleshooting common issues ensures lasting results. Hollow-sounding tiles indicate poor adhesion and may require replacement. Cracked grout should be raked out and replaced to prevent moisture damage. Thermal expansion cracks near the firebox may need flexible silicone caulk instead of grout. Hazed tiles can be cleaned with vinegar solutions or commercial haze removers. Discolored grout may benefit from colorant applications. Loose edge trim should be reattached with high-temperature adhesive. Addressing minor problems promptly prevents more extensive repairs later. Most tile issues around fireplaces can be fixed without redoing the entire installation.
Professional tips enhance DIY fireplace tiling projects. Use laser levels for perfect alignment across large surrounds. Infrared thermometers verify surface temperatures before applying materials. Kneepads save discomfort during extended installation periods. Mix small mortar batches to prevent premature drying in warm conditions. Keep a bucket of water and sponge handy for quick cleanups. Photograph the layout before removing tiles for reference. Allow extra time for intricate cuts and adjustments. These techniques help achieve showroom-quality results while making the process more manageable. With careful planning and execution, tiling around a fireplace becomes a rewarding home improvement project.
Fireplace Tile Ideas for a Beautiful Fireplace Surround [PHOTOS]
tiled fireplace surround Diy fireplace makeover, Home fireplace, Diy fireplace

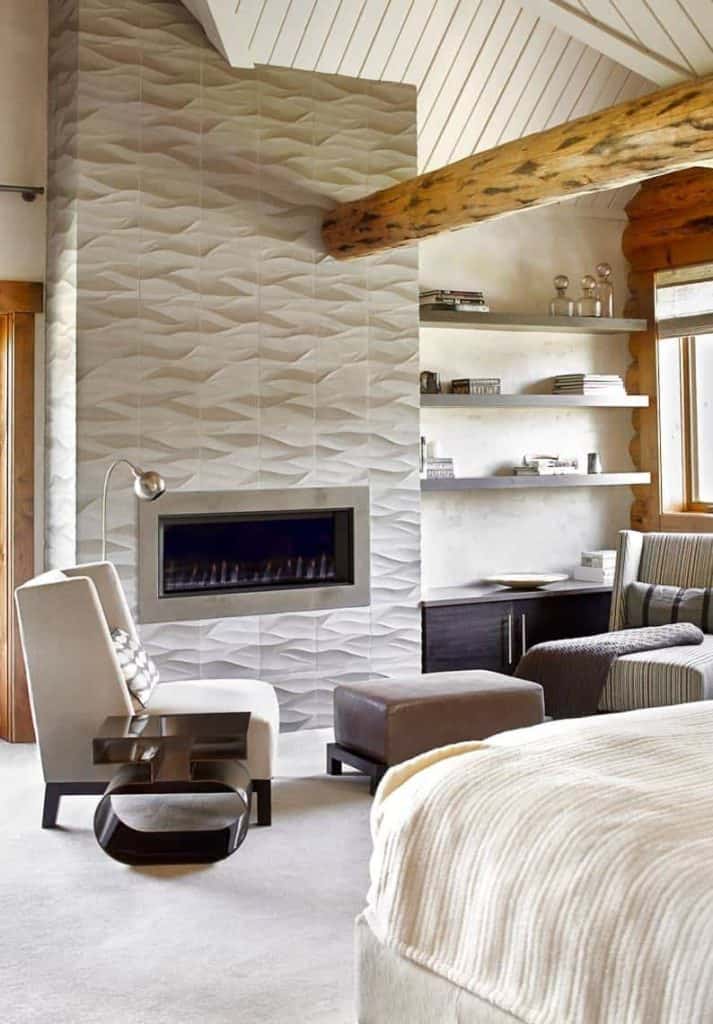
floor to ceiling fireplace tile Fireplace surrounds, Fireplace tile, Slate

How to Tile a Fireplace
tiled fireplace ideas – Google Search Fireplace, Fireplace surrounds, Fireplace decor

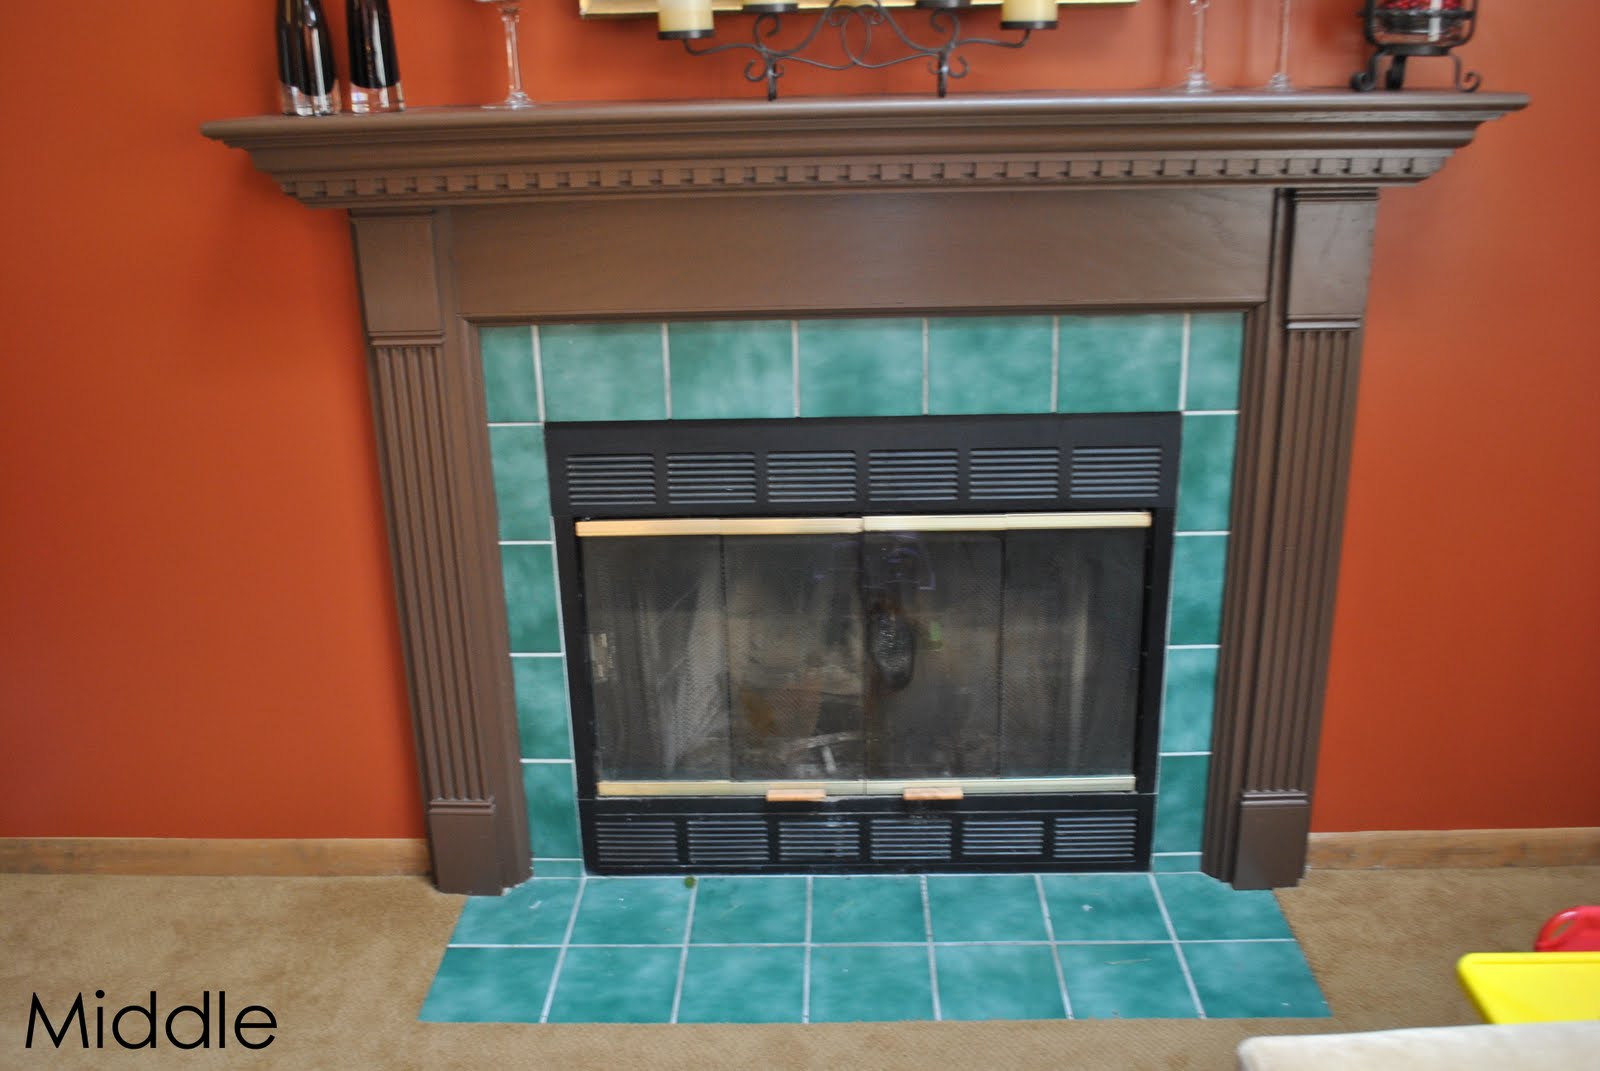
Ideas to update fireplace surround
How Do I: Choose The Best Fireplace Tiles – MAKE IT MOREGEOUS

Replacing tile in front of fireplace insert DIY Home Improvement Forum

Related Posts: