Removing tile from a fireplace surround can seem daunting, but with the right tools and approach, it’s manageable. Start by gathering essential supplies: a chisel, a hammer, safety goggles, gloves, and a drop cloth to protect the surrounding area. Begin by using the chisel and hammer to carefully break the grout lines around the tiles. It’s important to work slowly and methodically to avoid damaging the underlying wall or fireplace structure.

Next, focus on removing individual tiles. Position the chisel at a slight angle under the tile edge and gently tap it with the hammer. This should loosen the tile, allowing you to pry it away from the wall. If the tiles are particularly stubborn, you may need to use more force or apply heat with a heat gun to soften the adhesive. Once you’ve removed a few tiles, the process typically becomes easier as you gain access to the edges of surrounding tiles.
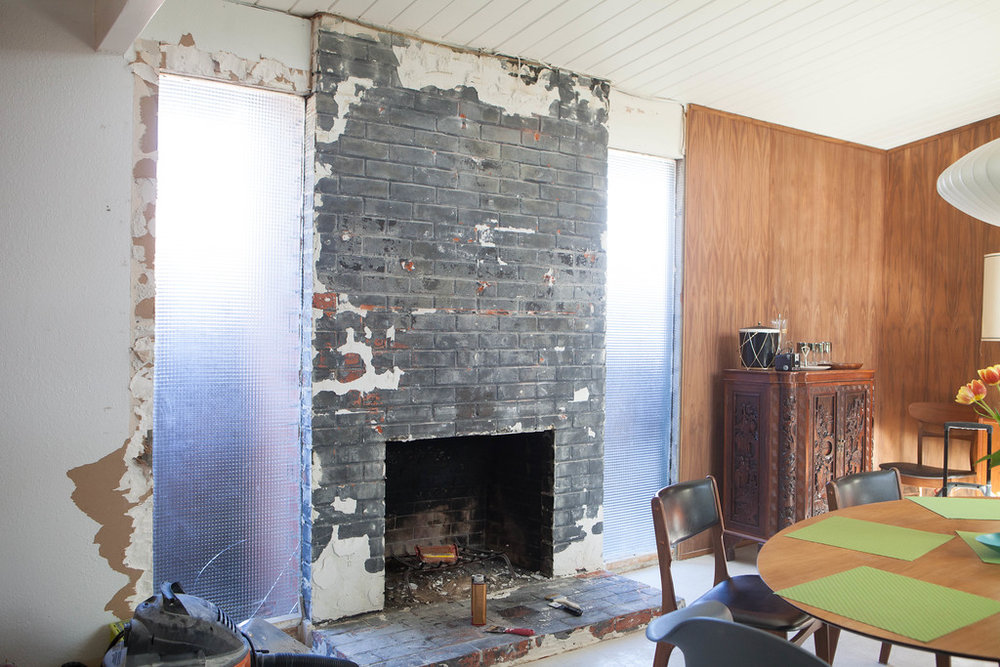
Once all the tiles are removed, you’ll need to clear away any remaining adhesive or mortar. A putty knife or scraper can help with this task. For tougher spots, a power tool like an oscillating multi-tool can be very effective. Make sure to wear your safety gear, as removing old adhesive can create a lot of dust and debris. Thoroughly clean the surface once all adhesive is removed, preparing it for any new finish or tile you plan to install.

After cleaning, inspect the underlying wall or surround for any damage. If you find any cracks or holes, now is the time to repair them with appropriate filler or patching material. Ensuring a smooth, even surface is crucial for the proper installation of new tiles or finishing materials. Proper preparation will help ensure a long-lasting, professional-looking result for your updated fireplace surround.

Finally, dispose of the old tiles and debris responsibly. Check local regulations for proper disposal methods, as tiles and adhesives may contain materials that shouldn’t be thrown in regular trash. With the old tiles removed and the area prepped, you’re ready to move on to the next phase of your fireplace makeover, whether it involves new tiling or another decorative treatment.
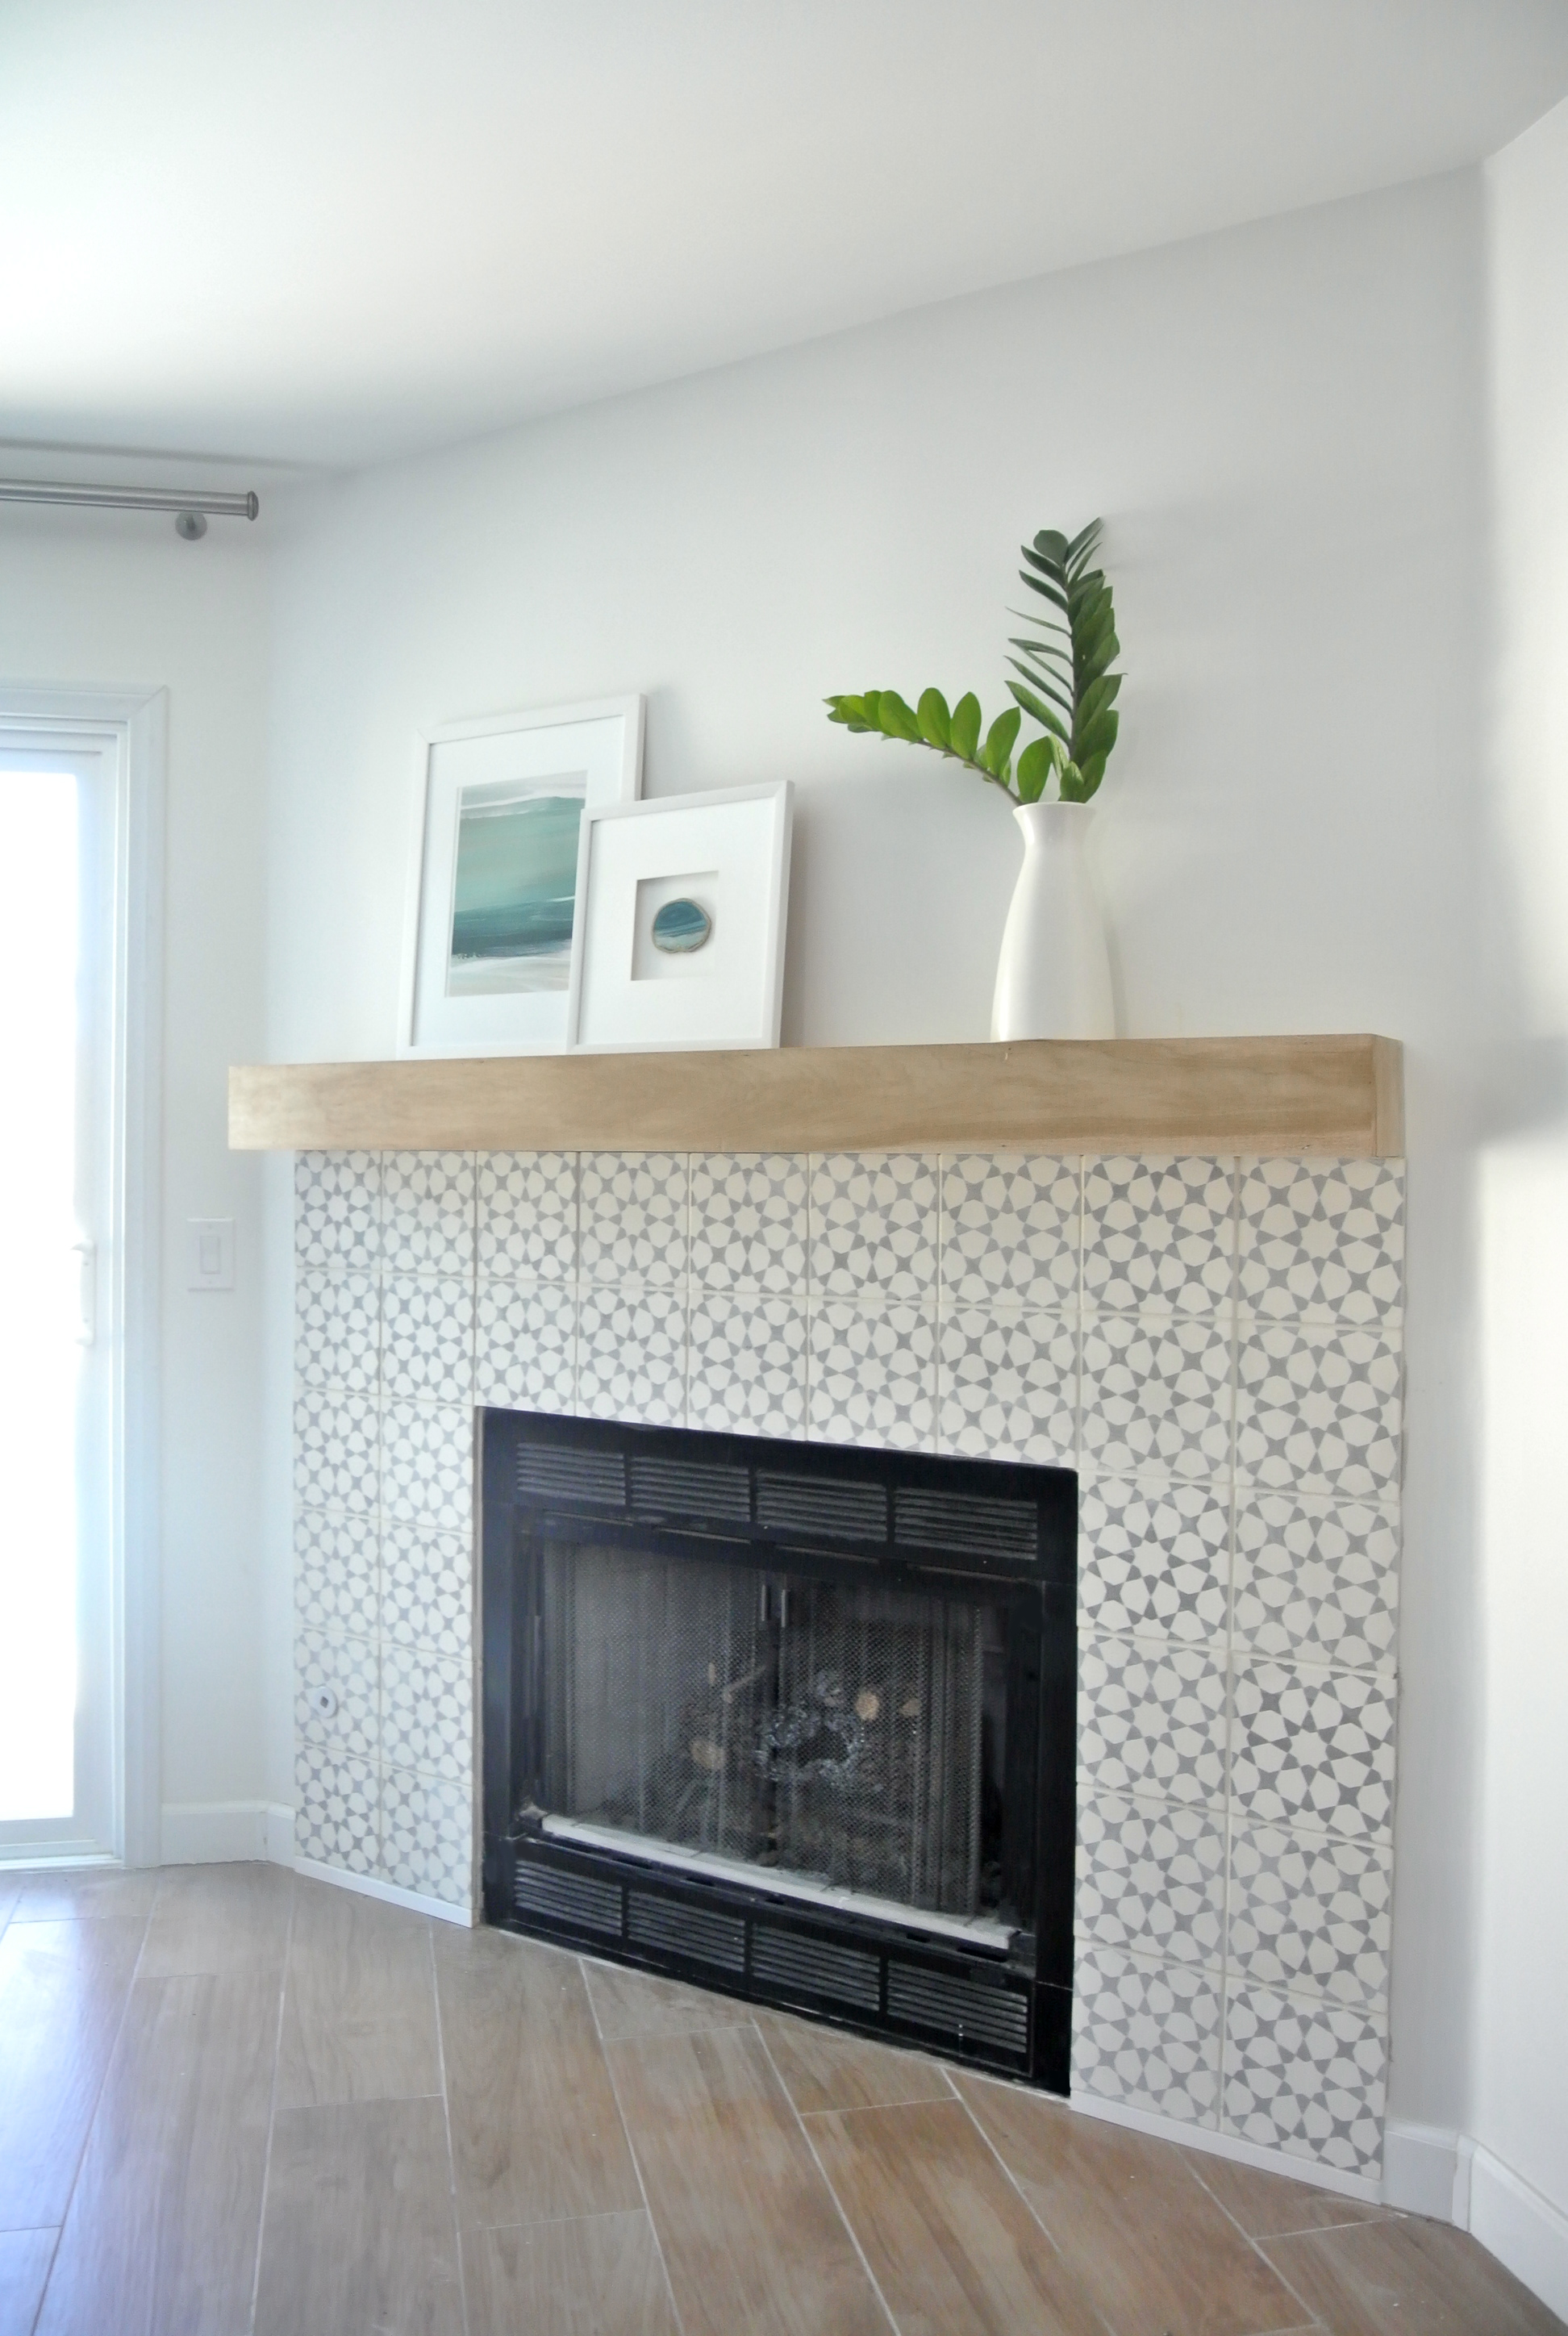
How to tile over an existing fireplace surround – My Woodlands Life
If installed at regular temperature (64-68 F) the Smart Tiles will stick to your wall or

How to tile over an existing fireplace surround – My Woodlands Life
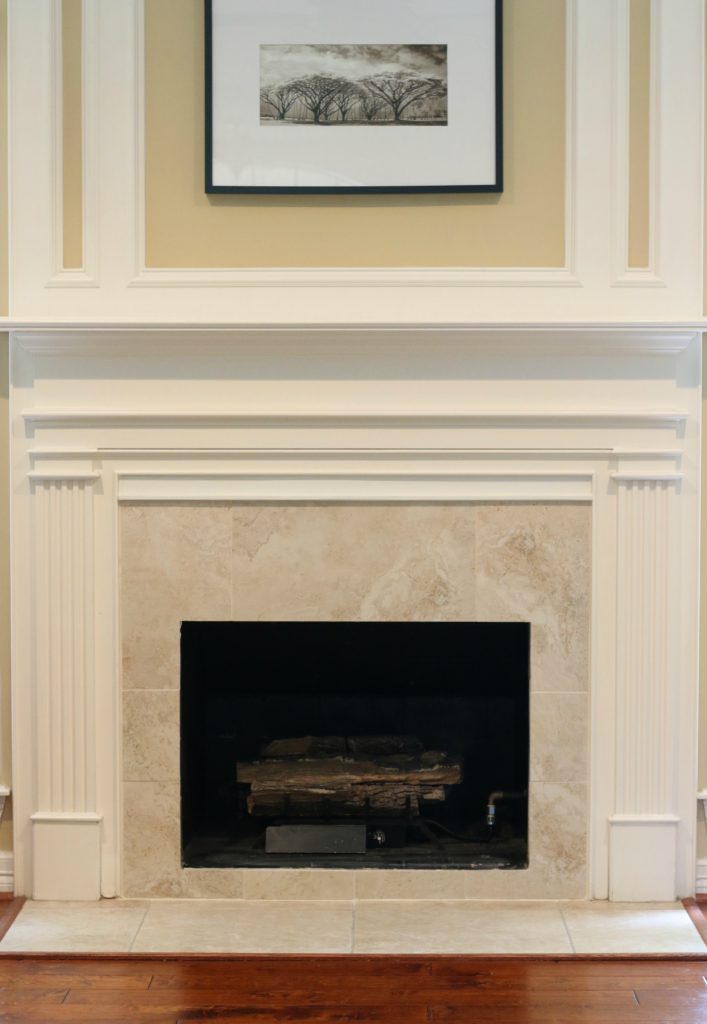
Example of painted fireplace tile surround. Fireplace tile surround, Fireplace, Fireplace redo

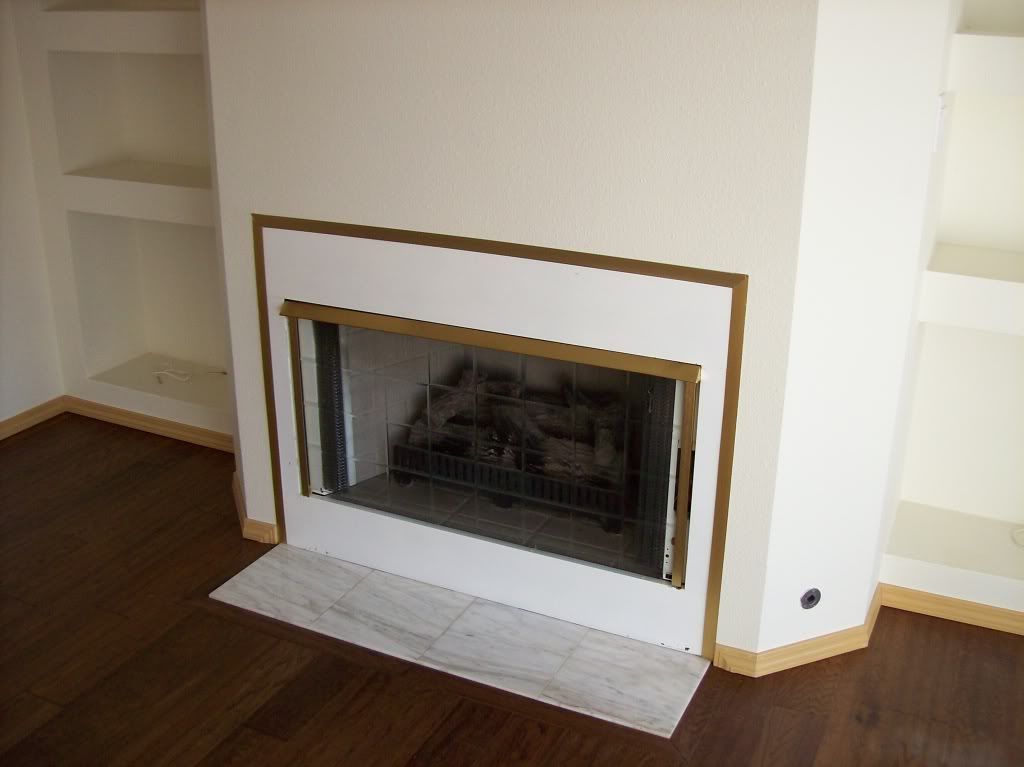
Tile Fireplace Surround Pictures, Images & Photos Photobucket
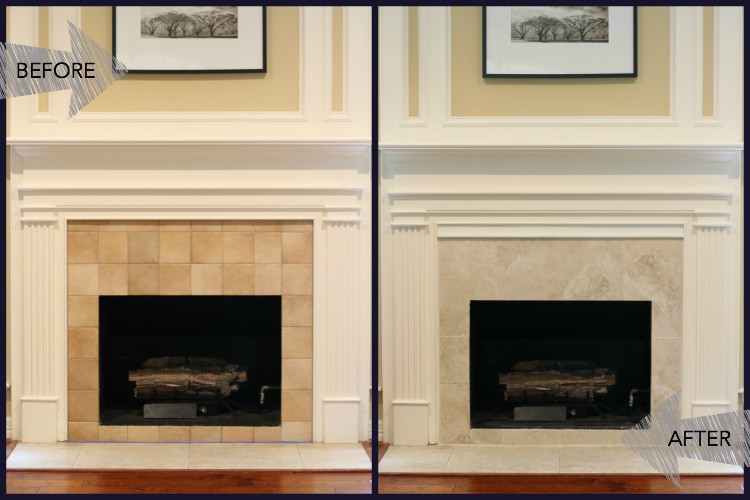
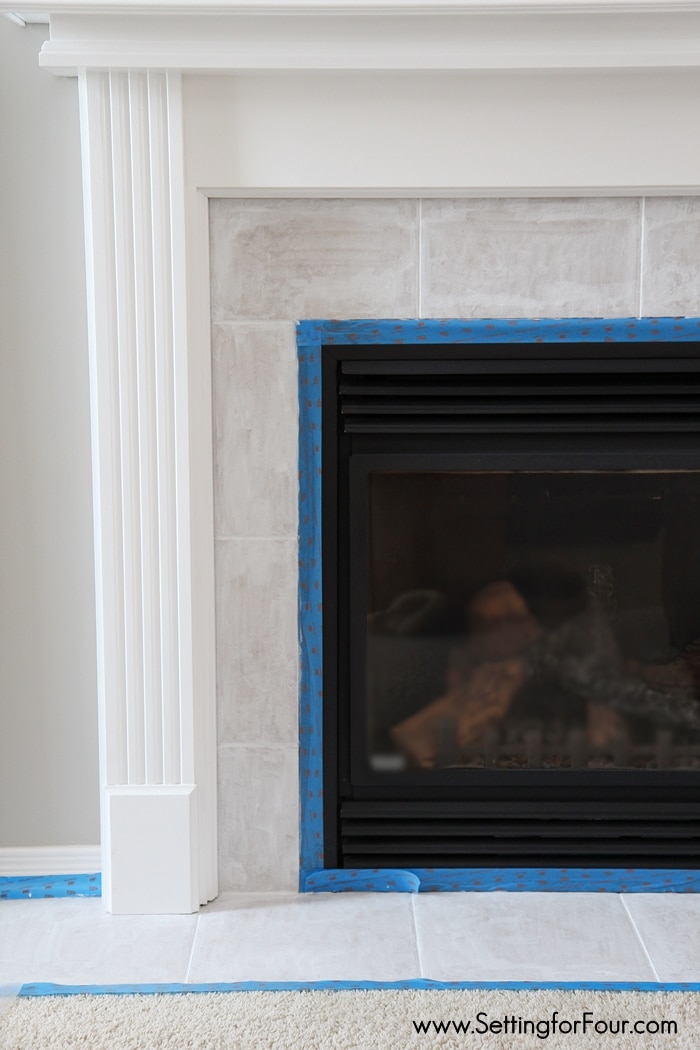
How to Paint Tile – Easy Fireplace Paint Makeover – Setting for Four
Fireplace Redo – Janet’s House
Citadel Drive, LaVista Park EpicDevelopment Modern fireplace, Modern fireplace mantels

DIY Mantel Makeover #CompleteWithGlade

Related Posts: