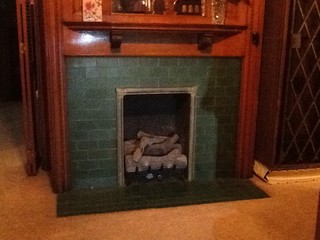
I’ve spent my fair share of time staring into a crackling fire, and let me tell you, those tiles can get pretty grimy. It’s not just soot; it’s dust, maybe some stray bits of wood, and who knows what else. Over time, this buildup can dull the look of your fireplace, which, for me, is the heart of the room during the colder months. I remember one year, I put off cleaning them for so long, I almost forgot what the original color even was! It felt like the whole room was a little less bright because of it. So, trust me, taking the time to clean those tiles makes a bigger difference than you might think. It’s about more than just aesthetics; it’s about maintaining a cozy and inviting atmosphere in your home.
The first thing I usually do is gather my supplies. You don’t need anything too fancy, which is always a plus in my book. I typically grab a soft brush – an old toothbrush works wonders for getting into those grout lines – a couple of clean cloths, a bucket, and some warm water. For the actual cleaning solution, I often opt for something mild. Sometimes, just a bit of dish soap in the warm water does the trick. Other times, especially if the soot buildup is a bit stubborn, I’ll make a paste of baking soda and water. I’ve found this to be surprisingly effective at cutting through grime without being too harsh on the tiles themselves. Of course, you can always find specialized tile cleaners at the store, but I prefer to start with these gentler, more readily available options. It feels a bit more resourceful, and I like knowing exactly what I’m putting on the tiles.
Before I get started with any scrubbing, I always make sure the fireplace is completely cool. This might seem obvious, but it’s a step you definitely don’t want to skip for safety reasons. Once it’s cool, I like to give the tiles a good dry brushing. This helps to remove any loose soot or dust, making the actual cleaning process a bit easier. I just go over all the tiles and the grout lines with my soft brush, working from top to bottom. It’s amazing how much loose debris this step alone can remove. You might be surprised by the little pile of dust and soot that accumulates at the bottom. Taking this initial step saves you from just smearing that dry mess around with a wet cloth later on, which can make the cleaning less effective and more frustrating.
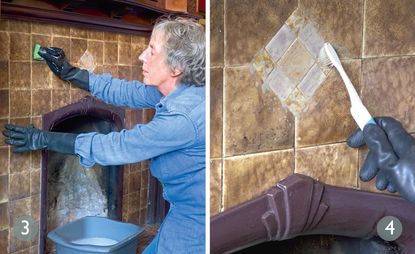
Now comes the actual washing part. If I’m using the dish soap solution, I dip one of my cloths into the warm soapy water, making sure it’s not dripping wet. Then, I gently wipe down the tiles, paying extra attention to any areas with noticeable buildup. For those tougher spots or the grout lines, that’s where the toothbrush or a slightly stiffer brush comes in handy. If I’m using the baking soda paste, I apply a small amount directly to the affected areas, let it sit for a few minutes, and then gently scrub with a damp cloth or brush. The key here is to be gentle. You don’t want to scratch or damage the tiles, especially if they have a delicate finish. Patience is definitely a virtue during this stage.

After I’ve washed all the tiles, I take a clean, damp cloth and wipe them down again to remove any soap residue or baking soda. It’s important to get all the cleaning solution off, as any leftover residue can attract more dirt over time and potentially dull the appearance of the tiles. I usually rinse my cloth frequently during this step to make sure I’m using clean water. Once I’ve wiped everything down, I take a dry cloth and buff the tiles. This helps to remove any water spots and really brings back their shine. It’s a small step, but it makes a big difference in the final result. Seeing those tiles go from dull and dirty to clean and bright is always so satisfying.
For those really stubborn stains that just won’t budge with soap and water or even baking soda, there are a few other tricks I’ve learned over the years. Sometimes, a paste of vinegar and baking soda can be more effective, but you need to be careful as this mixture can be a bit abrasive, so I only use it on very tough stains and test it in an inconspicuous area first. Another thing I’ve tried is using a specialized fireplace cleaner, but again, I always read the instructions carefully and make sure it’s safe for my type of tiles. Prevention, of course, is always better than cure. Regularly wiping down your fireplace tiles can help prevent heavy buildup in the first place, making future cleaning sessions much easier and less time-consuming.
The grout lines between the tiles can often be the trickiest part to clean. They tend to trap dirt and soot, and their recessed nature makes them harder to reach. That old toothbrush I mentioned earlier is really my go-to tool for this. For stubborn grout stains, I sometimes make a paste of baking soda and a little bit of water, apply it to the grout lines, let it sit for a while, and then scrub with the toothbrush. You can also find grout-specific cleaners, but I’ve had good luck with the baking soda method. Just be prepared to put in a little bit of elbow grease. It can be a bit tedious, but clean grout lines really make the whole fireplace look much cleaner and more polished.
Once the tiles and grout are all clean and dry, I like to take a step back and admire the difference. It’s amazing how much brighter and more inviting the whole fireplace area looks. It really refreshes the entire room. I often light a small fire afterward, just to celebrate the clean space. There’s something so satisfying about sitting by a warm fire with sparkling clean tiles surrounding it. It just adds to the overall cozy and comfortable feeling. And knowing that I took the time and effort to do it myself makes it even more rewarding. It’s a small task, but it definitely contributes to the overall enjoyment of my home, especially during those chilly evenings.
Maintaining clean fireplace tiles doesn’t have to be a huge chore. Incorporating a quick wipe-down into your regular cleaning routine can make a big difference in preventing heavy buildup. I usually try to wipe the tiles with a damp cloth every couple of weeks, or whenever I notice they’re starting to look a bit dusty. This simple step can save you a lot of scrubbing down the line. Also, making sure your fireplace damper is working correctly can help reduce the amount of soot that accumulates on the tiles in the first place. Regular maintenance of your fireplace overall will contribute to keeping those tiles cleaner for longer. It’s all about being proactive rather than reactive when it comes to keeping your fireplace looking its best.
So, there you have it – my tried-and-true method for cleaning fireplace tiles. It’s not a glamorous task, but it’s definitely a worthwhile one. A clean fireplace can really enhance the beauty and comfort of your home, especially during those colder months when it becomes the focal point of your living space. With a few simple supplies and a little bit of effort, you can keep your fireplace tiles looking their best for years to come. And trust me, that feeling of sitting by a warm fire surrounded by sparkling clean tiles is a reward in itself. It just makes those cozy evenings even more enjoyable.
How often should I be cleaning my fireplace tiles to keep them looking good?
Honestly, the frequency depends a bit on how often you use your fireplace. If you have fires regularly throughout the colder months, I’d suggest giving the tiles a good cleaning at least once or twice during the burning season and then again at the end. For a quick touch-up, I try to wipe them down with a damp cloth every couple of weeks to prevent significant soot and dust accumulation. This little habit cuts down on the amount of heavy-duty cleaning needed later on, and it helps maintain that nice, clean look year-round. Think of it like dusting other surfaces in your home; a little regular attention goes a long way in keeping things tidy and bright.
What are some signs that my fireplace tiles are due for a good cleaning?
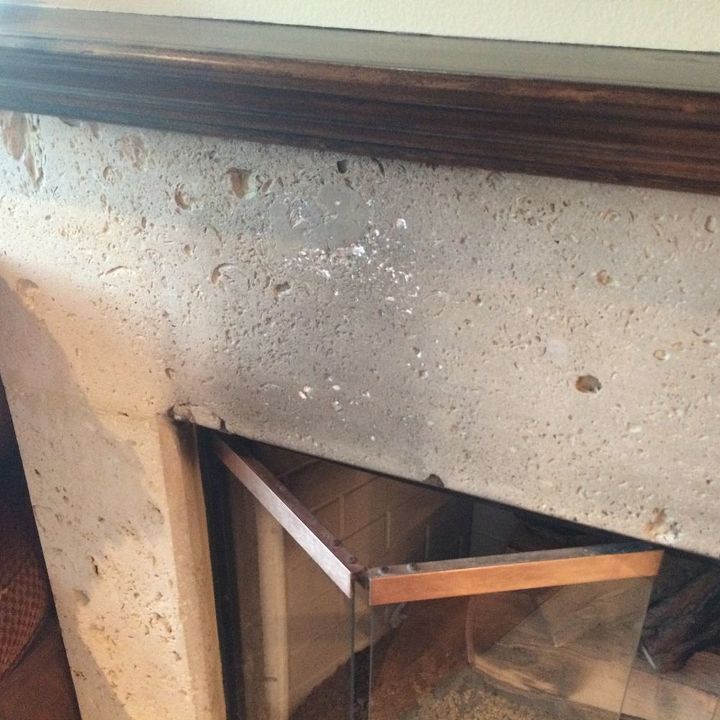
For me, the most obvious sign is when the tiles start to look dull or have a noticeable layer of soot or dust on them. You might also see streaks or discoloration from drips or spills that have occurred over time. If the grout lines between the tiles are looking dark and grimy, that’s another clear indicator that it’s time for a cleaning session. Sometimes, you might even notice a slight odor associated with the buildup of soot and ash. Trust your eyes and nose; if your fireplace tiles don’t look as bright and clean as they used to, it’s probably time to give them some attention. Ignoring it for too long can just make the cleaning process more difficult down the road.

Are there any cleaning solutions I should avoid using on my fireplace tiles?
Based on my experience, you should generally steer clear of harsh chemicals or abrasive cleaners, especially if your tiles have a delicate finish or a glaze. These types of cleaners can potentially scratch, dull, or even damage the surface of the tiles. I’d also be cautious with anything that contains strong acids or alkalis unless it’s specifically designed for fireplace tiles and you’ve tested it in an inconspicuous area first. Natural stone tiles, in particular, can be quite porous and susceptible to damage from certain chemicals.1 When in doubt, starting with mild solutions like dish soap and warm water or a baking soda paste is always a safer bet.
My fireplace tiles have some stubborn, stuck-on soot. What’s the best way to tackle this?
Ah, those stubborn soot stains can be frustrating! What I’ve found helpful is to make a paste of baking soda and a little bit of water, apply it generously to the affected areas, and let it sit for a longer period – maybe 15 to 20 minutes – before gently scrubbing with a soft brush or cloth. For really tough spots, you could try a mixture of vinegar and baking soda, but use it cautiously as it can be a bit abrasive. Another trick is to try a specialized fireplace cleaner that’s specifically formulated to cut through soot and creosote. Always follow the product instructions carefully and ensure good ventilation when using these types of cleaners. Patience is key here; you might need to repeat the process a few times to completely remove those stubborn stains.

How can I prevent my fireplace tiles from getting so dirty in the first place?
Prevention is definitely the name of the game! Making sure your fireplace damper is functioning correctly is crucial, as a properly working damper helps to direct smoke and soot up the chimney instead of letting it settle on the tiles. Regularly wiping down the tiles with a damp cloth, as I mentioned before, can also significantly reduce buildup. If you tend to have a lot of smoke when you burn wood, you might want to consider having your chimney professionally cleaned and inspected regularly to ensure proper drafting. Using well-seasoned wood that burns more cleanly can also help minimize soot production.
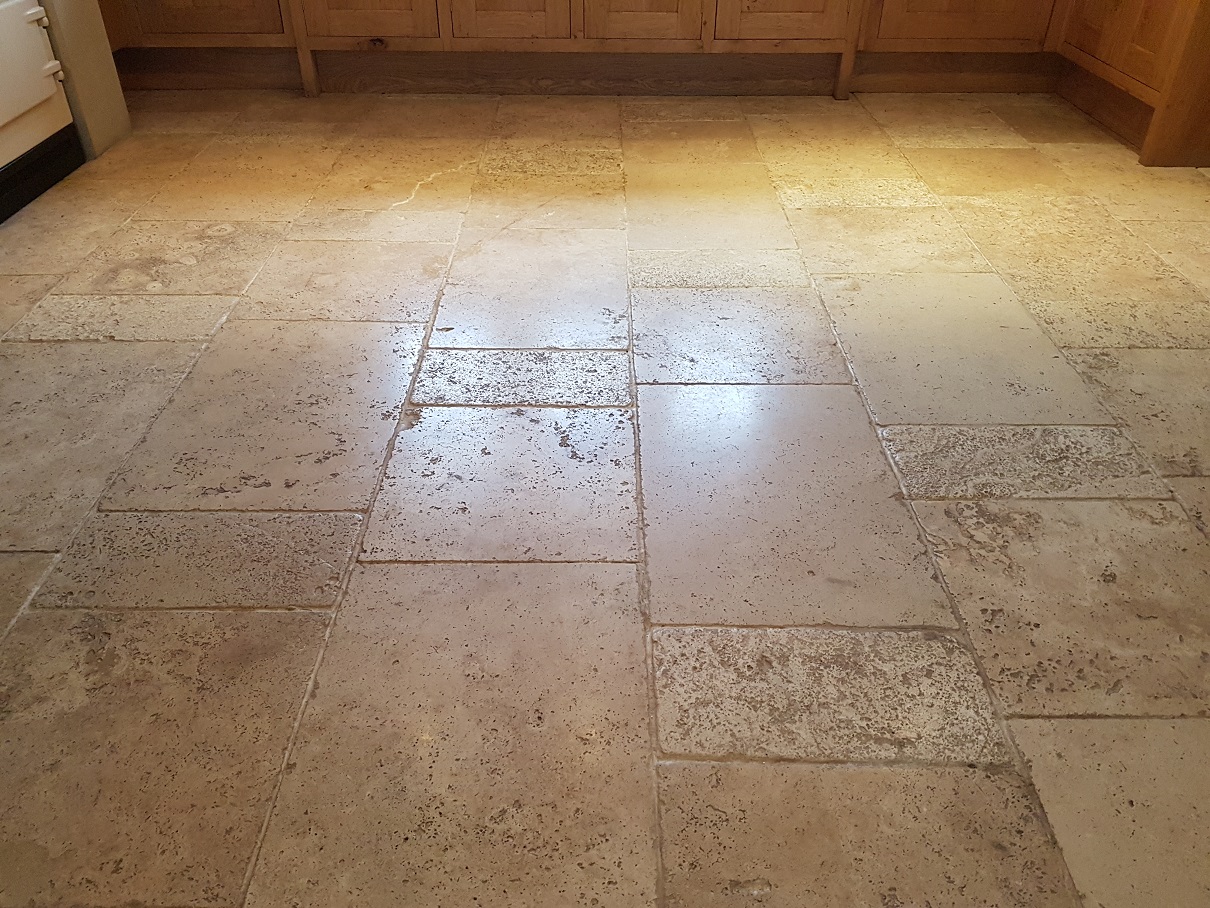
I have natural stone fireplace tiles. Is there anything special I need to know about cleaning them?
Yes, cleaning natural stone tiles requires a bit more care because they can be porous and more susceptible to staining and damage from certain cleaners. Avoid using acidic cleaners like vinegar or anything too abrasive. For general cleaning, stick to warm water and a mild, pH-neutral soap specifically designed for natural stone. Always use a soft cloth or sponge to wipe the tiles and avoid scrubbing too vigorously. For stubborn stains on natural stone, you might need to use a specialized stone cleaner, and it’s always a good idea to test it in an inconspicuous area first. Sealing your natural stone tiles periodically can also help to protect them from stains and make cleaning easier in the long run.

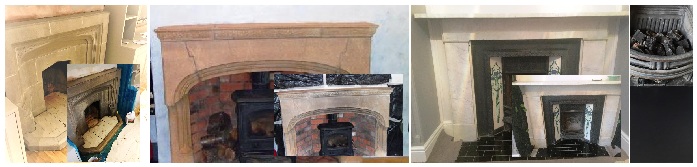
Need help to choose tiles for fireplace
How I Installed My Fireplace Tile – The Handyman’s Daughter
Art Nouveau Mackintosh Rose Style Fireplace Tile Set ref 006 ~ Pilgrim Tiles

How to Paint a Ceramic Tile Fireplace for an Easy Update – allisa jacobs Paint fireplace tile

How to Tile a Fireplace (with Pictures) – wikiHow

Related Posts: