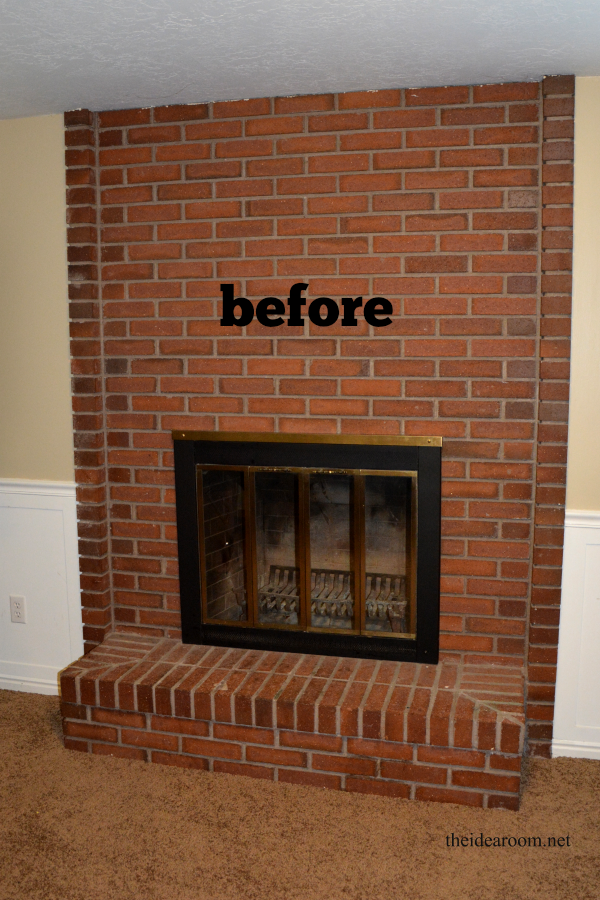
I’ll never forget staring at the bland, builder-grade fireplace in my living room two years ago, knowing it had potential but completely lacking character. The plain white trim and basic tile just didn’t match the cozy cabin aesthetic I’d been working toward throughout my home. After months of scrolling through Pinterest and saving ideas, I finally decided to tackle building a rustic fireplace surround myself. What started as an intimidating project became one of the most rewarding DIY experiences I’ve had, transforming not just my fireplace but my entire living space into the warm, inviting retreat I’d always envisioned.
Planning my rustic surround required more research than I initially expected. I spent weeks measuring, sketching designs, and learning about clearances and fire safety codes. The most important discovery was understanding that building codes require specific distances between combustible materials and the firebox opening. I measured everything three times and consulted local building regulations before buying any materials. My design included a reclaimed wood mantel, shiplap siding for the vertical face, and a stone hearth extension. Creating detailed plans with exact measurements saved me from costly mistakes and multiple trips to the hardware store during construction.

Finding the right reclaimed wood became my first real adventure. I visited four different salvage yards before discovering a pile of barn siding with the perfect weathered gray patina. The wood had nail holes, saw marks, and decades of natural aging that gave it authentic character. I selected each board carefully, looking for interesting grain patterns and minimal rot or insect damage. The seller helped me load twelve-foot planks onto my truck, and I felt a genuine connection to the history embedded in these materials. Each piece had supported a barn through countless seasons before becoming part of my fireplace transformation.
Preparing the reclaimed wood took an entire weekend that I hadn’t originally planned for. I needed to remove old nails, clean decades of dust and dirt, sand rough splinters, and treat the wood for any remaining insects. I used a metal detector to find hidden nails that could damage my saw blades, then carefully extracted each one with a pry bar. Power washing removed surface grime while preserving the weathered texture. After drying thoroughly, I applied a borax solution to eliminate any pests, then sealed the wood with a matte finish that protected it while maintaining the natural appearance. This preparation was tedious but absolutely essential.

The actual construction began with building a frame from two-by-fours to support the surround materials. I attached the frame securely to wall studs, ensuring everything was perfectly level and plumb. This framework provided the structure for attaching the shiplap boards and created the depth needed for my design. I installed fire-blocking insulation behind the frame where required by code, maintaining proper clearances from the firebox. Building this invisible infrastructure wasn’t glamorous, but getting it right was crucial for safety and long-term durability. I double-checked every measurement and connection before moving forward with the visible elements.
Installing the reclaimed shiplap boards vertically created the rustic texture I’d imagined. I started from one side and worked across, carefully selecting each board for color and character to create visual balance. The irregular widths and varying weathering patterns gave the surface organic interest that perfectly uniform boards never could. I used a nail gun with finishing nails, pre-drilling holes in the brittle old wood to prevent splitting. Some boards required trimming around outlets and the fireplace opening, which I accomplished with a jigsaw and patience. Each board I added brought my vision closer to reality, and I couldn’t stop stepping back to admire the transformation taking shape.

The mantel became the true focal point and required my most careful work. I’d found a ten-foot beam from a dismantled tobacco barn that had incredible character with hand-hewn marks still visible. The beam was so heavy that I recruited two friends to help position and mount it. We used heavy-duty brackets anchored into studs and concealed them behind the beam for a floating appearance. Getting the mantel perfectly level while maintaining even spacing from the wall tested our patience, but the result was worth every adjustment. The massive timber’s presence immediately commanded attention and anchored the entire surround design.
Adding stone veneer to the hearth area introduced new skills I had to learn on the fly. I chose natural fieldstone with irregular shapes and varying colors that complemented the wood tones. Mixing the mortar to the right consistency took practice, and I wasted some material figuring out the proper technique. I started at the bottom and worked upward, carefully selecting and placing each stone like solving a puzzle. The gaps between stones needed consistent spacing that I maintained using wooden spacers. After the mortar dried, I applied grout and carefully tooled the joints for a finished appearance. The stone added textural contrast against the smooth wood that completed the rustic aesthetic beautifully.

Finishing touches made the difference between a nice surround and something truly special. I distressed some of the newer wood components with chains and hammers to blend them with the authentic reclaimed pieces. A wire brush added texture where needed, and I selectively applied stain to unify the color palette while preserving natural variations. I installed wrought iron hooks on one side of the mantel for hanging fireplace tools, and added vintage corbels beneath the mantel for decorative support. These small details demonstrated thoughtfulness and elevated the entire installation from basic to custom craftsmanship.
Living with my DIY rustic fireplace surround for two years now has been incredibly satisfying. Every time I walk into the room, I feel proud of what I accomplished with my own hands. Friends constantly compliment the fireplace and ask if I hired professionals, which never gets old. The surround has developed its own character as I’ve added seasonal decorations and personal touches to the mantel. More importantly, this project gave me confidence to tackle other ambitious home improvements. What seemed impossible before I started became achievable through research, planning, patience, and willingness to learn new skills along the way.

What tools and equipment do I absolutely need for building a rustic fireplace surround?
My essential tools included a circular saw, miter saw, drill with bits, level, tape measure, nail gun, and safety equipment like goggles and dust masks. For the stone work, I needed a trowel, mixing bucket, grout bag, and sponges. A stud finder was crucial for secure mounting, and a metal detector saved my saw blades when working with reclaimed wood. I rented a wet tile saw for cutting stone pieces. Total tool investment was about $400, though I borrowed some items from friends. If you’re buying everything new, budget $600-800 for quality tools that will serve you well beyond this single project.
How much did the entire DIY rustic fireplace surround project cost you?
My total material cost came to approximately $850. The reclaimed barn wood was $250 for enough boards to cover the surround with extras. The hand-hewn mantel beam cost $180 from a salvage yard. Stone veneer, mortar, and grout totaled $200. Lumber for framing, hardware, brackets, and finishing materials added another $150. I spent $70 on various stains, sealers, and protective finishes. Compared to professional installation quotes of $3,000-5,000 for similar work, the DIY approach saved significant money while giving me the satisfaction of personal accomplishment and complete creative control over the design and materials.
How long did it actually take you to complete the fireplace surround project?
From demolition of the old surround to final finishing touches, my project took four full weekends spread over about six weeks. The first weekend was demolition, planning, and material prep. Weekend two focused on framing and initial board installation. Weekend three involved completing the shiplap, mounting the mantel, and starting stonework. The fourth weekend finished the stone, grouting, and all final details. This timeline included drying time for various products and allowed me to work at a comfortable pace without rushing. Someone with more experience could potentially finish in two intensive weekends, while beginners might need additional time.
What safety considerations and building codes did you need to address?
Fire safety was my absolute priority throughout this project. I researched local building codes, which specified minimum clearances between combustible materials and the firebox, typically 6-12 inche,s depending on your fireplace type. I maintained larger clearances than required for extra safety. All wood was sealed with fire-retardant products. I installed proper fire-blocking in wall cavities and ensured adequate ventilation around the firebox. The mantel height and depth followed code specifications. I also verified my homeowner’s insurance wouldn’t be affected. When unsure about anything, I consulted with a building inspector and fire marshal to ensure complete compliance and safety.

Can beginners with limited carpentry experience successfully complete this type of project?
Absolutely, though I recommend starting with thorough research and perhaps a smaller practice project first. I had minimal carpentry experience before this, mostly limited to basic repairs and furniture assembly. The keys to my success were careful planning, watching numerous tutorial videos, not rushing, and asking for help when needed. Breaking the project into manageable steps made it less overwhelming. I made mistakes along the way but most were fixable with patience. The rustic aesthetic is forgiving since imperfections add character rather than looking like flaws. If I could do it with my limited experience, most motivated DIYers can too with proper preparation.
How do I maintain and care for a reclaimed wood fireplace surround?
Maintenance has been surprisingly simple for my surtic surround. I dust the wood surfaces weekly with a microfiber cloth and occasionally use wood cleaner appropriate for sealed surfaces. The protective finish I applied during construction has held up well and prevents the wood from drying out or collecting excessive dust. I avoid placing anything directly on the mantel that could scratch or stain the wood. The stone requires even less attention, just periodic wiping with a damp cloth. Every year, I inspect all mounting hardware to ensure nothing has loosened. The reclaimed wood actually looks better as it continues aging naturally, developing richer patina over time.

Gorgeous DIY Faux Fireplaces and Mantels

Rustic fireplace Rustic fireplaces, My dream home, Rustic house

fireplace surrounds on Pinterest Fireplace hearth, Diy fireplace and Wood

Stacked stone fireplace with wood mantle family room traditional with built ins stone fireplace

Reclaimed wood fireplace surround and mantel. Fireplaces Reclaimed wood fireplace, Wood

Reflective Fireplace Mantel in Traditional Family Room
fireplace surrounds on Pinterest Fireplace ideas, Fire places and Fireplace mantels

Elegant DIY Fireplace Mantel And Surrounds – Home And Gardening Ideas
Fireplace with rustic touch Fireplace, Decor, Home decor

Related Posts:
- Cottage Fireplace Surround
- DIY Rustic Fireplace Surround
- Vintage Cast Iron Fireplace Surround
- Delft Tile Fireplace Surround
- Fireplace Surround DIY Ideas
- Gas Fireplace Surrounds Ideas
- Grey Tile Fireplace Surround
- Modern Fireplace Surround Ideas
- DIY Electric Fireplace Surround Ideas
- How To Redo A Fireplace Surround