When I initially moved into my 1970s-era home, the antiquated brick-red tile fireplace was an eyesore in our otherwise modern living room. I considered hiring professionals, but after investigating rates ranging from $1,500 to $4,000, I chose to do the renovation myself. My adventure began with many hours spent watching videos, reading guidelines, and speaking with hardware store staff. What struck me the most was learning how doable this job might be with good preparation, patience, and the necessary tools, improving not only my fireplace but also my faith in home repair abilities.
The planning step was critical to my success. I began by thoroughly cleaning the existing tiles, eliminating decades of soot and filth with a solution of trisodium phosphate and warm water. The next step was to carefully look any damaged or loose tiles that needed to be repaired before proceeding. I made a careful sketch of my fireplace, measuring every dimension, including the hearth, surround, and mantle. Shopping for materials got less daunting once I determined my budget, aesthetic choices, and square footage requirements. I chose porcelain tiles with a marble finish to provide a mix between luxurious aesthetics and utilitarian durability.
Gathering the necessary tools saved me innumerable headaches throughout this endeavour. My armoury consisted of a wet tile saw (rented from a local hardware store), notched trowels of various sizes, a rubber mallet, tile spacers, grout float, sponges, buckets, safety glasses, and high-quality knee cushions that proved invaluable. I also purchased a reliable level, measuring tape and chalk line to ensure correct positioning. To remove the old tiles, I bought a hammer, chisel set, and safety gloves. The quality of these instruments had a direct impact on my efficiency, with the tile saw in particular producing precise cuts that improved the professional appearance of my completed job.
Contrary to popular belief, demolition requires more technique than overwhelming force. Working systematically from top to bottom, I removed one tile at a time, taking care not to damage the substrate below. Some tiles nearly fell off the wall, while others held tightly to it. I developed a useful technique for tapping the chisel at the grout lines and working my way behind each tile. This phase produced a lot of dust and debris, so I blocked off the space with plastic sheeting and kept it constantly ventilated. The discovery of what was beneath those old tiles presented both obstacles and opportunity for building a stable foundation.

Preparing the substrate became a critical phase that I almost forgot during my first plans. After removing the old tiles, I discovered that the backer board required repair in several areas. I fixed the damaged areas with thin-set mortar and completely restored one section. Ensuring a completely level surface needed patience because any faults would be emphasised after the new tiles were put. I laid a layer of tile backer board over the old substrate and secured it firmly with the proper screws. Creating this clean slate required an extra day, but it ensured the lifespan and professional appearance of my fireplace remodelling.
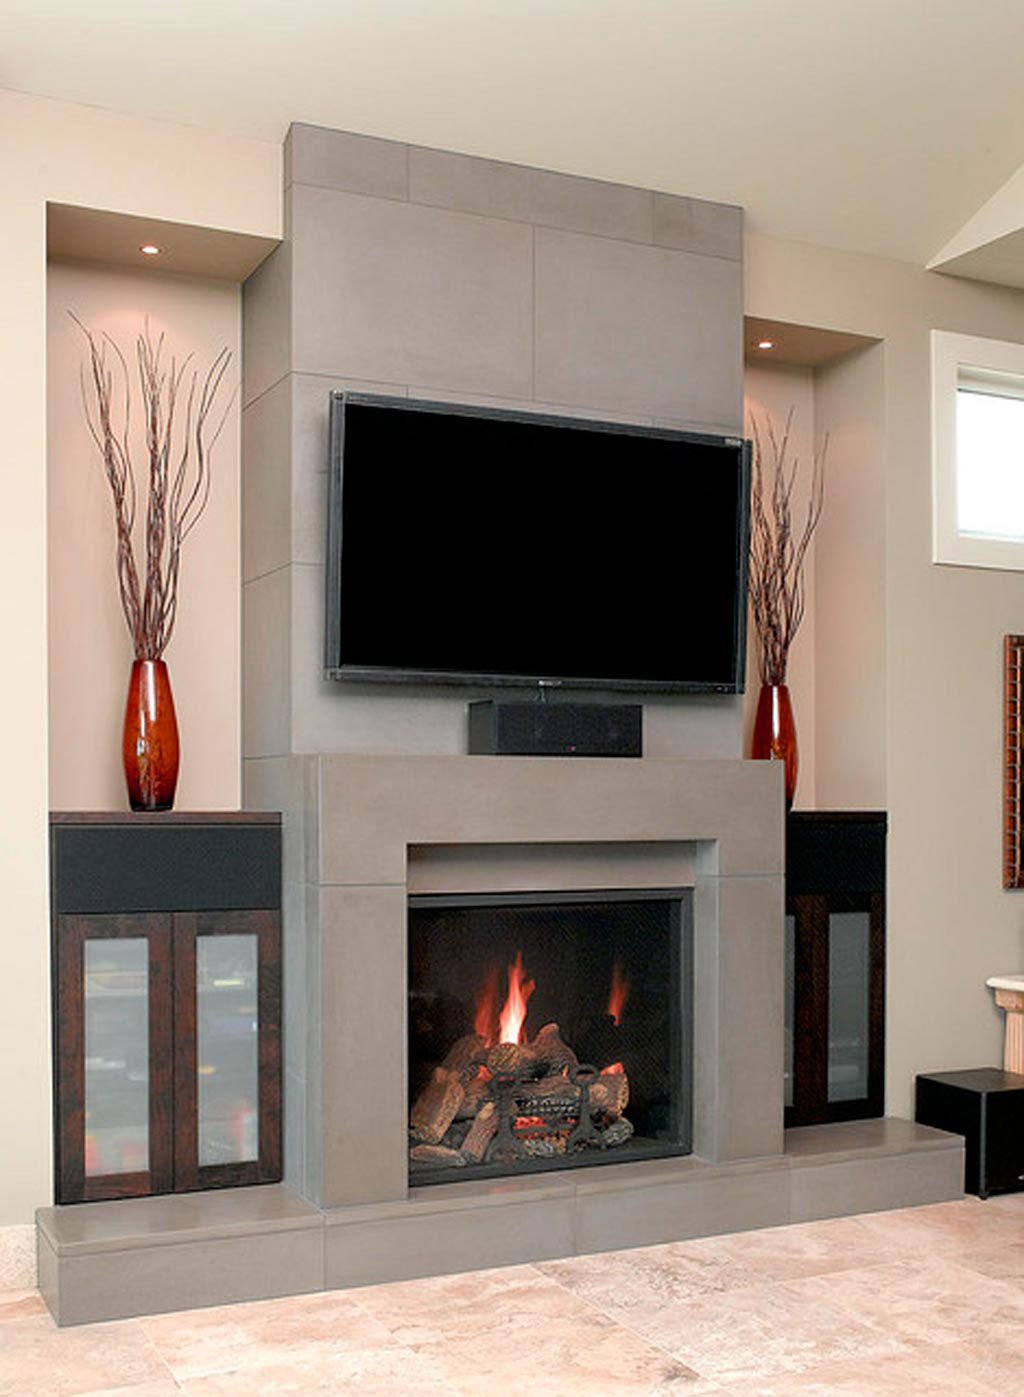
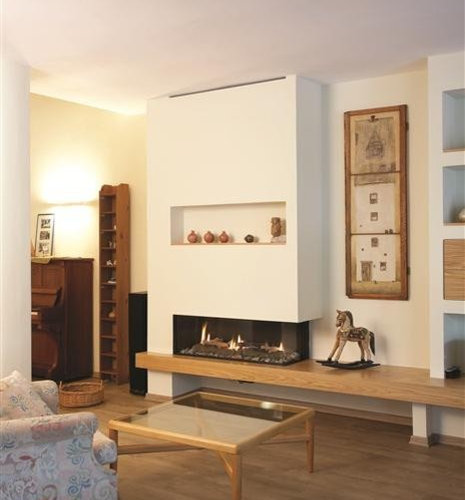
The layout and design phase allowed me to express my creativity by experimenting with various patterns. I contemplated a standard grid arrangement, but ultimately decided on a herringbone design for the surround and a corresponding subway tile layout for the hearth. Before applying any adhesive, I did a dry plan, putting tiles across the entire surface to visualise the finished design and make any necessary alterations. This helped me to plan where cut tiles would fall and maintain a symmetrical appearance. Taking images at this stage allowed me to keep my design once the installation process began, providing as a helpful reference tool.

Applying the adhesive and installing the tiles necessitated concentrated precision and prompt execution. To avoid early drying, I mixed tiny amounts of thin-set mortar and applied it with the necessary notched trowel. I worked in reasonable areas of roughly two square feet at a time, pressing each tile firmly into position with a small twisting motion to ensure adequate adherence. The tile spacers ensured that the grout lines remained uniform throughout the job. The corners and edges need additional attention because they would catch the eye first. My precise measurements paid off, requiring only minor cuts around the firebox hole, resulting in clean lines that improved the overall look.
Grouting turned the appearance of separate tiles into a coherent feature. I chose a light grey grout that went well with both the tiles and the colour palette in my room. After allowing the adhesive to set for 24 hours, I mixed the grout to a peanut butter-like consistency and applied it diagonally across the tile surface using a rubber float. I worked the grout into all of the joints thoroughly and removed any excess with a float held at a steep angle. Timing the cleaning operation was crucial; wait until the grout had hazed over before wiping with a damp sponge. This patience resulted in clean, regular grout lines that lacked the dreaded “washed-out” appearance.
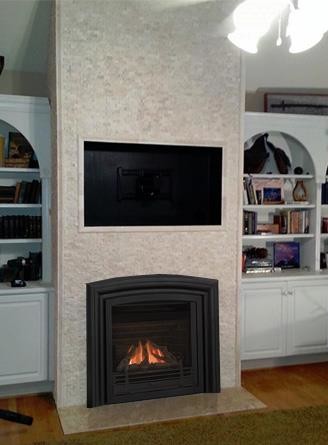
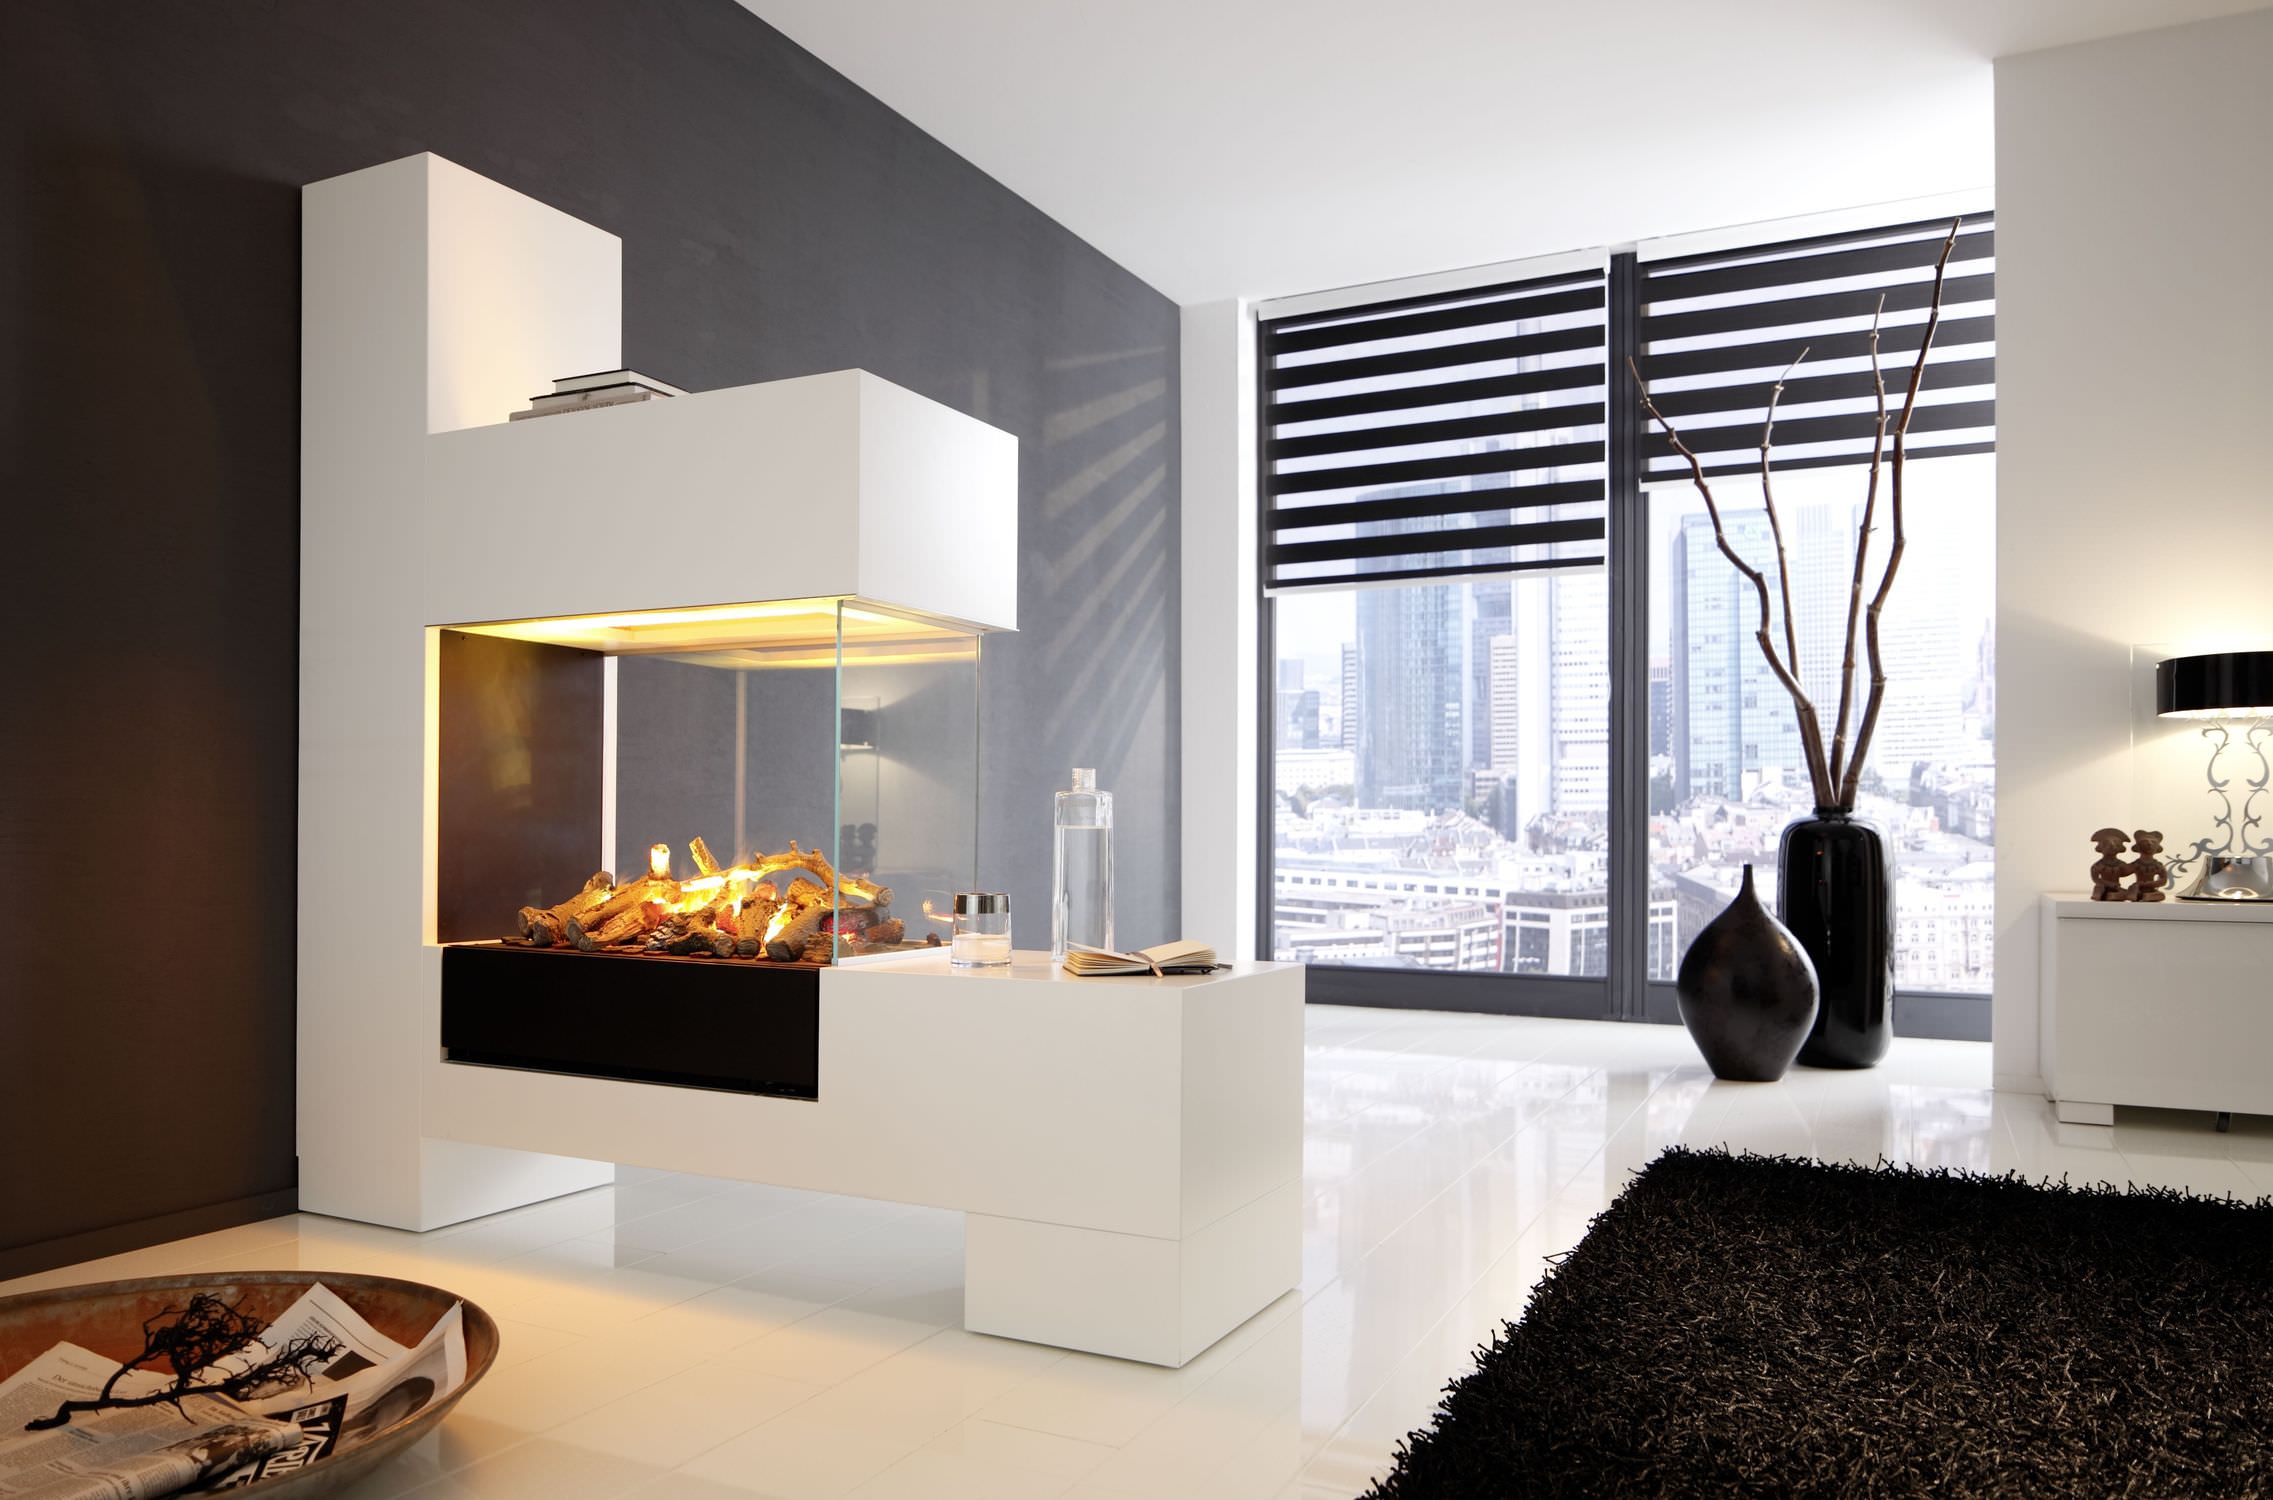
Applying sealant and finishing touches transformed my fireplace from a basic makeover to a focal point. After three days of curing the grout, I added a high-quality sealer to preserve it from stains and moisture. The change proceeded with the addition of a handcrafted wood mantel stained in a dark walnut finish that contrasted well with the light-colored tiling. I carefully caulked the edges where the tile touched the wall and the firebox to ensure seamless transitions. New matte black fireplace doors finished the look, providing both utilitarian protection and a contemporary flair that grounded the overall aesthetic of the space.
The finished fireplace has become the centre focus of our living area, significantly boosting both the visual appeal and value of our property. Friends are often surprised to find that I performed this project on my own, and they frequently seek advise for their own repairs. Aside from the obvious outcomes, this project taught me vital lessons about patience, problem-solving, and the gratification that comes from creating something with my own hands. What started off as a cost-effective alternative to hiring specialists turned into a genuinely fulfilling experience that inspired my interest in house remodelling. Other obsolete aspects in my home are now viewed as opportunities for creative expression rather than defects.
How long did the fireplace refacing project take to complete?
The entire endeavour lasted about two weekends, with preparation and planning taking place on weekday evenings. The first weekend was spent on demolition and substrate preparation, with the second weekend dedicated to tile installation, grouting, and finishing touches. The most time-consuming components were the precise tile placement and the wait for materials to dry properly between steps. I learnt that hurrying any phase resulted in blunders, therefore patience was crucial. In retrospect, I’m glad I set aside additional time for unexpected obstacles.
What was the estimated cost of your DIY fireplace renovation?
My entire expenditure was around $650, which included all materials and tool rentals. The porcelain tiles were the most expensive, costing around $300, followed by the new fireplace doors for $150. The remaining funds went towards glue, grout, sealant, backer board, and other miscellaneous supplies. Professional rates for similar work ranged between $1,500 and $4,000. The money savings were significant, but I truly believe that my personal investment of time and effort resulted in greater attention to detail than some contractors could have delivered.

Were there any serious issues during the renovation process?
The most important challenge came during demolition, when I discovered water damage under many tiles near the firebox. This necessitated extra repair and waterproofing before beginning with the new installation. Another unanticipated challenge occurred from the original hearth measurements, which were slightly uneven and need imaginative alterations to retain symmetry. Finally, I initially chose a grout colour that was far too light, revealing every speck of ash and soot, prompting a return trip to replace it for a more practical medium grey tone.
What skills or experience should a person have before starting a fireplace refacing project?
While prior tiling skill is obviously beneficial, I started this job as a beginner with only basic DIY knowledge. The necessary prerequisites include proficiency with hand tools, patience for meticulous work, and a willingness to extensively research techniques before beginning. Tiling requires a lot of kneeling, bending, and lifting, therefore physical stamina is also important. The capacity to visualise spatial relationships is extremely useful for layout planning. Most importantly, acknowledging that mistakes will occur and being willing to problem solve creatively serves as the foundation for success, regardless of experience level.
How did you make sure the refurbishment was safe for an active fireplace?
Safety was my top priority during this project. I checked local building codes to ensure that the materials I chose were suitable for use with fireplaces, paying special attention to heat resistance ratings for both tiles and adhesives. I kept the proper clearances around the firebox opening and used heat-resistant materials. The original firebox remained unmodified since altering it would have needed professional knowledge. Following completion, I conducted a controlled test burn, beginning with a tiny fire and progressively increasing its size to monitor heat dispersion and verify no problems arose.
How has the refaced fireplace fared over time with regular use?
After several years of continuous winter use, my refaced fireplace has held up quite well. The sealed grout lines have withstood soot staining, necessitating only occasional cleaning with a specialised stone cleaner. One little tile developed a hairline crack during the second winter, most likely owing to thermal expansion, but it is still firmly attached and scarcely apparent. The hearth tiles have proven extremely resistant to dropped fireplace items and logs. Overall, the high-quality materials and thorough installation have resulted in a long-lasting enhancement that continues to receive accolades from visitors and gives me pleasure with each use.
A long gas fireplace Long Gas Fireplaces Modern Favorite Places & Spaces

Modern Gas Fireplaces

Under a dark stained pergola, a white fireplace is fixed over white brick firewood storage

Gas fireplace makeover with tiny stone facing – Contemporary – Living Room – Richmond – by
Best Modern Fireplace Designs and Ideas
Related Posts: