Making your own fireplace screen allows you to customize both style and function while saving money. Start by measuring your fireplace opening to determine the screen’s necessary dimensions. Consider using common materials like welded steel rods, wrought iron, or tempered glass for the main panel. A simple rectangular design with hinged panels offers easy access while containing sparks. Sketch your design on paper first, accounting for proper clearance from the firebox. Basic tools like a metal cutter, welding equipment, or glass-cutting tools may be needed depending on your material choice. Always prioritize fire-resistant materials that can withstand high temperatures.
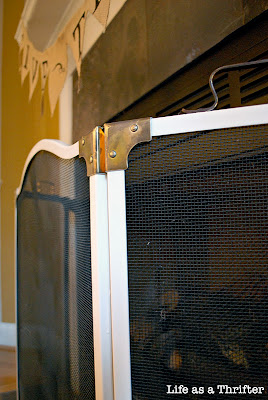
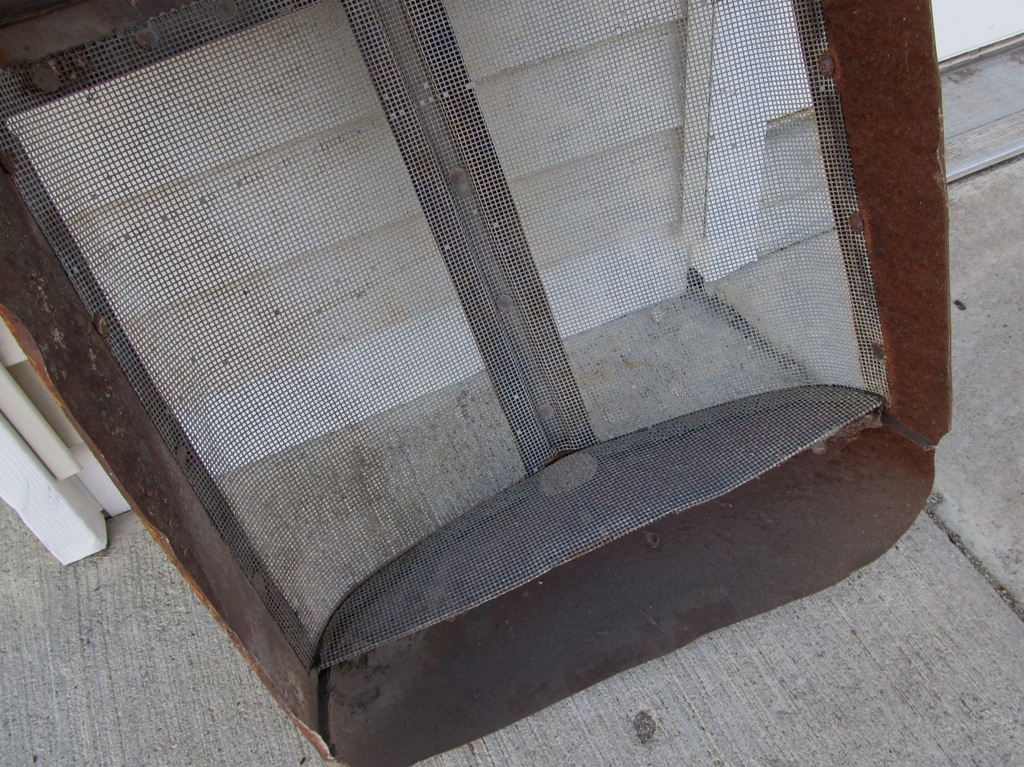
For a metal grid screen, steel rods provide durability and classic appeal. Cut rods to size using a hacksaw or angle grinder, wearing protective gear. Arrange the vertical and horizontal rods in your desired pattern—common grids use 2-4 inch spacing between bars. Weld the intersections securely or use high-temperature epoxy for a non-welded option. Finish the frame with black high-heat spray paint to prevent rusting. Hinge multiple panels together for folding functionality, or create a single stationary panel. Add handles made from heat-resistant materials for easy positioning. This straightforward approach yields a functional screen with industrial charm.

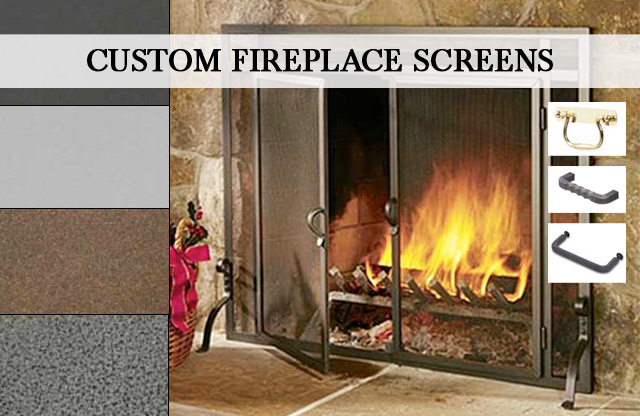
Glass fireplace screens offer better visibility of flames while providing protection. Use tempered glass panels cut to your specified dimensions by a professional glass shop. Construct a metal frame from flat bar stock to hold the glass securely. Drill ventilation holes in the frame’s lower section to allow airflow. Secure the glass with high-temperature silicone and metal clips spaced evenly around the perimeter. Consider adding decorative metal cutouts along the frame’s edges for visual interest. Glass screens require regular cleaning to maintain clarity but offer superior spark containment. Always handle glass panels carefully during construction and installation.
Wooden frames can complement certain fireplace styles when designed properly. Use hardwoods like oak or maple rather than softwoods that might warp from heat. Keep all wood components at least 12 inches from the firebox opening. Construct an outer frame to hold metal mesh or glass inserts rather than using solid wood panels. Treat the wood with fire-retardant sealant before assembly. Add metal heat shields along the interior-facing edges for extra protection. This hybrid approach blends wood’s warmth with necessary fire safety. Avoid ornate carvings that could collect flammable creosote over time.

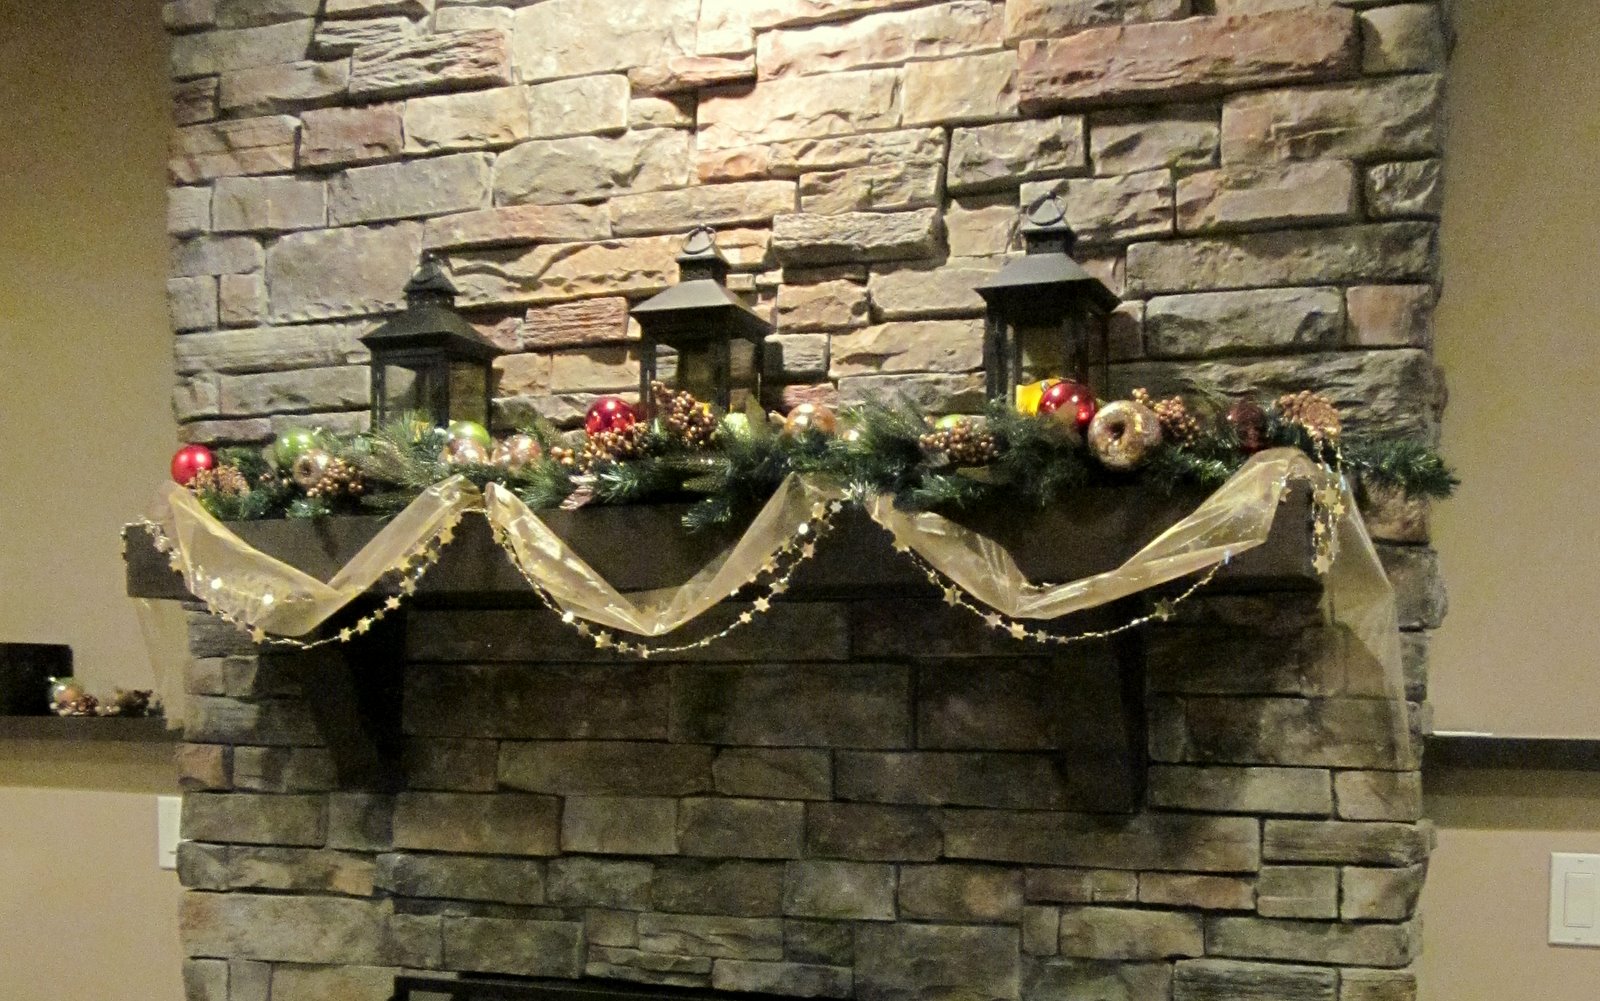
Decorative elements personalize your homemade screen without compromising safety. Metal cutouts of leaves, geometric shapes, or silhouettes can be welded or riveted to the frame. Consider powder-coating certain components in heat-resistant finishes for color accents. Stenciled designs using high-temperature paint add flair to plain metal surfaces. Incorporate your screen into the room’s decor by echoing other metal finishes from light fixtures or hardware. For seasonal variety, make interchangeable decorative panels that attach to the basic screen frame. These creative touches make your screen a design feature rather than just a practical item.
Proper installation ensures your screen functions as intended. Freestanding screens need weighted bases to prevent tipping, or can be secured to the hearth with removable brackets. Hinged designs should swing outward smoothly without obstructing traffic paths. Check that the screen’s height adequately contains sparks while allowing sufficient air flow for combustion. Test the screen’s stability by gently pushing from different angles before regular use. Position the screen close enough to be effective but not so near that it overheats. Well-placed handles or pulls make adjusting the screen’s position easy when tending the fire.

Safety considerations should guide every construction decision. All materials must withstand temperatures exceeding 500°F without warping or off-gassing. Maintain at least 1 inch clearance between the screen and fireplace opening for air circulation. Avoid sharp edges or protruding elements that could cause injury. Regularly inspect homemade screens for signs of heat damage or wear. Never leave a fire unattended even with a screen in place. Teach children about screen safety, emphasizing that it gets extremely hot. Following basic precautions ensures your DIY project provides both beauty and protection.
Maintenance keeps your screen looking good and working properly. Metal screens may need occasional touch-up painting with high-heat paint. Glass panels require cleaning with vinegar solutions to remove soot buildup. Check hinges and connections annually for looseness or corrosion. Wooden components might need resealing every few years depending on exposure to heat fluctuations. Store removable decorative elements properly when not in use to prevent damage. Address any scratches or dents promptly to maintain the screen’s structural integrity. Simple care extends your handmade screen’s lifespan significantly.

Cost comparisons show DIY screens offer significant savings. Pre-made decorative screens often cost 200−800, while homemade versions typically run 50−200 in materials. Repurposing old metal gates or architectural salvage can lower costs further. The ability to customize sizing avoids expensive custom-order fees from retailers. Investing in quality tools pays off if you plan to make multiple screens or other metal projects. Consider splitting material costs with neighbors for group projects. Even with purchasing some tools, the total often remains below retail prices for comparable quality screens.
Creative variations expand your design possibilities. Try curved or arched tops instead of standard rectangles for visual interest. Incorporate a small shelf for holding fireplace tools or decor items. Design a two-part screen with a lower solid panel and upper mesh section. Experiment with mixed materials like copper accents on a steel frame. Make seasonal versions—a lighter screen for summer decor storage, a heavier one for winter use. Build a folding screen that stores flat against the wall when not needed. The flexibility of DIY allows solutions you won’t find in stores. Let your room’s style and fireplace needs guide unique innovations.
A well-made DIY fireplace screen becomes both a practical tool and a point of pride. The project develops useful metalworking or construction skills applicable to other home improvements. Friends and family often appreciate handmade versions as thoughtful gifts. Your screen will reflect personal taste rather than mass-produced designs. The satisfaction of creating something functional and attractive lasts long after construction. Each time you use the fireplace, you’ll appreciate the custom touches only a homemade screen provides. With proper planning and safety consciousness, this project rewards effort with lasting quality and character.
Fireplace Screens: The #1 Decorative Fireplace Screen Store
Fireplace Screens
Fireplace Screen Suggestions Wanted
Hottest Fire Pit and Outdoor Fireplace Ideas and Pictures
Life as a Thrifter: A $5 Fireplace Screen Makeover
I really love the fireplace screen I found online last year.
FLEA MARKET: Fireplace screen fun
5 DIY Outdoor Sofas to Build for your Deck or Patio – The Handyman’s Daughter

It’s Written on the Wall: Check out these Clever and Unique Headboards You Can Make!
Related Posts: