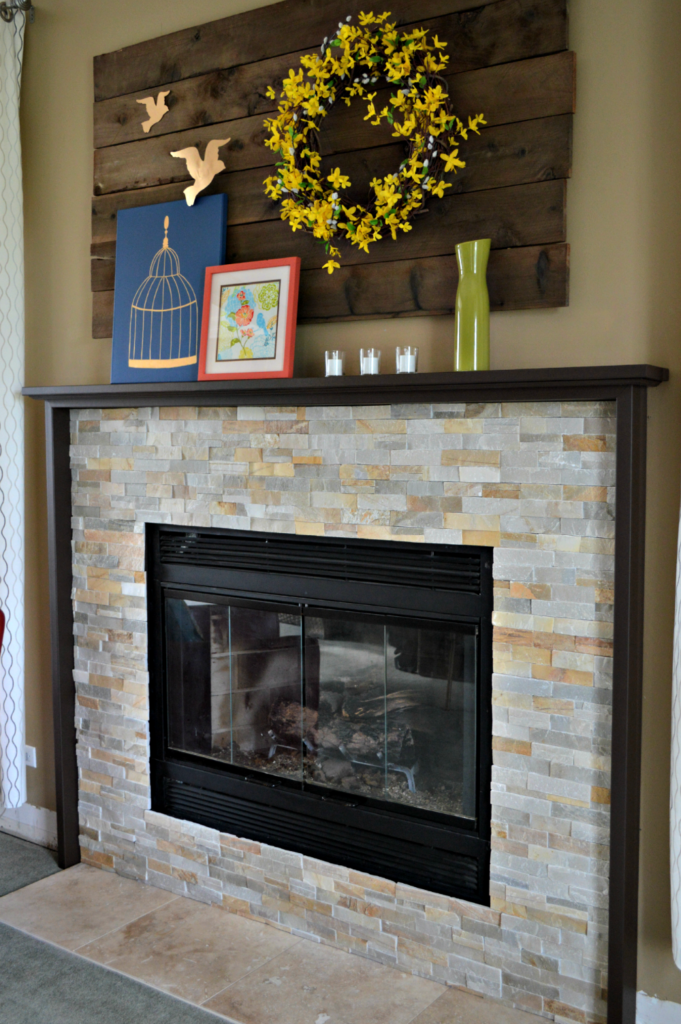
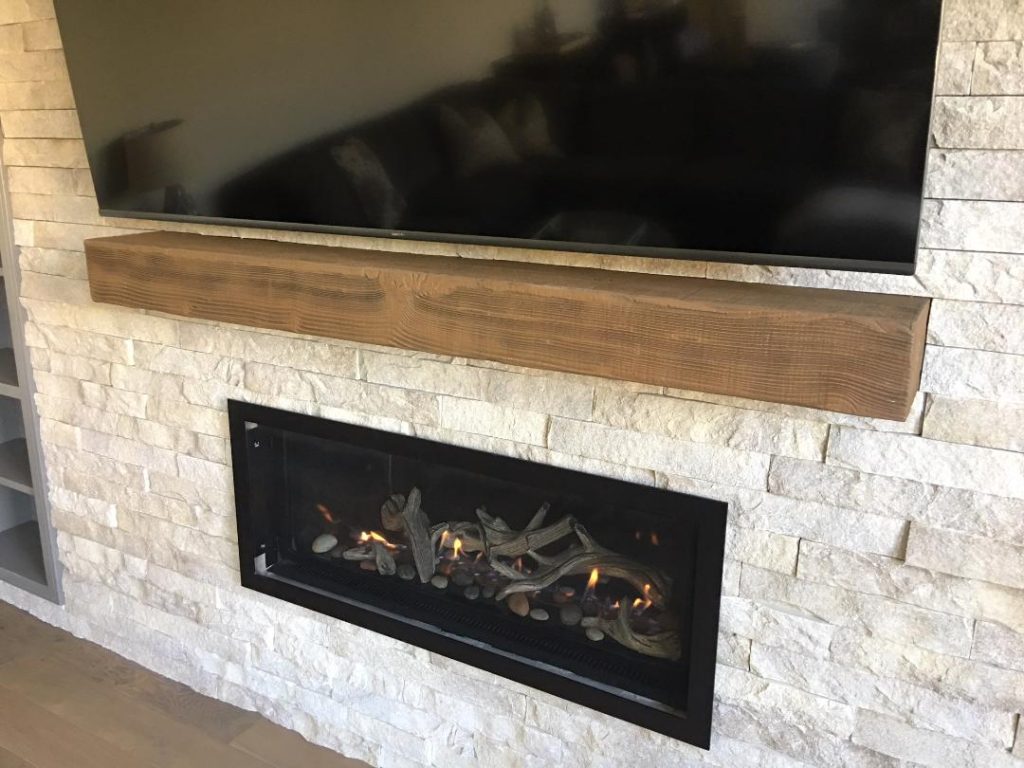
How to Build a Floating Fireplace Mantel
A floating fireplace mantel is a stylish and functional addition to any living space, offering a sleek and contemporary touch. Whether you’re aiming to enhance the look of your fireplace or add a practical shelf for décor and essentials, building one yourself can be a satisfying and cost-effective project. Let me guide you through the process, from planning and preparation to the final installation.

The Design of a Floating Mantel
Before diving into construction, it’s essential to understand what makes a floating mantel unique. Unlike traditional mantels, a floating mantel has no visible brackets or supports, giving it the illusion of hovering.
This design relies on hidden mounting systems, which must be sturdy enough to support the mantel’s weight and any objects you might place on it. Materials like wood, metal, or reclaimed timber are commonly used, with the choice depending on your desired aesthetic.
Key Features of Floating Mantels:
- Minimalistic design that suits modern and transitional styles.
- Customizable dimensions to fit your fireplace’s size.
- Functionality as a decorative and practical shelf.
Understanding these basics will help you visualize the final product and determine what materials and tools you’ll need for the job.

Gathering Tools, Materials, and Supplies
Every successful DIY project starts with thorough preparation. For a floating fireplace mantel, having the right tools and materials is non-negotiable.
Materials You’ll Need:
- A solid piece of wood (pine, oak, or reclaimed timber are popular choices).
- Wall-mounting bracket or floating shelf hardware.
- Wood screws and anchors.
- Sandpaper (medium and fine grit).
- Stain, paint, or wood sealer.
Tools Required:
- Measuring tape and pencil.
- Circular saw or miter saw.
- Drill and screwdriver.
- Level.
- Stud finder.
While shopping for supplies, consider the mantel’s size, thickness, and finish. A wider mantel will offer more surface space, but it will also weigh more, requiring additional support.

Measuring and Preparing the Space
Precision is key when installing a floating mantel. Begin by measuring your fireplace and the wall area where you plan to mount the mantel. A standard mantel height is usually 54 inches from the floor, but this can vary based on your fireplace’s size and the room’s proportions.
Steps to Measure and Mark:
- Locate the Wall Studs: Use a stud finder to locate the studs in your wall. Mark these with a pencil, as they’ll provide the foundation for your mantel’s support.
- Mark the Mantel Placement: Decide how high you want the mantel to sit and mark the top and bottom edges with a level. Ensure it’s perfectly horizontal.
- Account for Clearance: If your fireplace is wood-burning, make sure the mantel complies with local fire code regulations, which typically require a certain distance between the mantel and the fireplace opening.
Once your space is marked and measured, you’re ready to move on to crafting the mantel itself.

Building the Mantel
This is where the project gets hands-on! Crafting the mantel involves cutting and finishing the wood, making it sturdy and visually appealing.
Steps to Build Your Mantel:
- Cut the Wood: Use a saw to cut the wood to your desired dimensions. For a standard floating mantel, aim for a width of 6–8 inches and a depth of 10–12 inches.
- Sand the Surface: Smooth the edges and surfaces using medium-grit sandpaper, then finish with fine-grit sandpaper for a polished look.
- Finish the Wood: Apply a stain, paint, or wood sealer based on your design preferences. Staining brings out the wood grain for a rustic look, while paint offers a modern, sleek finish. Allow the finish to dry completely.
- Attach the Bracket: Secure the floating shelf hardware or bracket to the back of the mantel, ensuring it aligns with the wall studs.
Take your time during this step to avoid mistakes that could compromise the mantel’s appearance or stability.

Installing the Mantel
With your mantel built and ready, it’s time to mount it on the wall. Installation requires precision to ensure the mantel is level and securely attached.
Steps for Installation:
- Secure the Brackets to the Wall: Drill into the wall studs at the marked locations, attaching the mounting bracket. Use wood screws or anchors to ensure it’s firmly in place.
- Slide the Mantel Onto the Bracket: Once the bracket is secure, slide the mantel onto it. Depending on the hardware you’ve chosen, this step may involve tightening screws or other fasteners to hold the mantel in place.
- Check for Stability: Test the mantel by applying gentle pressure. It should remain steady without wobbling or shifting.
- Make Adjustments: If the mantel isn’t level, adjust it using a level and retighten the hardware as needed.
This step can be a bit challenging, especially if your mantel is heavy, so having a second pair of hands to help can make the process smoother.

Adding Finishing Touches
The installation isn’t complete until you’ve added your personal touch. Decorating the mantel enhances its aesthetic appeal and ties it into your room’s décor.
Ideas for Styling Your Mantel:
- Seasonal Décor: Change up the decorations with the seasons—candles and pumpkins in the fall, garlands, and lights during the holidays.
- Art and Frames: Display framed photos, artwork, or decorative mirrors for a sophisticated look.
- Plants and Vases: Greenery adds life and color to the space. Consider small potted plants or fresh-cut flowers.
In addition to styling, don’t forget to clean up any stray dust or marks left behind from the installation process. A polished mantel with thoughtful décor will be the centerpiece of your room.

Related Posts: