Replacing a gas fireplace thermocouple is a manageable DIY project that restores safety and functionality. The thermocouple is a critical safety device that detects the pilot light’s heat and keeps the gas valve open. When it fails, the fireplace won’t stay lit or may struggle to ignite. Start by turning off the gas supply at the shutoff valve and allowing the unit to cool completely. Gather necessary tools: an adjustable wrench, screwdriver, and a replacement thermocouple matching your fireplace model. Taking photos before disassembly helps with proper reassembly later.
Locating the thermocouple is the first hands-on step. It’s typically mounted near the pilot assembly, with a thin copper tube connecting to the gas valve. Remove the fireplace’s access panel or decorative front to expose the burner compartment. The thermocouple’s probe sits directly in the pilot flame’s path, while the other end connects to a bracket on the gas valve. Note how the existing thermocouple routes through the burner compartment to ensure proper positioning of the new one. Some models require removing the pilot assembly for better access to the mounting nut.

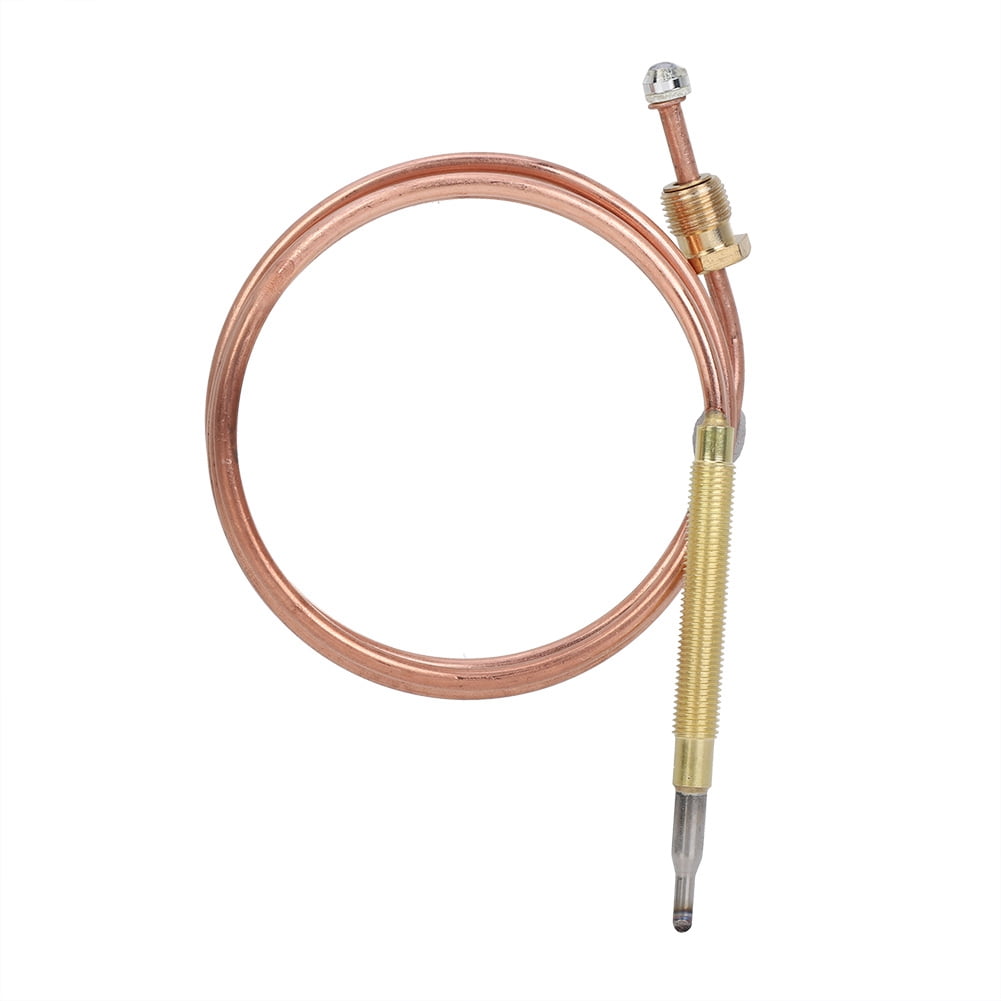
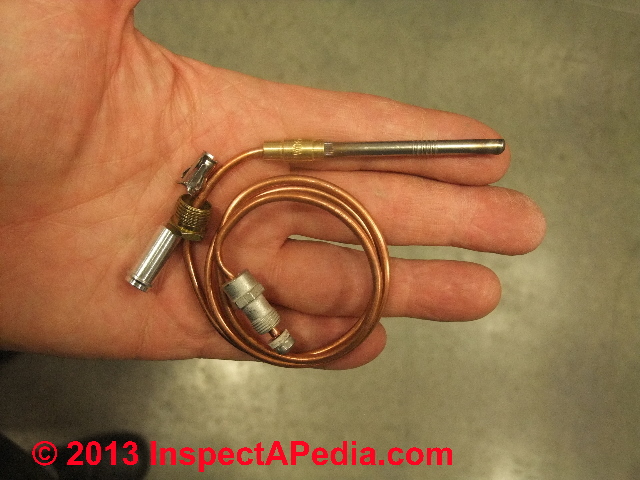
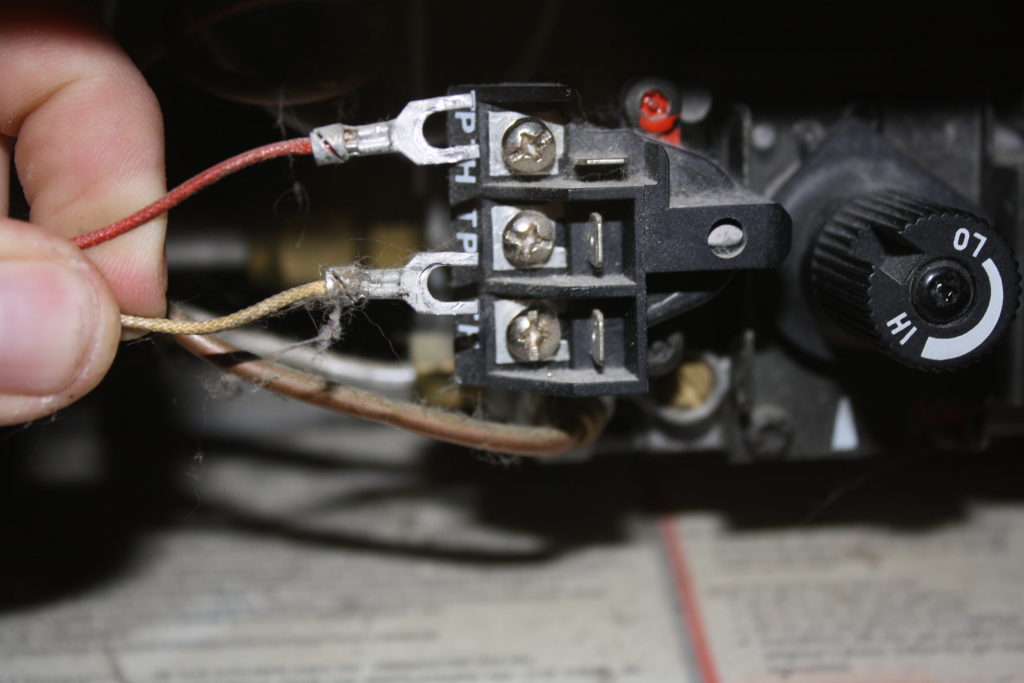
Removing the old thermocouple requires careful handling. Loosen the copper tube’s connection at the gas valve with an open-end wrench—typically a 7/16” or 1/2” nut. Avoid twisting the tube itself to prevent damage. Detach the mounting bracket or clip securing the thermocouple near the pilot. Gently pull the probe out from its holder, taking care not to bend surrounding components. Compare the old and new thermocouples to confirm identical length and fitting types before installation. Clean the pilot area with compressed air to remove any debris that could affect flame detection.

Installing the new thermocouple reverses the removal process. Insert the probe into the pilot assembly’s holder, ensuring proper flame contact position. Route the copper tube exactly as the old one ran, avoiding sharp bends that could kink it. Hand-tighten the gas valve connection first, then give a quarter turn with the wrench—over-tightening can damage the fitting. Secure the mounting bracket or clip to prevent vibration-related issues. Before reassembling the fireplace, test the installation by briefly turning on the gas and verifying the pilot flame engulfs the thermocouple tip properly.

Final testing ensures safe operation. After reassembling all components, turn on the gas and light the pilot according to manufacturer instructions. Hold the control knob in for 30-60 seconds to allow the thermocouple to heat up before releasing. The pilot should stay lit independently—if it extinguishes, recheck all connections and probe positioning. Monitor the fireplace through several heating cycles to confirm consistent performance. While thermocouple replacement is generally straightforward, consult a professional if the fireplace continues malfunctioning, as this could indicate other gas system issues requiring expert attention. Regular thermocouple inspections prevent unexpected failures during cold weather.
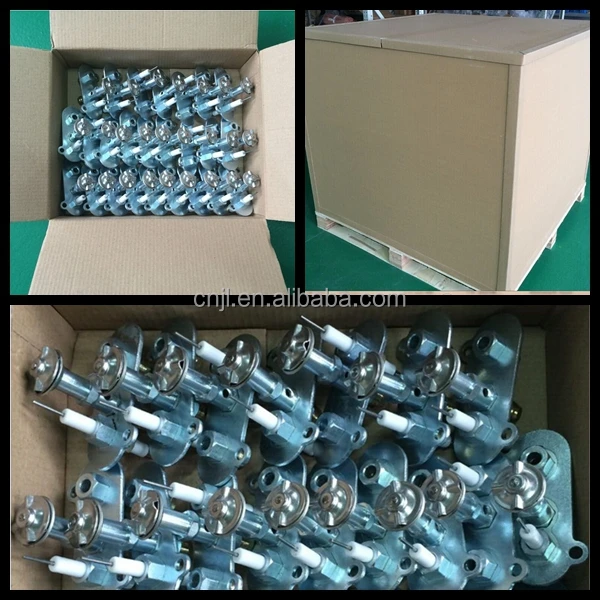
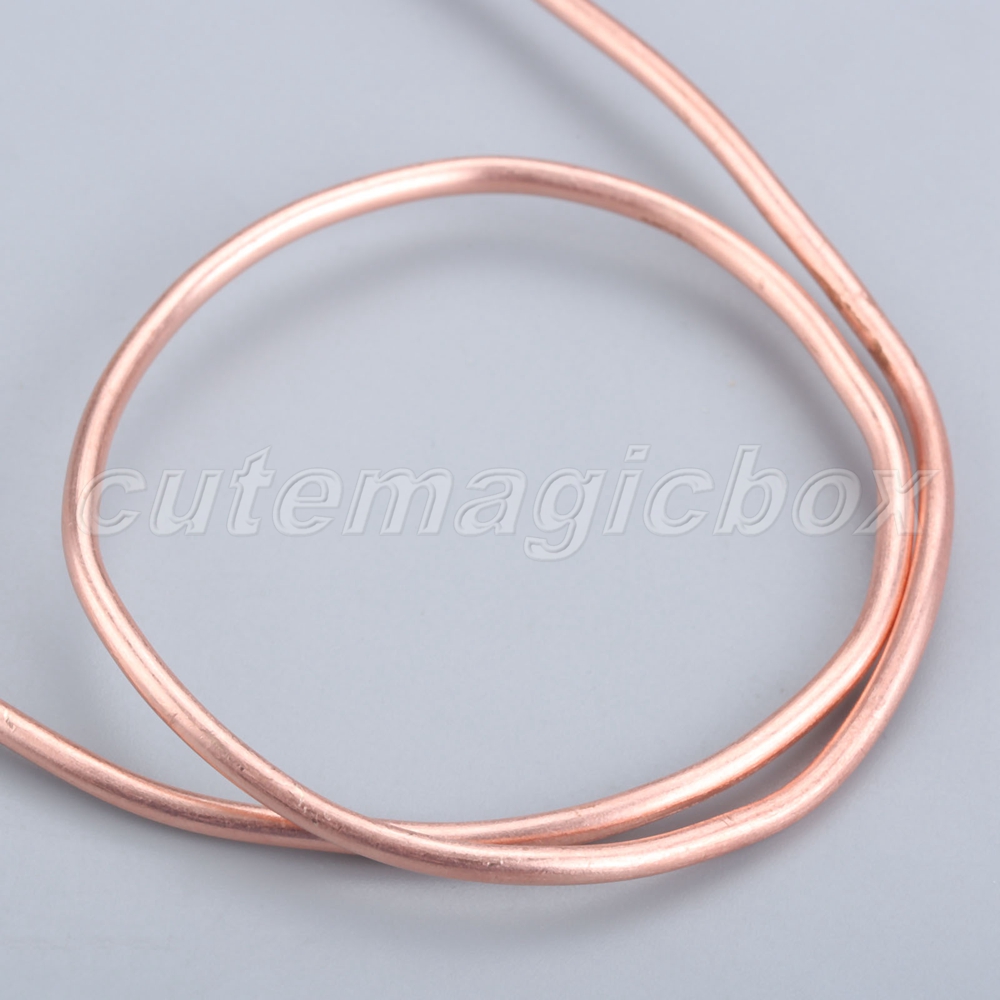
Ventless Gas Fireplace/gas Fireplace Thermocouple/thermocouple For Gas Fireplace – Buy Gas
Gas Flame Thermocouple Sensors Troubleshooting & Replacement
How to Test your Thermopile – www.mygasfireplacerepair.com
1x Universal Gas thermocouple 600mm Fire Pit Fireplace Heater Replacement Parts eBay
Which Is The Best Lennox Gas Fireplace Replacement Logs – Home Gadgets

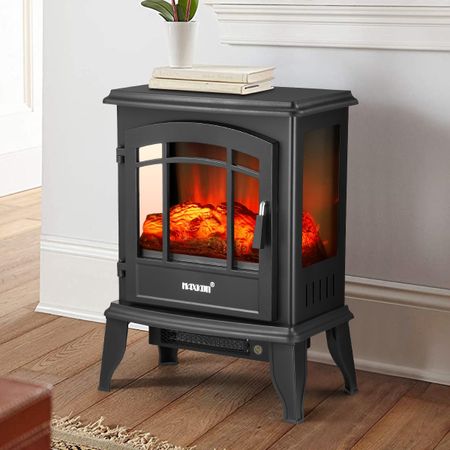
16 Inch Panoramic Electric Fireplace Heater Stove 1800W Portable Flame Thermostat Crazy Sales
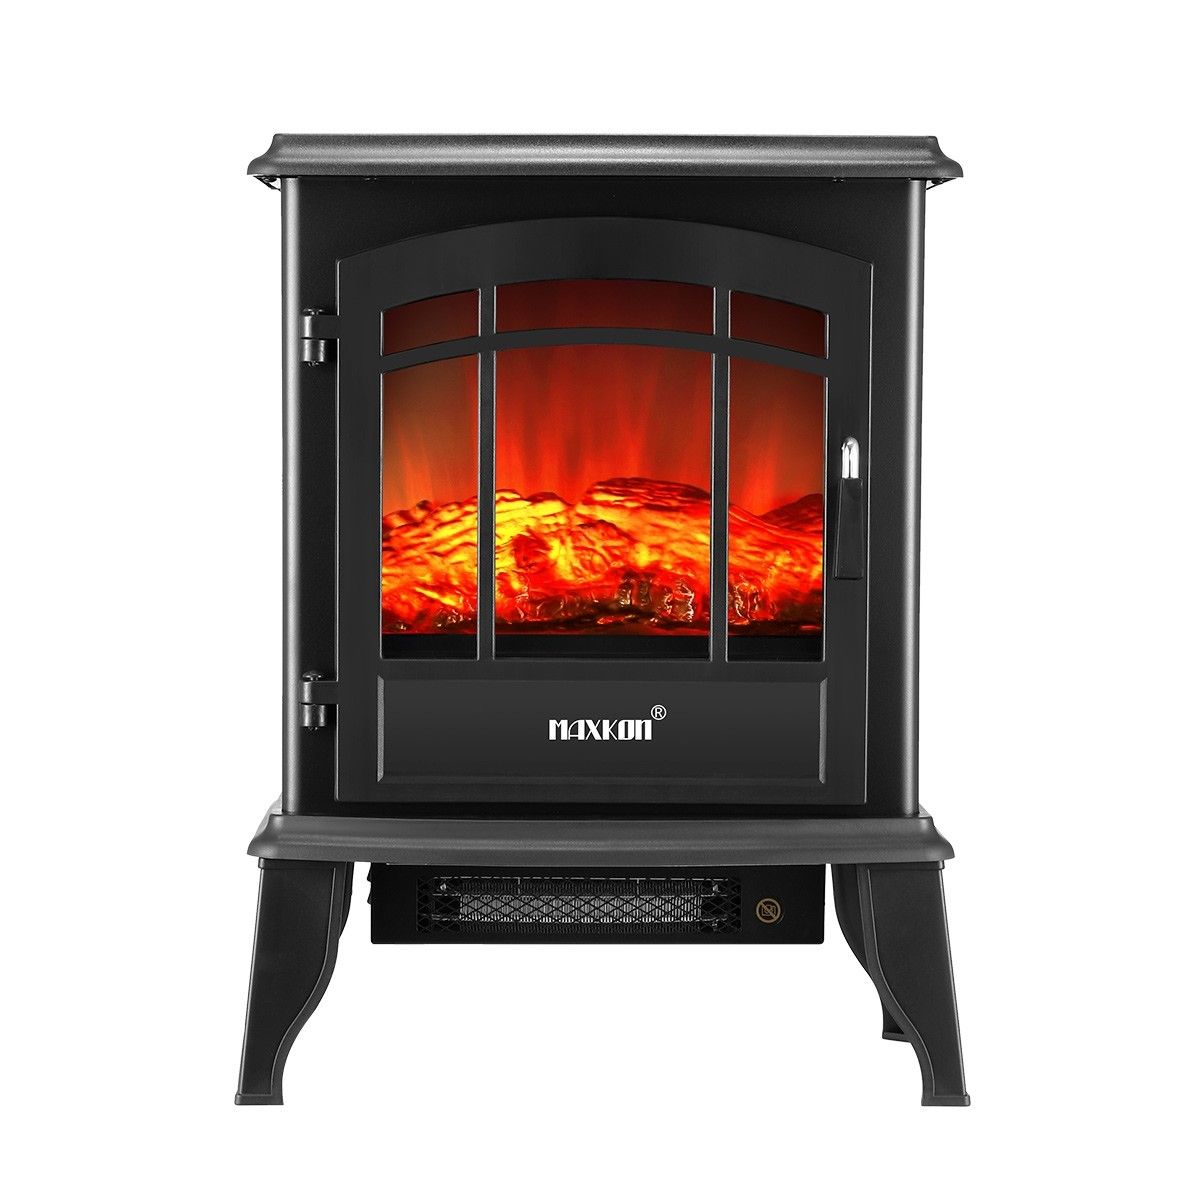
16 Inch Panoramic Electric Fireplace Heater Stove 1800W Portable Flame Thermostat Crazy Sales
Related Posts: