Fireplace mantel molding adds character and elegance to any hearth, transforming a simple fireplace into a stunning focal point. Moldings come in various styles, from classic crown to intricate dentil designs, allowing homeowners to customize their mantel’s appearance. Choosing the right molding depends on the room’s architectural style, the mantel’s material, and personal preferences. Proper installation ensures a polished look while enhancing the fireplace’s visual appeal. Whether renovating an existing mantel or building a new one, understanding molding options and techniques is essential for achieving professional results.
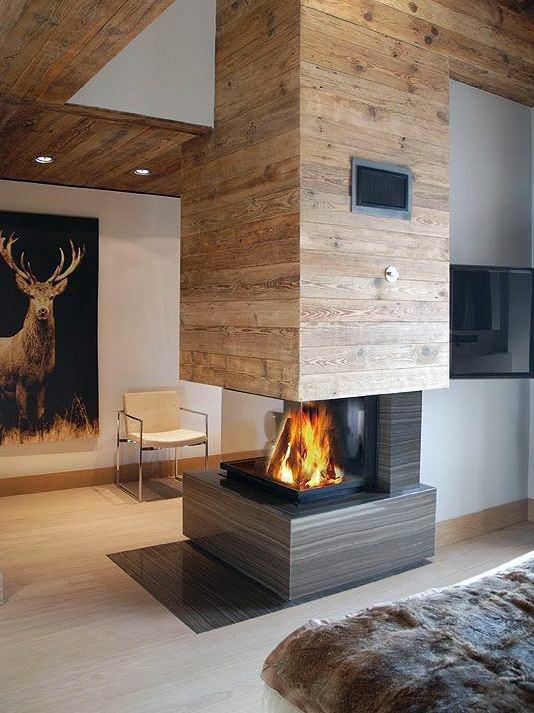
The first step in selecting mantel molding is determining the desired style. Traditional homes often feature ornate moldings with detailed carvings, while modern spaces benefit from clean, simple lines. Crown molding adds height and grandeur, while baseboard-style moldings create a more understated look. Consider the room’s existing trim and architectural details to maintain consistency. For a cohesive design, match the mantel molding to other woodwork in the space. Sample different profiles in the room before making a final decision, as lighting and scale can affect how the molding appears once installed.

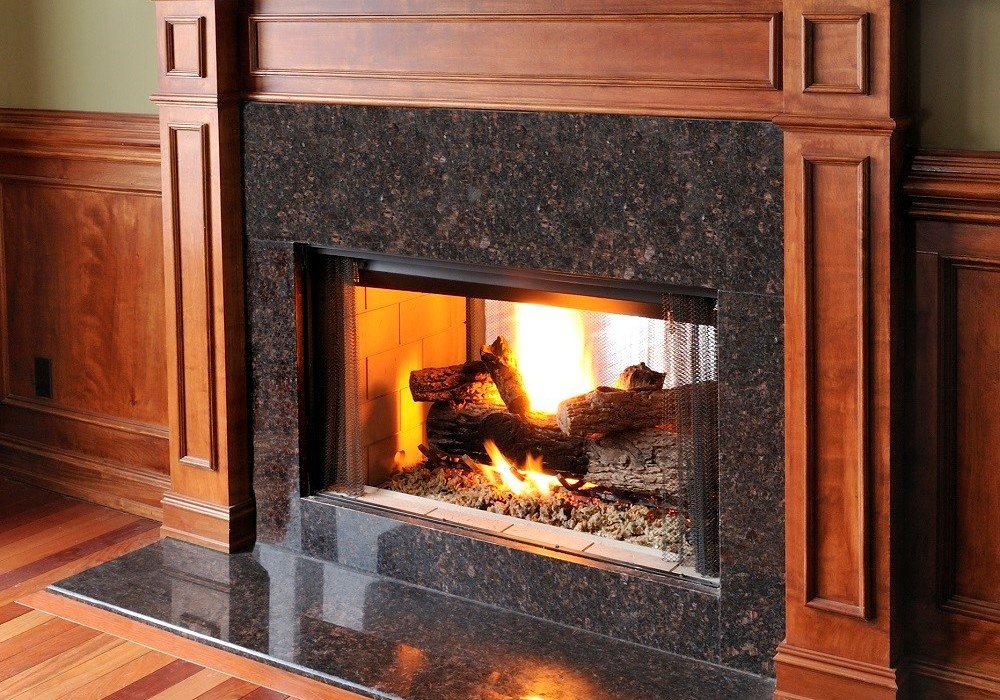
Material choice significantly impacts the molding’s durability and appearance. Wood moldings, such as pine or oak, offer warmth and can be stained or painted to match any decor. MDF (medium-density fiberboard) is a budget-friendly alternative that paints well but lacks wood’s natural grain. Polyurethane moldings are lightweight, resistant to moisture, and ideal for high-humidity areas. For a high-end look, consider plaster moldings, which allow for intricate custom designs. Each material has unique installation requirements, so factor in tools and techniques needed before purchasing.
Proper measurements are crucial for a seamless mantel molding installation. Begin by measuring the mantel’s length, width, and depth to determine how much molding is needed. Account for mitered corners, which require precise 45-degree cuts for a tight fit. Use a miter saw for clean, accurate angles, and dry-fit pieces before securing them. If the mantel has uneven surfaces, shims may be necessary to ensure the molding sits flush. Marking cut lines with a pencil and double-checking dimensions helps avoid costly mistakes. Taking time with measurements ensures a professional finish.
Installation techniques vary depending on the molding type and material. For wood or MDF moldings, use a high-quality construction adhesive and finishing nails for a secure hold. Pre-drilling holes prevents splitting, especially in hardwoods. Polyurethane moldings often require adhesive only, as nails can crack the material. For plaster moldings, professional installation may be necessary due to their weight and fragility. Always follow manufacturer guidelines for the best results. A level ensures the molding is straight, and caulk fills any small gaps for a seamless appearance.
Finishing touches enhance the molding’s visual impact. Sanding wood moldings smooths rough edges before staining or painting. Primer is essential for MDF or polyurethane to ensure proper paint adhesion. For a distressed or antique look, techniques like glazing or dry brushing add depth. Caulking along seams creates clean lines, while wood filler conceals nail holes. The final finish should complement the mantel and surrounding decor. Protective topcoats, such as polyurethane for wood or clear sealant for paint, increase durability and ease of maintenance.
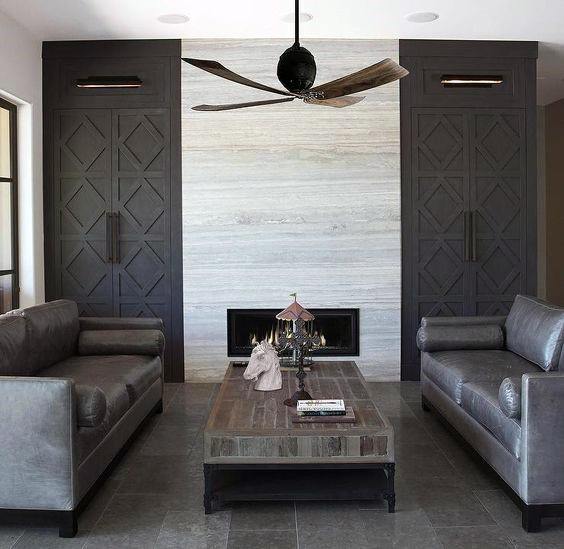
Incorporating lighting around mantel molding elevates the fireplace’s ambiance. Recessed LED strips or sconces can highlight the molding’s details while providing functional illumination. Wiring should be planned before installation to conceal cords safely. For a non-permanent option, battery-operated puck lights offer flexibility. Lighting placement should accentuate the molding without overwhelming it. Dimmable fixtures allow adjustable brightness, creating the perfect mood for any occasion. A well-lit mantel becomes a striking centerpiece in the room.
Maintaining mantel molding preserves its beauty over time. Dust regularly with a soft cloth to prevent buildup in intricate designs. For painted moldings, touch up chips promptly to avoid moisture damage. Wood moldings may need occasional refinishing if the stain wears. Avoid harsh cleaners that can damage finishes, especially on delicate plaster or polyurethane. Inspect for loose pieces or cracks annually, repairing them to prevent further damage. Proper care ensures the molding remains an elegant feature for years.

Custom moldings offer unique design possibilities for those seeking a one-of-a-kind mantel. Skilled carvers can create bespoke patterns, from floral motifs to geometric shapes. For a DIY approach, layered moldings combine different profiles for added dimension. Salvaged architectural moldings add vintage charm, while laser-cut designs provide modern flair. Custom work requires precise planning but results in a truly personalized fireplace. Consulting a millwork specialist ensures the design aligns with structural and aesthetic goals.
A well-designed mantel molding enhances the entire room’s aesthetic. It frames the fireplace beautifully, drawing attention to its architectural significance. Whether opting for a simple trim or an elaborate carved design, the right molding elevates the space. Thoughtful material selection, precise installation, and careful finishing create a mantel that becomes the heart of the home. Investing time in planning and execution ensures a stunning result that adds value and style.
What type of molding is best for a traditional fireplace mantel?
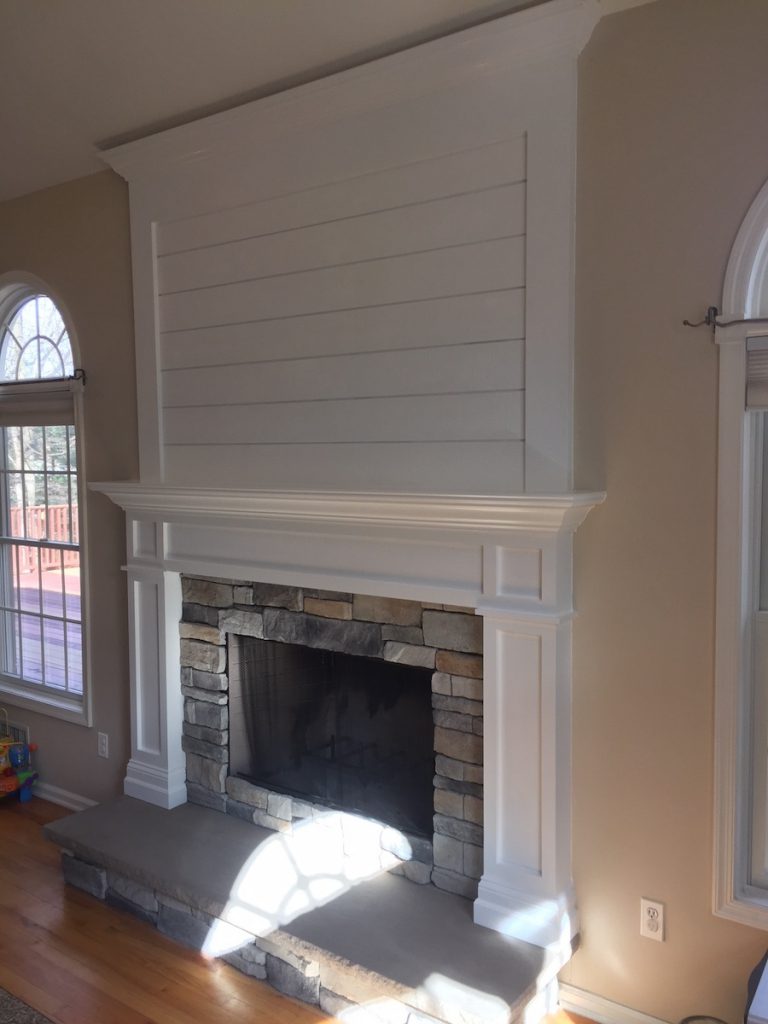
For a traditional mantel, ornate wood moldings like crown, dentil, or egg-and-dart profiles work best. Hardwoods such as oak or poplar are ideal for staining, while pine offers a cost-effective option for painting. These styles complement classic architecture with intricate details that enhance elegance. Ensure the molding scale matches the mantel’s proportions—larger mantels suit wider, more elaborate moldings. Pairing with complementary trim, such as rosettes or plinth blocks, completes the traditional look.
Can I install molding on a stone or brick fireplace?
Yes, but installation requires special techniques. Use construction adhesive rated for masonry surfaces, along with masonry screws or anchors for added stability. A wooden backer board may be needed to provide a secure base for the molding. Ensure the adhesive cures fully before applying any finishing touches. For uneven surfaces, flexible polyurethane moldings conform better than rigid wood. Always check that the molding material can withstand heat exposure from the fireplace.
How do I choose the right size molding for my mantel?
The molding should be proportional to the mantel’s dimensions. A general rule is to select a width that’s 1/6 to 1/8 of the mantel’s height. For example, a 48-inch-tall mantel pairs well with 3- to 6-inch-wide moldings. Larger rooms can handle bolder profiles, while smaller spaces benefit from slimmer designs. Layering multiple moldings adds depth without overwhelming the space. Test different sizes by holding samples against the mantel before purchasing.
What’s the best way to paint mantel molding for a smooth finish?
Start by sanding the molding lightly to remove imperfections, then apply a high-quality primer. Use a brush with synthetic bristles for oil-based paint or a high-density foam roller for latex. Thin coats prevent drips, and sanding between layers ensures smoothness. Semi-gloss or high-gloss paint highlights details and is easier to clean. For intricate carvings, a small detail brush helps reach tight spots. Allow proper drying time before handling to avoid smudges.

Can I add molding to a preexisting mantel?
Absolutely. Ensure the existing mantel is structurally sound and clean before attaching new molding. Remove any old trim or adhesive residue for better adhesion. Use construction adhesive and finishing nails for a secure fit, clamping pieces until the glue dries. If the mantel has an unusual shape, flexible molding or custom-cut pieces may be necessary. This upgrade can completely transform an outdated mantel without full replacement.
How do I repair damaged mantel molding?
Small cracks or chips can be filled with wood putty or epoxy, then sanded smooth. For broken sections, remove the damaged piece and replace it with a matching profile. Repaint or refinish the repaired area to blend with the existing finish. If the damage is extensive, consider replacing the entire molding for a uniform look. Regular maintenance prevents minor issues from becoming major repairs. Always address water damage promptly to avoid warping or rot.

Related Posts: