A DIY fireplace surround can dramatically update your living space without requiring professional skills or expensive materials. Whether you have a traditional wood-burning fireplace or a modern electric unit, creating a custom surround adds character and value to your home. Many projects use readily available materials like wood, tile, or stone veneer that are easy to work with using basic tools. The key to success lies in careful planning, accurate measurements, and choosing a design that complements your existing decor. Even beginners can achieve impressive results with simple techniques and step-by-step guidance.
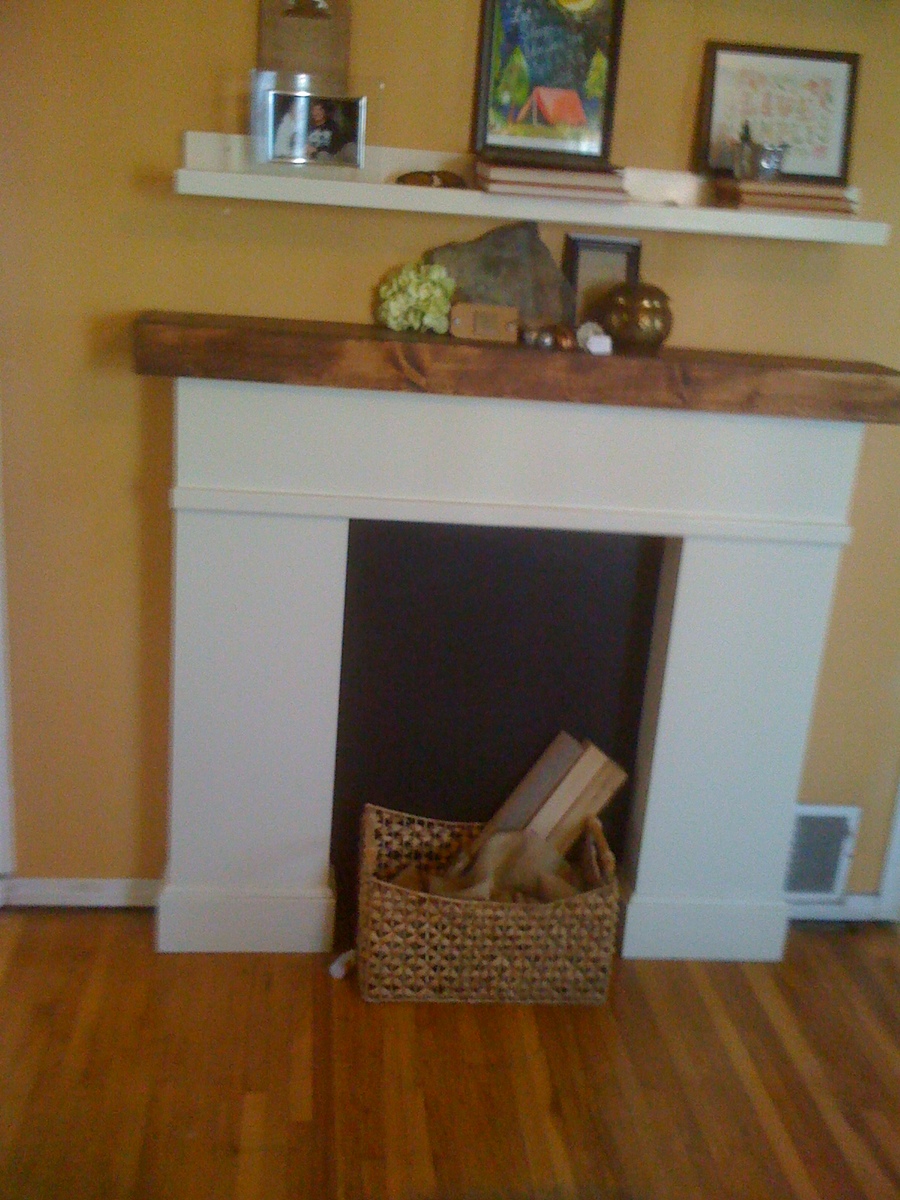
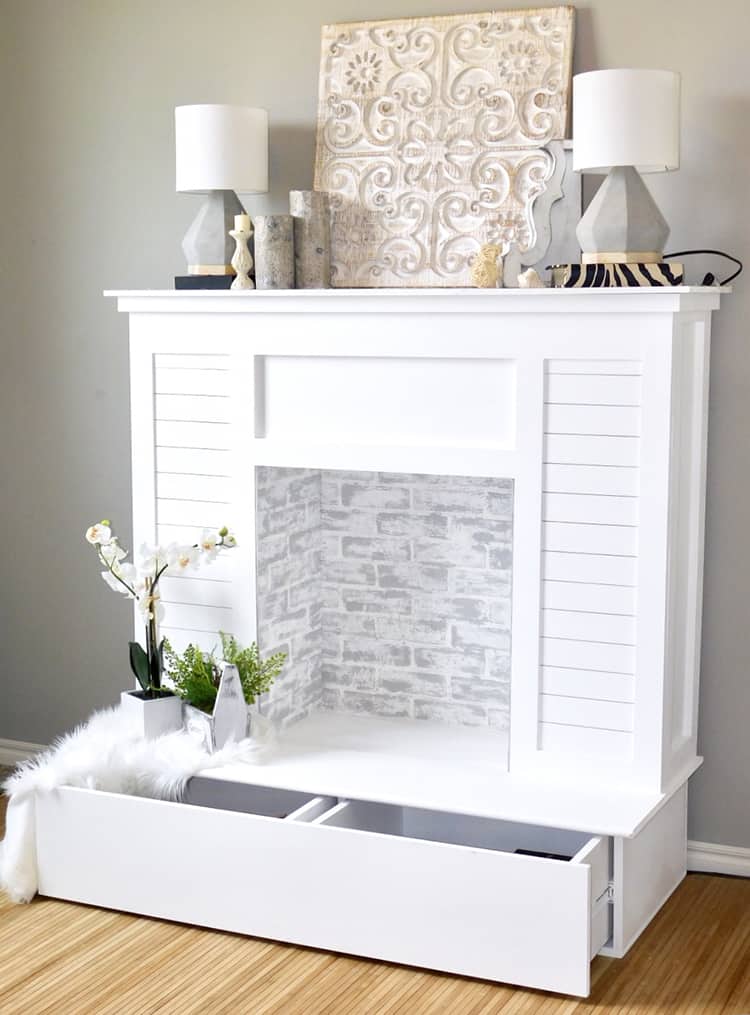
One of the simplest DIY fireplace surround options involves using wood planks or shiplap for a rustic or farmhouse look. Start by building a basic frame from 2×4 lumber to create structure, then attach horizontal or vertical planks using a nail gun. Pre-primed MDF boards offer a smooth finish that paints well, while reclaimed wood adds instant charm. For a more polished appearance, consider adding a mantel shelf from stained hardwood. This approach requires minimal tools—just a saw, level, and fasteners—and can be completed in a weekend. The natural warmth of wood creates a cozy focal point in any room.

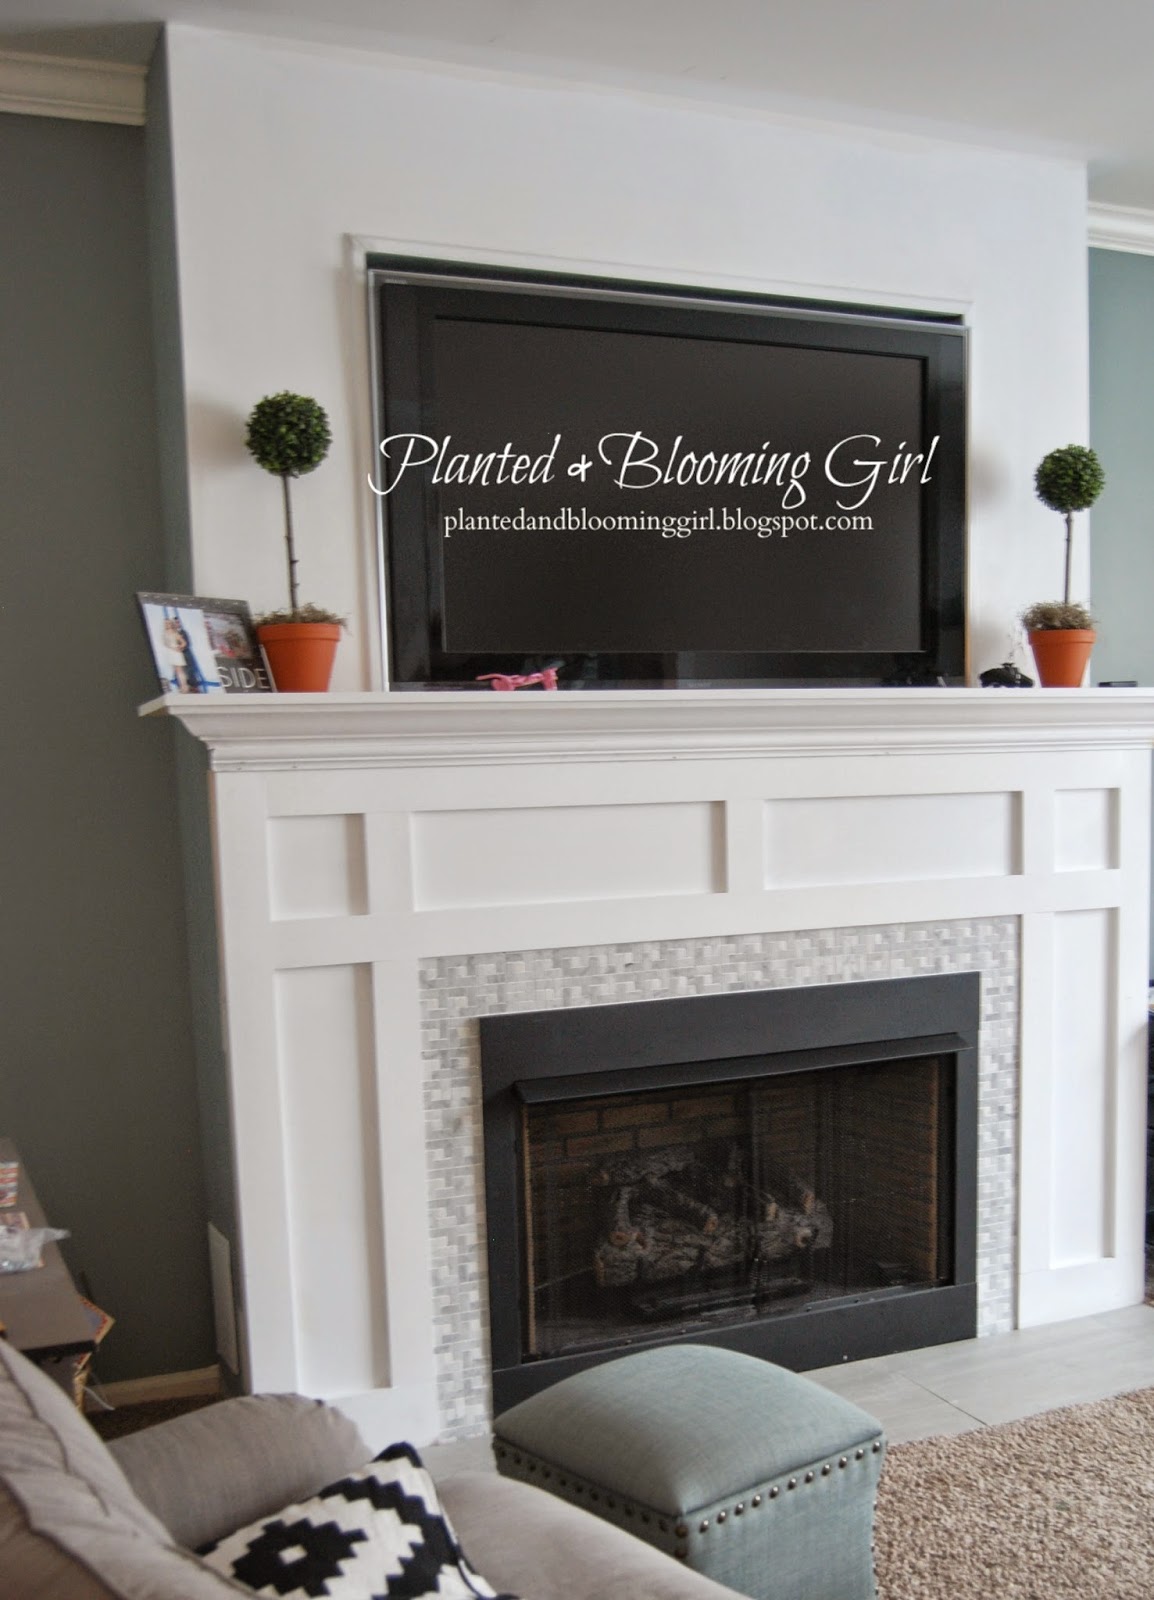
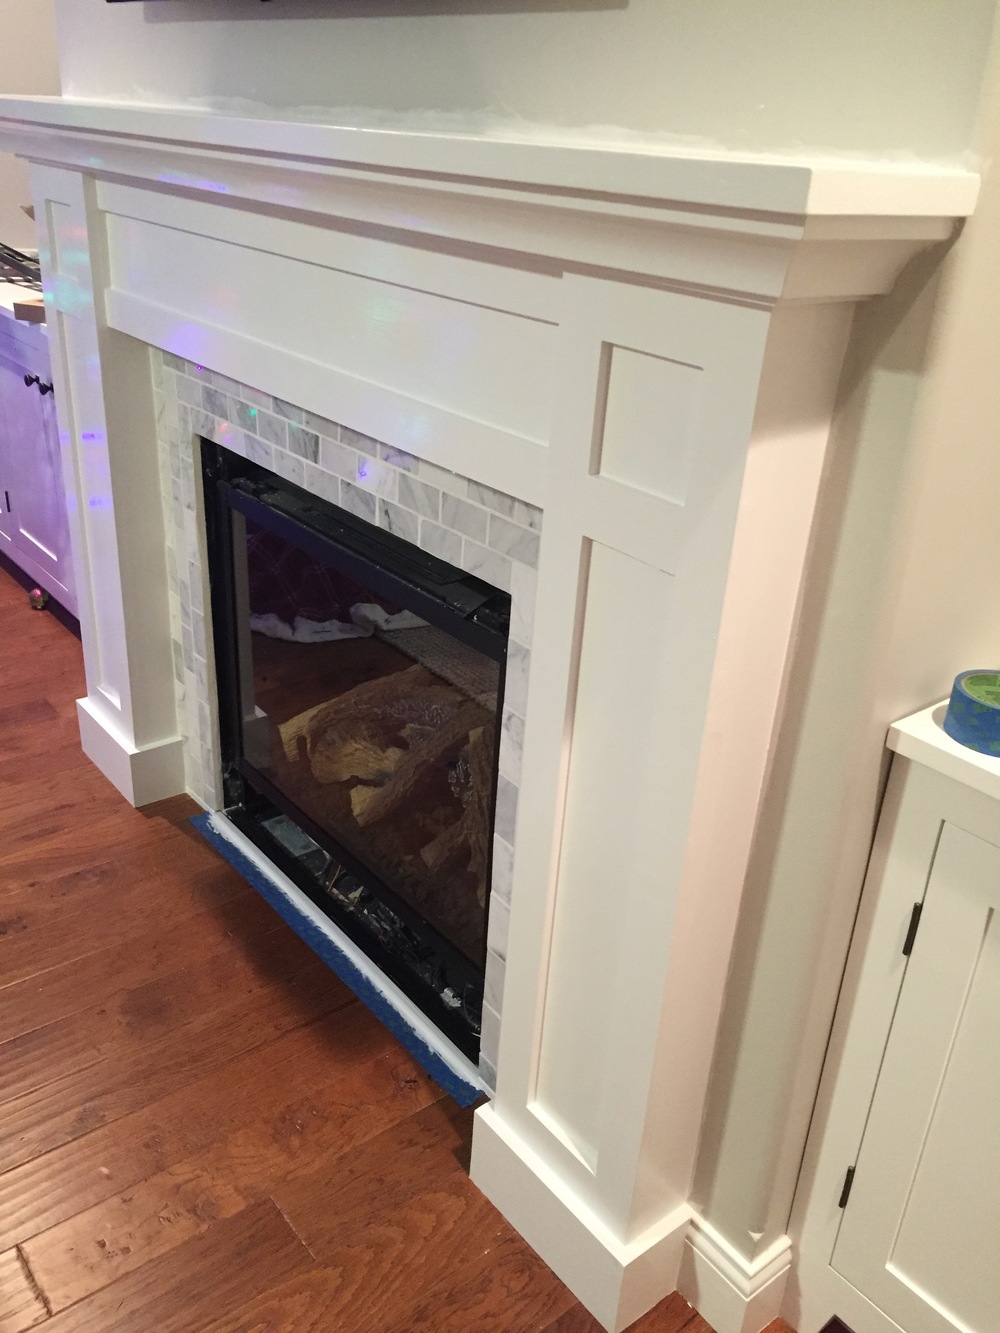
Tile surrounds provide another beginner-friendly option with endless design possibilities. Peel-and-stick tile mats simplify installation, eliminating the need for mortar or grout. Ceramic, porcelain, or natural stone tiles can be arranged in classic subway patterns or creative herringbone layouts. Use cement board as a stable backer, and spread thin-set adhesive with a notched trowel for permanent installations. Glass or metallic tiles add contemporary flair, while handmade clay tiles offer artisanal character. The project requires basic tools like a tile cutter and spacers but delivers professional-looking results with careful execution.
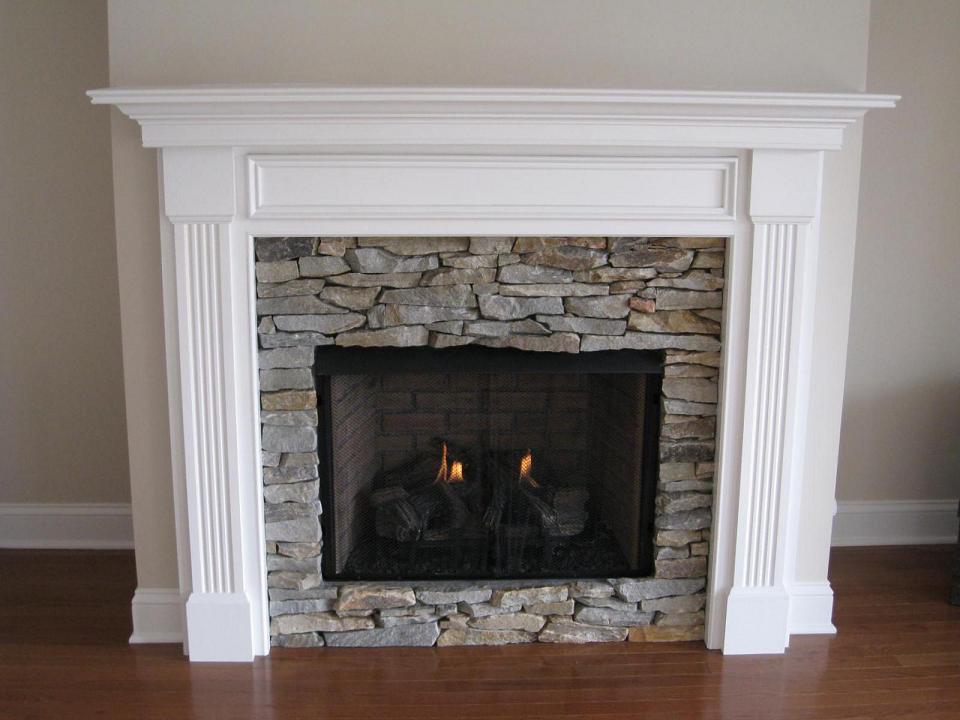
Stone veneer creates an upscale look without the weight or cost of real stone. Lightweight faux stone panels attach directly to drywall or cement board using construction adhesive. Stacked stone patterns hide seams effectively, while ledger stone offers a more modern, linear appearance. For corners, use pre-formed inside/outside corner pieces to maintain continuity. This project moves quickly—most surrounds can be completed in a day—and requires only a saw for cutting panels and a caulk gun for adhesive. The textured finish adds depth and visual interest while being easy to clean and maintain.
Concrete fireplace surrounds offer an industrial-chic aesthetic with surprising simplicity. Precast concrete panels can be mounted like tile, or you can create custom forms for poured designs. For a less permanent option, concrete overlay products transform existing surfaces with a thin, durable coating. Pair with wood accents to soften the look, or embrace the minimalist vibe with clean lines and metallic details. Concrete stains allow for color customization, from warm greys to bold hues. While working with concrete requires patience during curing, the techniques involved are straightforward and forgiving for DIYers.
Repurposed materials make for unique, eco-friendly surrounds at minimal cost. Old bricks can be whitewashed for a cottage feel, while salvaged wood beams create rustic charm. Metal sheets—corrugated, perforated, or copper—introduce industrial texture. Even unconventional items like vintage windows or salvaged doors can be transformed into creative surrounds. These projects often require more imagination than skill, making them perfect for crafty homeowners. The key is proper surface preparation and secure mounting to ensure safety around heat sources. Each repurposed surround tells a story while keeping materials out of landfills.
Paint provides the easiest and most affordable fireplace transformation. A fresh coat on an existing surround can modernize outdated brick or refresh worn wood. For brick, use specialized mineral paint that allows the surface to breathe. Create contrast by painting the surround a bold color while keeping the mantel neutral, or go monochromatic for a seamless look. Stenciling adds pattern without permanent commitment. Chalk paint requires minimal prep work and distresses beautifully for vintage appeal. With proper heat-resistant paint for areas near the firebox, this one-day project delivers maximum impact for minimal effort.
Safety considerations are crucial when designing a DIY fireplace surround. Maintain proper clearance between combustible materials and the firebox opening—typically 6 inches for wood surrounds, though local codes vary. Use heat-resistant materials like cement board as backing where needed. Ensure all electrical components (for electric fireplaces) remain accessible. Anchor heavy surrounds securely to wall studs, especially for stone or concrete designs. Always check manufacturer guidelines for your specific fireplace type, as gas, wood-burning, and electric units have different requirements. Proper planning prevents fire hazards while ensuring your creation lasts for years.
Budget-friendly alternatives abound for cost-conscious DIYers. Removable peel-and-stick wall panels mimic expensive materials at a fraction of the price. Faux brick or stone wallpaper creates instant texture when applied to a smooth surround base. Plywood can be cut into geometric patterns and painted for a modern art piece effect. Even basic drywall with clever trim work makes an elegant surround when finished properly. By focusing on creative solutions rather than expensive materials, you can achieve high-end style without breaking the bank. Many impressive surrounds cost less than $200 in materials.
A DIY fireplace surround offers limitless possibilities to enhance your home’s aesthetic. From simple wood constructions to elaborate tile designs, projects exist for every skill level and budget. The transformation instantly elevates your living space while providing a satisfying creative outlet. By selecting appropriate materials, following safety guidelines, and taking time with measurements and finishes, even novice DIYers can create professional-quality results. Your dream fireplace surround is likely easier to achieve than you imagine—just gather tools, choose a design, and get started.
What’s the easiest material for a beginner to use for a fireplace surround?
Pre-fabricated wood panels or shiplap offer the simplest installation for beginners. These materials require only basic cutting and fastening with nails or construction adhesive. Peel-and-stick tile mats also provide an easy entry point, eliminating messy mortar. For those wanting texture without complexity, lightweight stone veneer panels attach directly to walls with adhesive. These options deliver impressive results with minimal tools and experience, making them ideal for first-time DIYers tackling a fireplace project.
How do you ensure a DIY fireplace surround is heat-safe?
Always maintain proper clearance between combustible materials and the firebox opening—typically 6-12 inches depending on local codes. Use non-combustible backer board like cement board behind surround materials near heat sources. Select heat-resistant paints or finishes for areas that may get warm. For wood-burning fireplaces, install a proper hearth extension if modifying the existing setup. Check your fireplace manufacturer’s specifications and consult local building codes to ensure compliance with all safety requirements before beginning your project.

Can you install a surround over existing brick or tile?
Yes, most surround materials can be installed over existing brick or tile with proper preparation. Clean the surface thoroughly and repair any loose mortar or damaged areas first. For tile installations, use a cement board overlay to create a smooth surface. Stone veneer and wood surrounds can often attach directly to sound existing surfaces with construction adhesive. Ensure the new surround’s thickness won’t interfere with fireplace doors or screens. This approach saves demolition work while giving your fireplace a fresh new look.
What tools are essential for building a fireplace surround?
Basic tools include a measuring tape, level, saw (circular or miter), drill, nail gun or hammer, and appropriate fasteners. Tile projects require a notched trowel, tile cutter, and spacers. Stone veneer needs a masonry saw blade for cutting. A stud finder helps with secure mounting to walls. Safety gear like gloves and eye protection is essential. While power tools speed the process, many surrounds can be built with hand tools for those on a tight budget or lacking workshop space.
Can you build a surround for an electric fireplace?
Electric fireplaces offer the most flexibility for DIY surrounds since they don’t require heat clearance like wood or gas units. You can build right up to the fireplace insert using almost any material. Many electric fireplace manufacturers provide trim kits or framing guidelines to integrate with custom surrounds. This makes them ideal for creating built-in entertainment centers or floating wall designs. Just ensure proper ventilation if specified by the manufacturer and maintain access to electrical components for servicing. The installation process is generally simpler and safer than with traditional fireplaces.
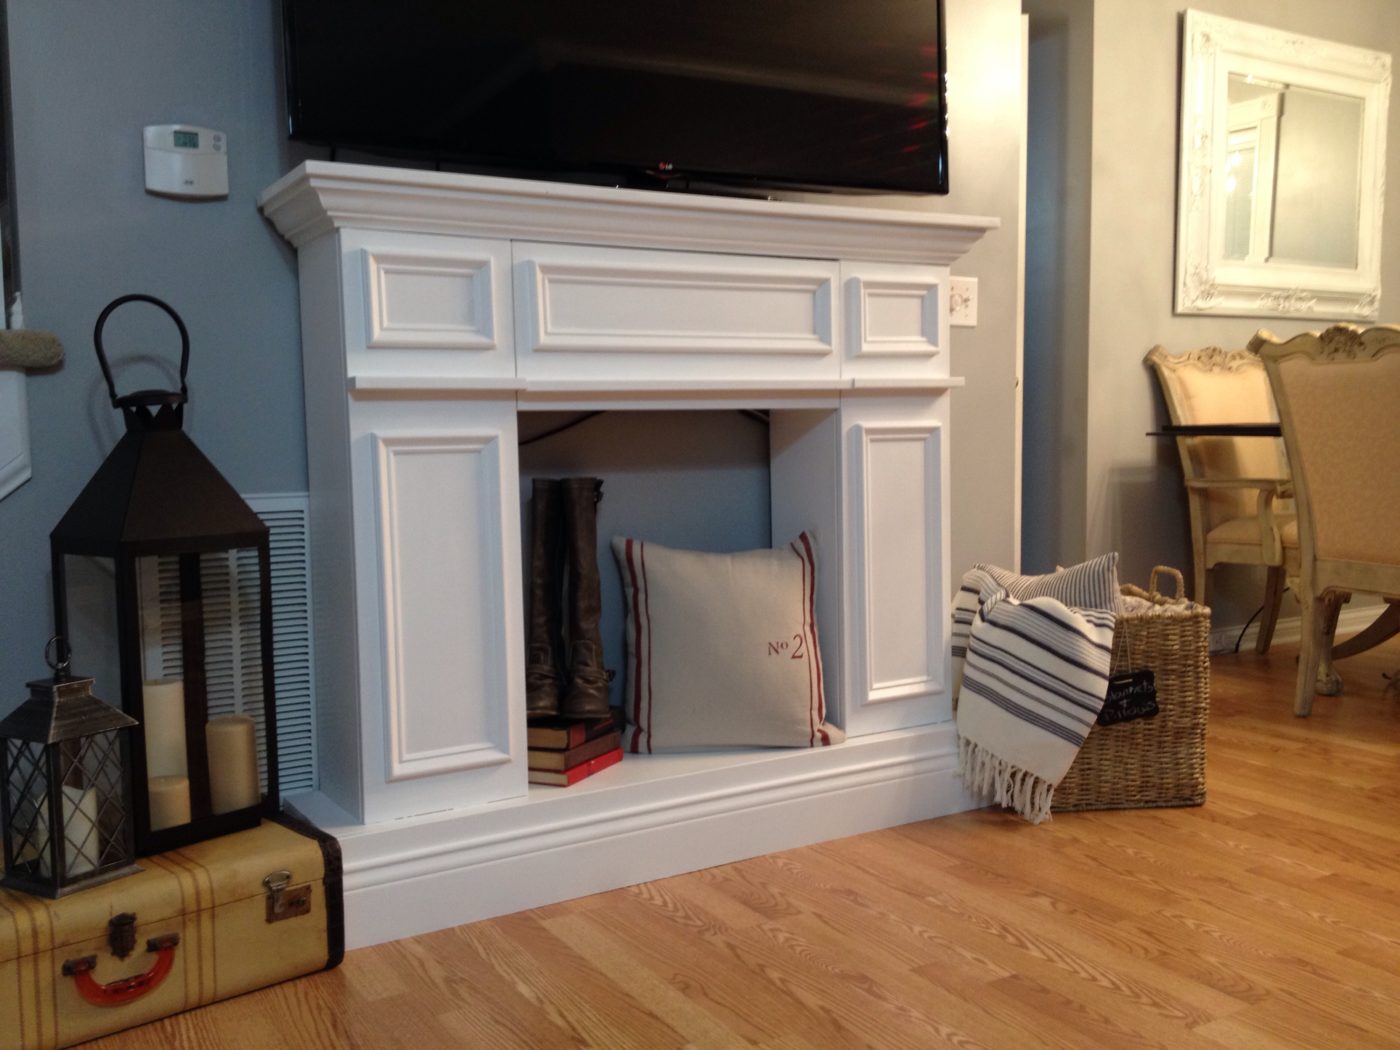
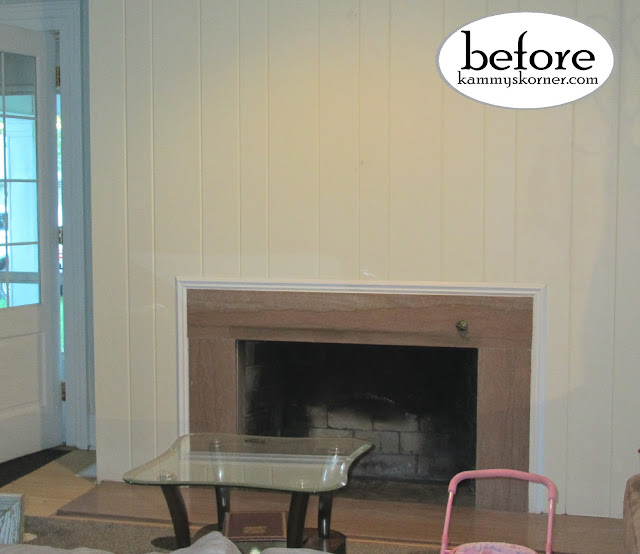
Kammy’s Korner: DIY Fireplace Surround Built From Scraps {Updates!}
Give a Makeover to Your Fireplace with a DIY Fireplace Surround FIREPLACE DESIGN IDEAS
Handcrafted Fireplace Surrounds – YouTube

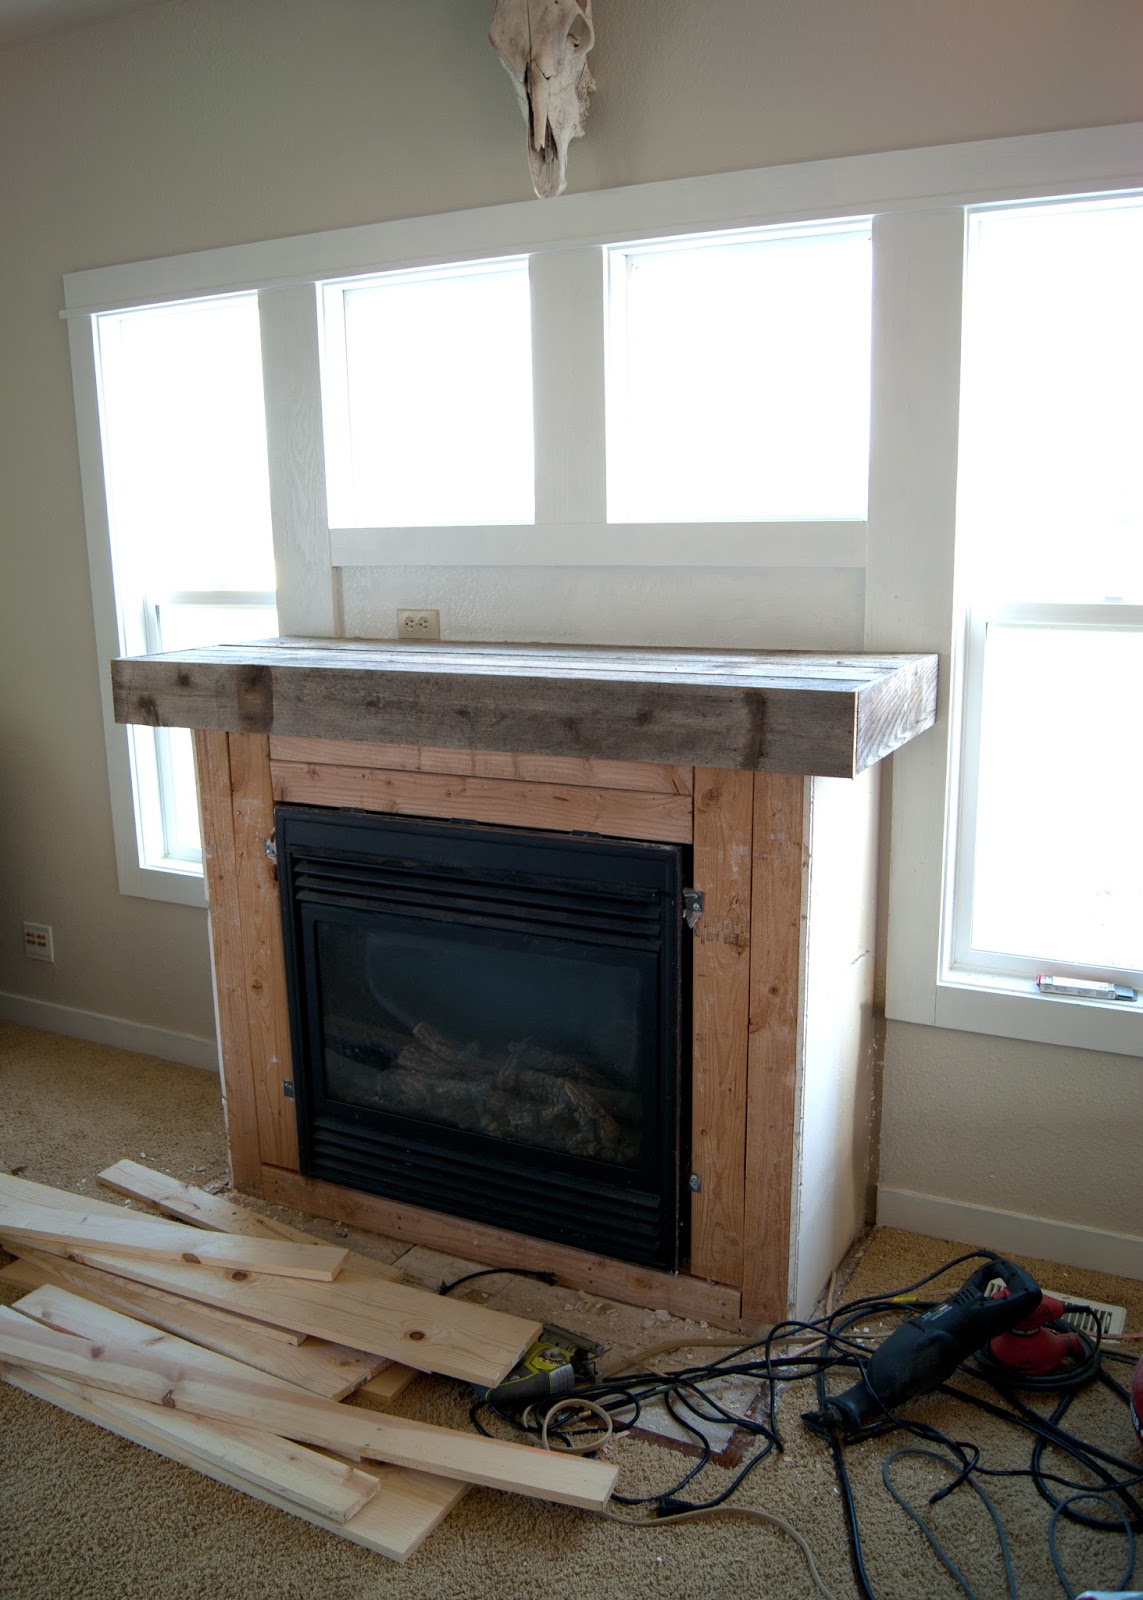
Fireplace Makeover – Reclaimed Wood Mantel Averie Lane: Fireplace Makeover – Reclaimed Wood Mantel
My DIY tile fireplace surround. No before pic but it was builder grade white and black marble

Planted and Blooming Girl: DIY Fireplace Surround
Best fire places images on Pinterest Fireplace ideas, Fake fireplace and Faux mantle

Fireplace Ideas & Installation Tips DIY
Related Posts:
- Cottage Fireplace Surround
- DIY Rustic Fireplace Surround
- Vintage Cast Iron Fireplace Surround
- Delft Tile Fireplace Surround
- Fireplace Surround DIY Ideas
- Gas Fireplace Surrounds Ideas
- Grey Tile Fireplace Surround
- Modern Fireplace Surround Ideas
- DIY Electric Fireplace Surround Ideas
- How To Redo A Fireplace Surround