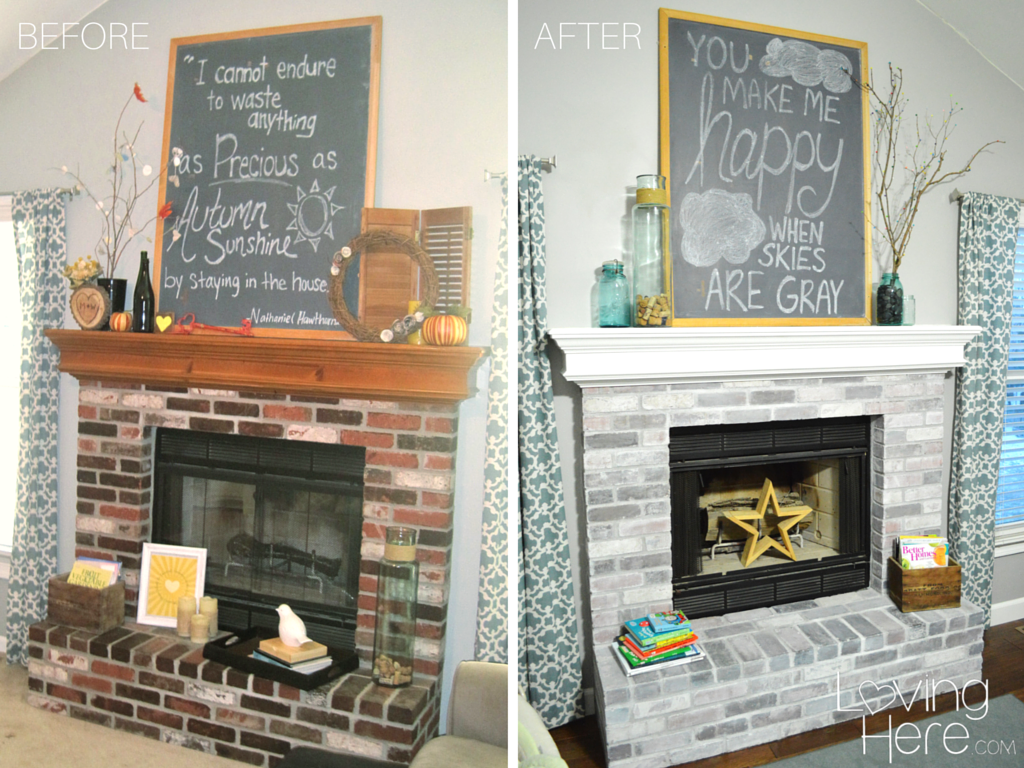
A DIY whitewash brick fireplace is a great way to bring a fresh, clean look to a living space without completely covering up the natural texture of the brick. This technique allows some of the original brick color to show through, giving a rustic yet updated feel. Whitewashing can lighten up a dark room and add a cozy charm. It’s also a relatively simple and affordable project for homeowners who want to make a visible impact without hiring professionals or undertaking major renovations.
Before getting started, it’s important to assess the condition of the fireplace. Check if the bricks are chipped, crumbling, or covered in soot. If any repairs are needed, they should be handled first. Cleaning is critical—dust, debris, and soot can interfere with how well the whitewash adheres. Use a stiff brush or vacuum to clean the surface, and consider using a mild soap solution to scrub away any grime or residue that might prevent the paint from soaking in evenly.

Choosing the right paint mixture is the next important step. A traditional whitewash is made by mixing white latex paint with water, typically in a 1:1 ratio. This gives a semi-transparent look that allows some of the brick’s natural tone to peek through. If a more opaque look is desired, use less water. Testing the mixture on a small, hidden area of brick helps determine the right balance. This allows you to see how it dries and whether it matches your vision before committing to the entire surface.
Once the mixture is ready, it’s time to apply the whitewash. A paintbrush or a rag works best for this process, as they allow for better control than rollers or sprayers. Apply the whitewash in small sections, starting at the top and working your way down. This prevents streaks and drips from affecting already-painted areas. Use a dry rag to dab off excess paint as you go, especially if you want more of the brick color to show through.

Consistency during application is key. If the paint starts to dry before blending, it can leave unwanted lines or blotchy patches. Keeping a wet edge and working methodically ensures a smoother finish. It’s also smart to take a few steps back from time to time to see how the whole surface is coming together. This helps maintain a balanced look across the entire fireplace and avoids over- or under-whitening certain areas.
Drying time varies depending on the thickness of the paint and humidity levels in the room. Generally, it takes a few hours for the whitewash to dry to the touch. However, you should avoid touching or decorating the fireplace until it’s fully cured, which could take a day or more. Once dry, assess if another coat is needed. Some people prefer a more layered effect and may apply a second, lighter coat to build up the texture and depth of color.
Sealing the whitewashed brick is optional but can provide extra durability, especially if the fireplace is used often. A clear matte sealant helps preserve the chalky, rustic appearance while protecting the surface from soot, stains, and wear. Make sure the sealant is heat-resistant and safe for use on brick if the fireplace is functional. Apply it evenly using a brush or sprayer, and allow it to dry completely before using the fireplace again.
Decorating the finished fireplace can bring the entire look together. Simple additions like a wooden mantel, framed photos, greenery, or a mirror can enhance the newly whitewashed backdrop. Choose décor that matches the light and airy look of the fireplace. Whether your style is farmhouse, modern, or boho, the neutral tones of the whitewashed brick make it a versatile base for seasonal or year-round decorating.

Regular maintenance is minimal but important. Dust and soot can still accumulate, so periodic cleaning with a dry cloth or vacuum attachment helps keep it looking fresh. If any spots become discolored or chipped, touch-ups are easy with the same whitewash mixture. Avoid using harsh chemicals, as they might strip away the paint or alter the finish. Keeping the surface clean extends the life of the whitewashed finish and keeps your fireplace looking its best.
A DIY whitewash brick fireplace is not just a style upgrade—it’s a project that brings satisfaction from doing it yourself. It blends old and new, letting the character of brick shine through while refreshing the entire room. With the right preparation and care, the results can be long-lasting and beautiful. It’s an approachable weekend project that can make a big visual impact, transforming your fireplace into a bright, inviting focal point in your home.

Help design my white washed brick fireplace mantle Hometalk
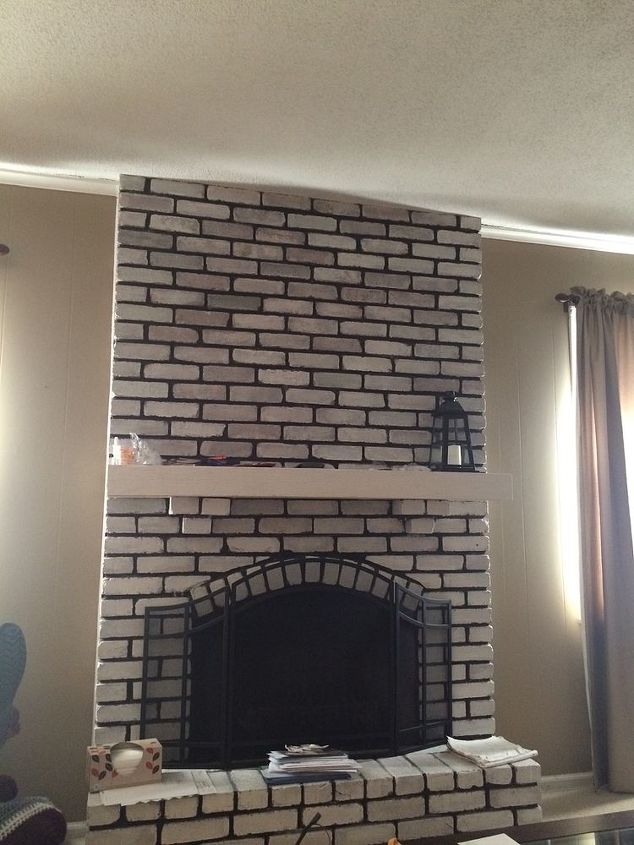
White wash brick, Brick fireplace, White wash brick fireplace

A Brick-Anew Painted Stone Fireplace Makeover – Brick-Anew Red brick fireplaces, White wash

Related Posts: