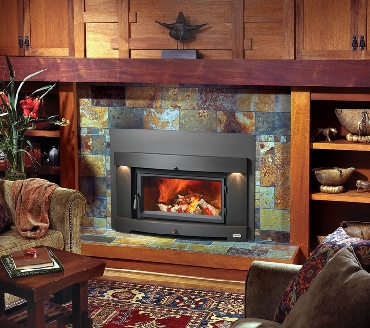
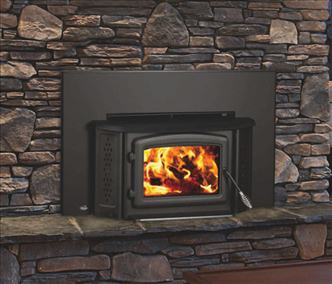
Installing a fireplace insert can upgrade your home’s warmth and efficiency. This project begins with selecting the right insert for your needs. Measure your existing fireplace to ensure the insert fits correctly. Choose an insert that matches your heating requirements and aesthetic preferences. Inserts come in various types, such as wood-burning, gas, or electric. Selecting the appropriate insert is crucial for achieving both functionality and style, making your fireplace a focal point in your living space.

Start by preparing your existing fireplace. Clean out any debris and ensure the chimney is clear of obstructions. If you have a gas line or electrical outlet, ensure they are in good working condition. Next, install the flue liner if required. This step ensures proper ventilation and safety. The liner should extend from the top of the insert to the top of the chimney, securing it in place. This preparation phase is essential for a smooth installation process, ensuring your insert operates efficiently and safely.
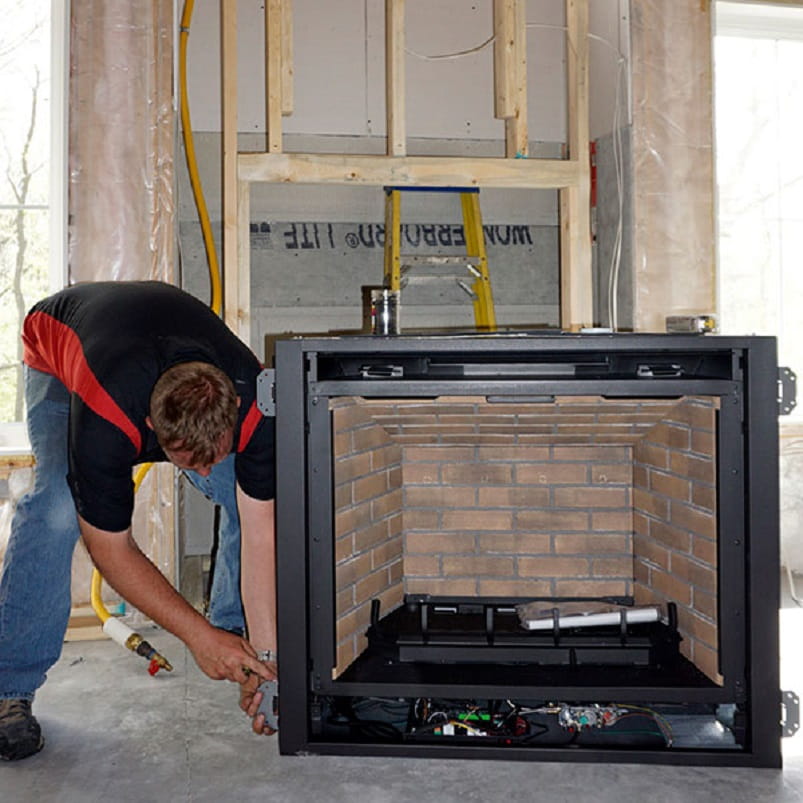
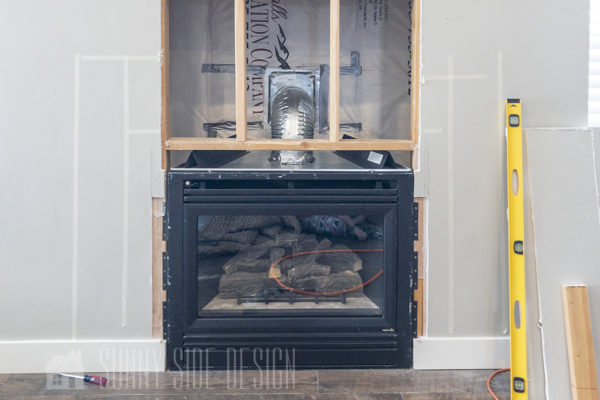
Once the fireplace is prepped, position the insert inside the fireplace opening. Use a level to ensure it sits evenly. If it’s a gas or electric insert, connect the necessary lines and ensure all connections are secure. For wood-burning inserts, place the insert’s chimney pipe into the existing flue liner. Secure the insert in place with brackets or screws as specified by the manufacturer. This step ensures the insert is stable and ready for use, laying the groundwork for a functional and reliable heating source.

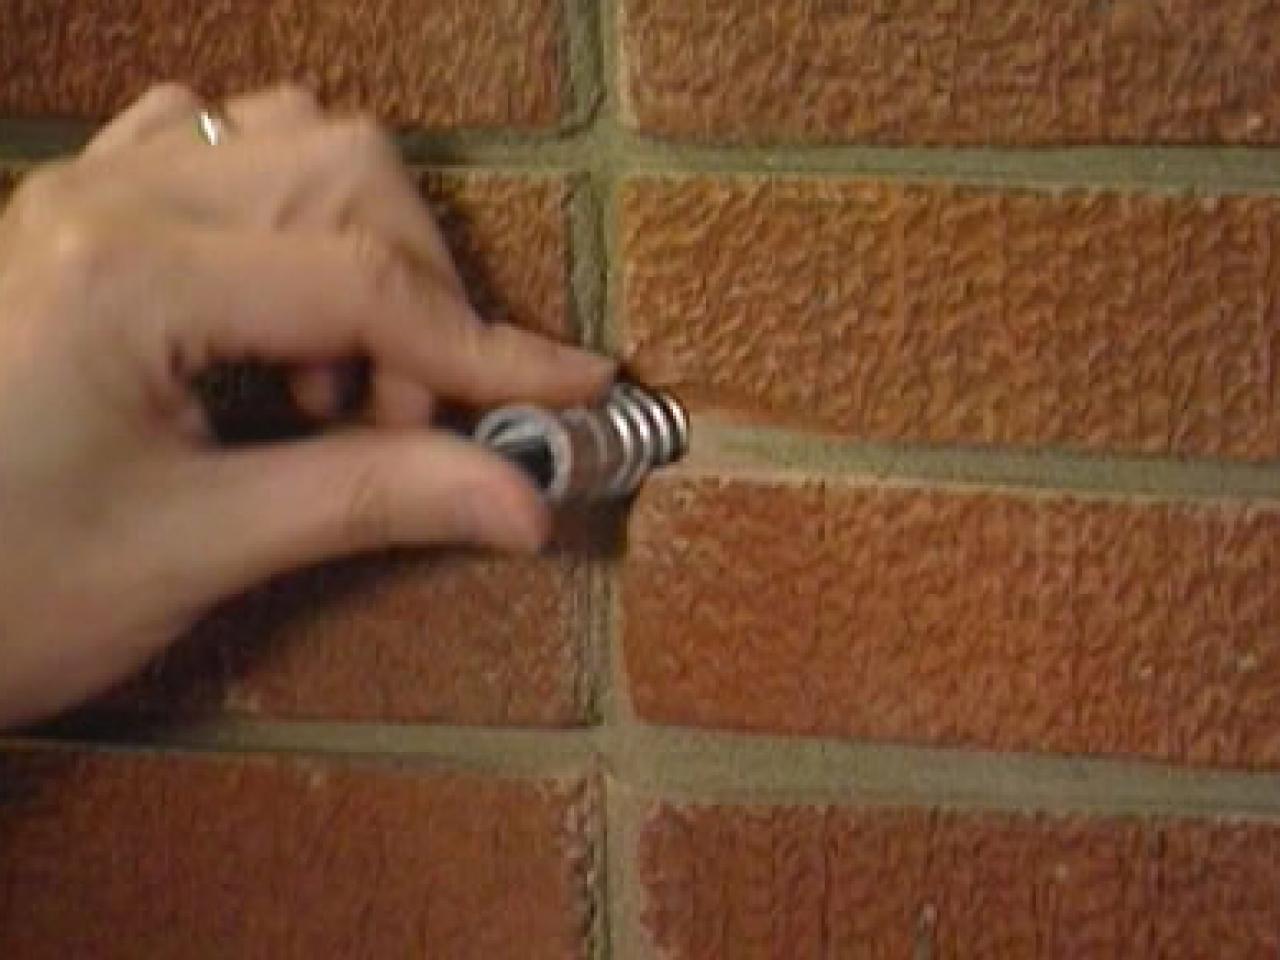
After securing the insert, focus on sealing any gaps around the insert frame to prevent drafts. Use heat-resistant caulk to seal these spaces, ensuring the insert fits snugly within the fireplace opening. This step enhances the energy efficiency of the insert, preventing heat loss and maximizing warmth. A well-sealed insert contributes to a comfortable and cozy atmosphere in your home, making it more energy-efficient and cost-effective over time.

Finally, test the fireplace insert to ensure it operates correctly. Light the fire or turn on the insert and check for proper ventilation and heat output. Ensure there are no unusual sounds or smells, which could indicate a problem. Regular maintenance, such as cleaning the insert and checking connections, will keep it running smoothly. By following these steps, you can successfully install a fireplace insert, enhancing the warmth and ambiance of your home. This DIY project not only improves your living space but also adds value to your property.
DIY Electric Fireplace Reveal – The Rocky Way House Diy shiplap fireplace, Diy fireplace, Diy

Build a Fireplace Insert Draft Stopper Build a fireplace, Fireplace inserts, Living room diy

How to Remove a Fireplace Insert (Tutorial)

How to Install a Fireplace Insert DIY & Save Money
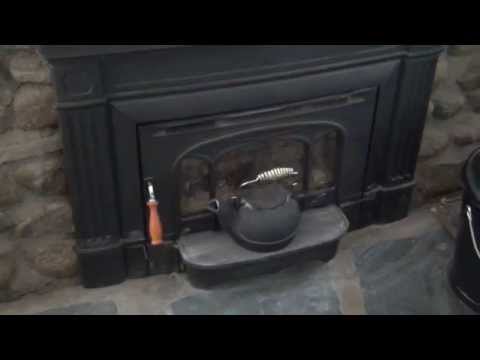
Busy Days Worthwhile: DIY Installation of the Fireplace Insert
How to Install a Floating Mantel how-tos DIY
Busy Days Worthwhile: DIY Installation of the Fireplace Insert

Wood Fireplace Insert NORDIC ENERGY Sudbury, ON
Terrific Absolutely Free Fireplace Insert trim Suggestions A fireplace insert increases

Fireplace Insert – YouTube
Brick Fireplace Ideas for Wood Burning Stoves Selection – Fireplace Ideas Wood stove

Related Posts: