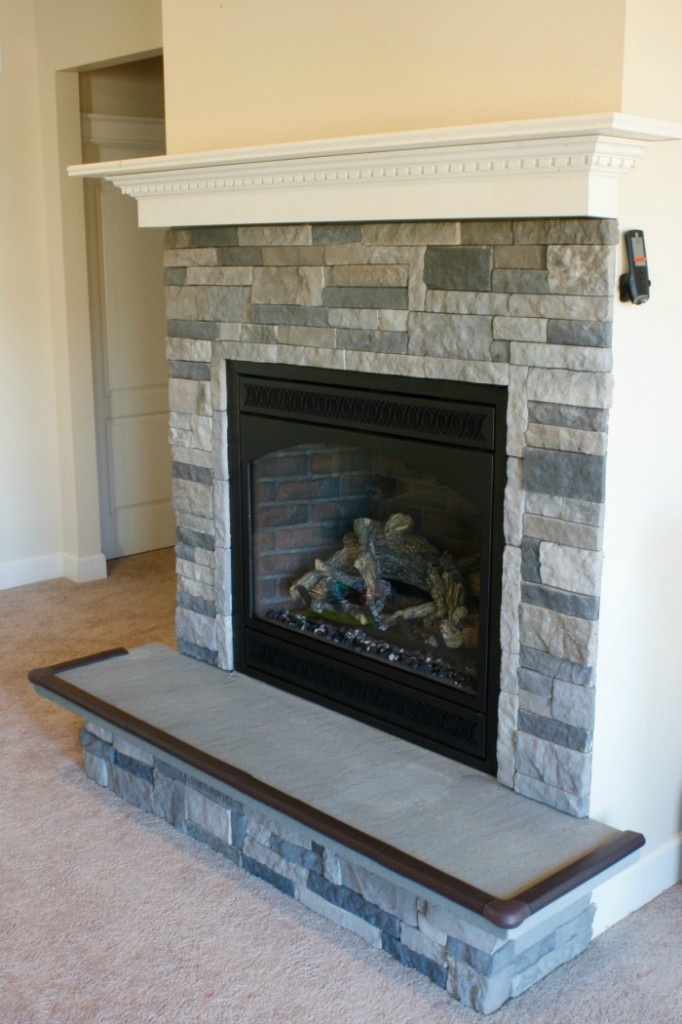
A fireplace mantel provides charm and purpose to any hearth, acting as both a decorative focal point and a showcase area for prized possessions. Building your mantel allows you to customize the size, design, and materials to fit your area and preferences. Whether you want a rustic wood beam or a sleek modern design, this DIY project will change your fireplace with only basic equipment and carpentry abilities. I’ve built several mantels for clients and my own house, and I’ll lead you through the processes necessary to create a mantel that improves your fireplace securely and elegantly.
Selecting the Right Mantel Design
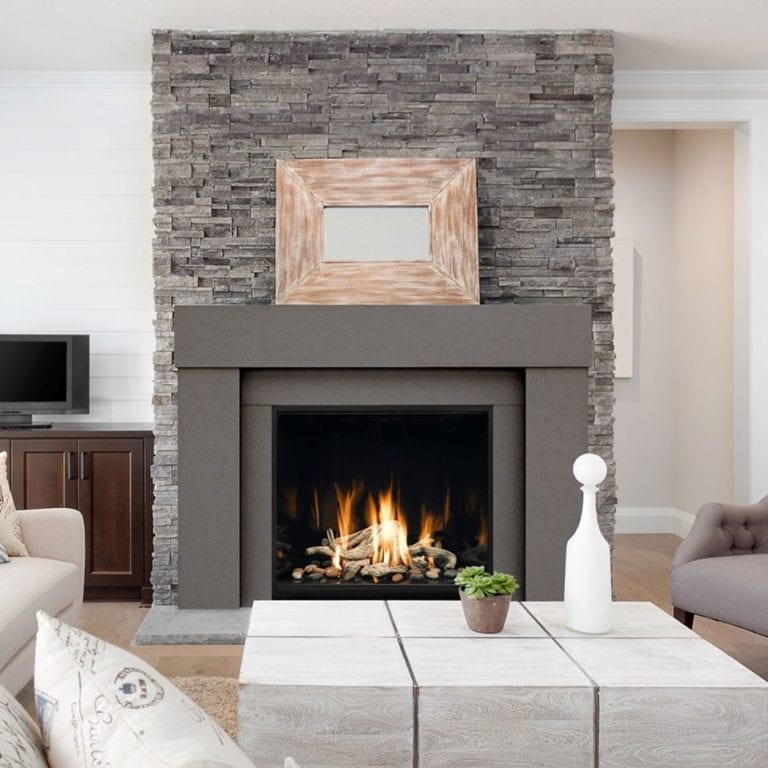
Choose a mantel style that matches your fireplace and room decor. For historic homes, a classic wood mantel with modest corbels has timeless appeal. Modern interiors frequently benefit from clean-lined floating mantels with no obvious supports. I just built a rustic mantel from reclaimed barn wood for a cabin, and my living room has a painted shaker-style mantle with clean lines. Consider your skill level: some designs demand more complex joinery than others.
Determine the best dimensions for your room. The mantel should be wider than the fireplace opening, extending 6-12 inches on either side. The standard height above the firebox ranges from 12 to 16 inches, but verify local construction standards for clearance requirements. I start by sketching the desired mantel on graph paper, detailing the exact measurements and any architectural elements. This avoids costly mistakes during building.
Material selection influences both aesthetics and installation. Solid wood provides warmth and can be carved or routed with decorative embellishments. MDF is less expensive and easier to paint, but it lacks the heat-resistant properties of wood. For my first mantle project, I chose pine boards, which were affordable enough to experiment with yet durable enough to survive. Consider the mantel’s weight, since heavier materials may necessitate specialized mounting hardware.
Gathering Materials and Tools
Make a detailed materials list based on your design. For a simple wood mantel, you’ll need boards for the shelf, face, and any decorative components. I normally buy 10-15% more material to account for mistakes and test cuts. Include all fasteners: wood screws, finishing nails, and construction adhesive. Sandpaper, wood filler, and finishing goods such as paint or stain are all essential. A sample board is useful for testing finishes before they are applied to the finished mantel.
A miter saw for clean angles, a drill with driver bits, a level, and clamps are all necessary tools. A pocket hole jig makes it easier to attach boards without having to use visible screws. For more elaborate designs, a router with ornamental bits provides expert detailing. I discovered that investing in a reliable stud finder made mounting considerably easier. If you don’t have particular tools, consider borrowing or renting them for this project instead of buying them.
Safety equipment is non-negotiable. When cutting or drilling, wear safety eyewear and utilize hearing protection with power tools. A dust mask protects against fine particle inhalation, which is especially important while sanding or working with MDF. Keep your workspace well-lit and organized; I clear a large area and set down drop cloths to make cleanup easier. Everything is ready before you start building, which makes the process go more smoothly.
Building the Mantel Shelf
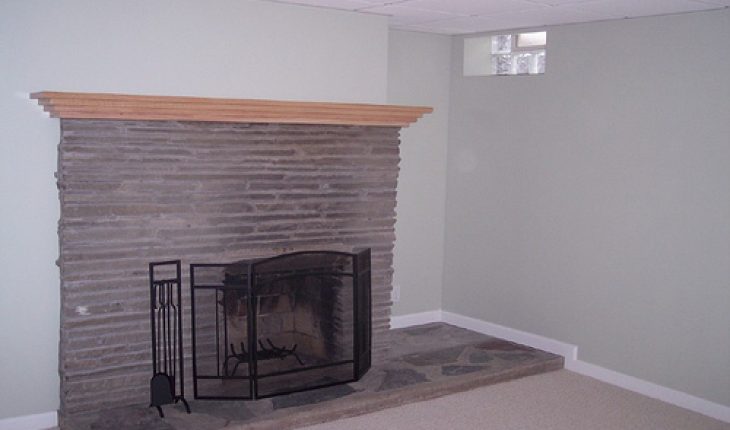
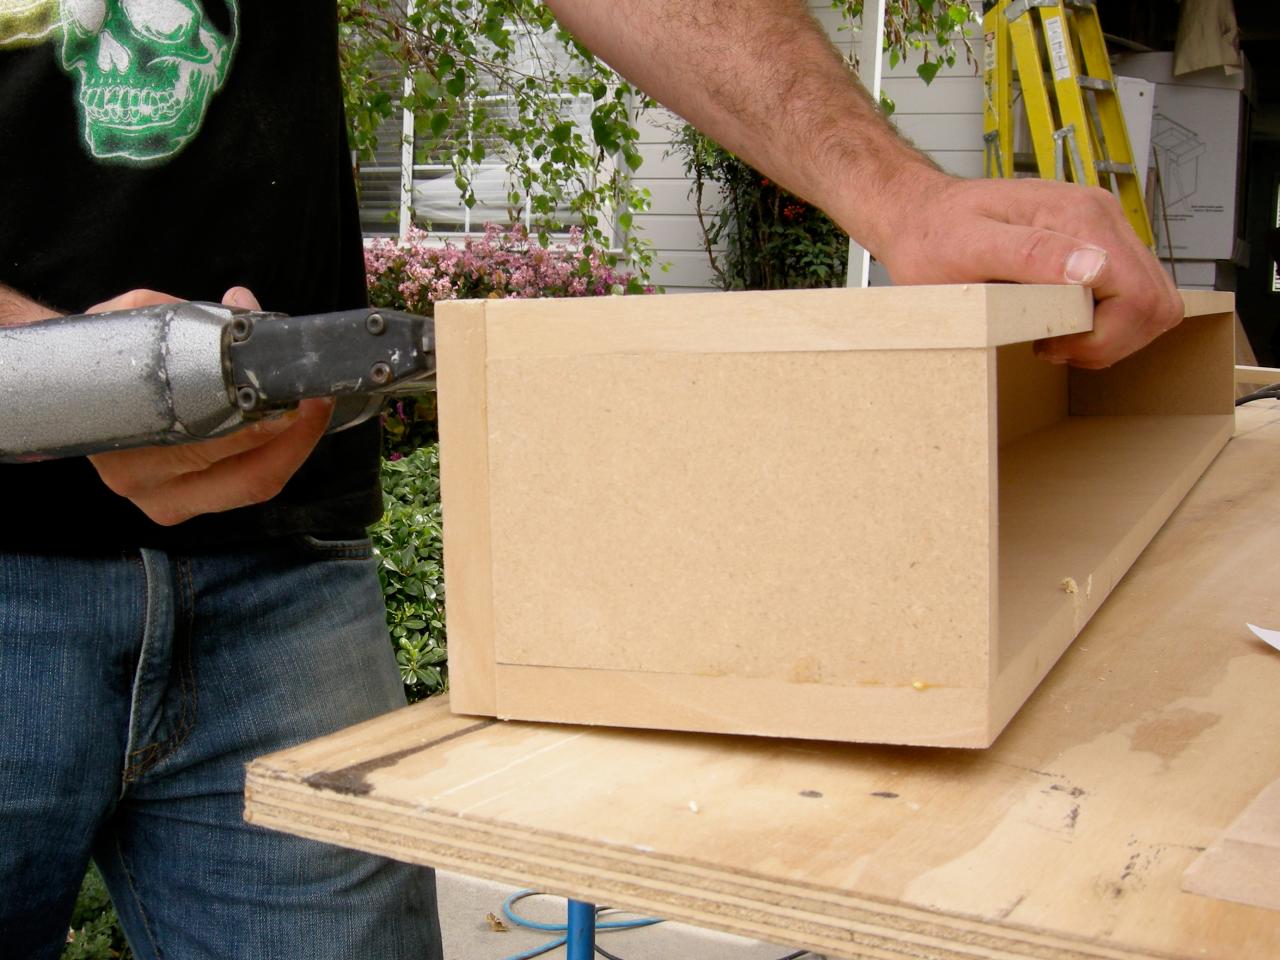
Begin with the shelf, which is the mantel’s most visible component. To make a strong wood mantel, I attach 2×8 or 2×10 boards edge-to-edge with wood glue and biscuits or pocket holes. Clamp the boards tightly until the glue has dried, and then sand the top surface smooth. Alternatively, a single wider board eliminates seams but may be more difficult to find. MDF gives painted mantels a smooth appearance at a lesser cost.
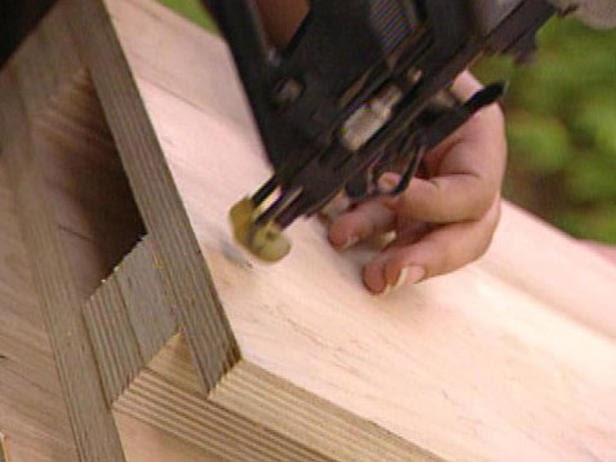
Add the front facing board to hide the shelf edge. This decorative element could be as simple as a 1×4 or have routed detailing. I frequently use a router with an ogee or roman ogee bit to generate beautiful profiles. Attach the facing with wood glue and finishing nails, making sure all seams are secure. Consider adding little corbels or brackets beneath the shelf ends, which can be purchased from a store or custom-cut.
Sand all surfaces well, working from 120 to 220 grit to achieve a silky gloss. Pay close attention to edges and corners, softening them somewhat for safety and aesthetic appeal. Fill any nail holes or blemishes with wood filler and sand again once dry. Before I finish the mantel, I always run my hands over it to check for any rough patches. This attention to detail distinguishes between amateurish and professional-looking results.

Building and Attaching the Mounting System
A secure mounting method is critical to safety. For wood frame walls, use a stud finder to locate the studs; the mantel should be anchored to at least two of them. I cut a 2×4 ledger board to fit between the studs and secured it with three-inch wood screws. This creates a stable foundation for the mantel shelf to sit on. The ledger should be placed at your projected mantel height, minus the shelf thickness.
For brick fireplaces, utilize masonry anchors and screws that are appropriate for your wall material. Concrete screws or expansion anchors are suitable for brick or stone. I carefully mark drill points with a masonry bit that is slightly smaller than the anchors. A hammer drill simplifies this technique, but conventional drills can be used with care. To avoid flying particles, always wear safety eyewear when drilling into masonry.
Make a covert support mechanism for a floating look. I make a basic French cleat, with one piece attached to the wall and the other to the mantel back. This provides substantial, yet invisible support. Another way is to route channels in the mantel back that slide over wall-mounted metal brackets. Before final installation, ensure the mantel is level and flush against the wall.
Finishing and Staining Techniques
Select a treatment that accentuates your wood’s natural beauty or achieves the required color. For wood mantels, I like oil-based dyes since they penetrate deeply and evenly. Apply with a clean cloth and remove excess after 5-15 minutes, depending on the color depth. Multiple thin coatings provide more color than a single heavy application. Always try stains on scrap wood first; the final color varies depending on the wood type.
Paint provides more consistent covering and works well with MDF or pine. Use a high-quality acrylic latex paint to ensure durability. I apply primer first, especially on porous woods or MDF, followed by two topcoats and gentle sanding in between. A little foam roller provides the nicest finish on flat surfaces. To achieve a distressed look, apply a base coat and carefully sand the edges after drying to reveal the wood beneath.
Protective topcoats protect your finish. Polyurethane works well on stained mantels; water-based variants remain clear, whilst oil-based versions impart subtle amber tones. To avoid fading on painted mantels, I use a transparent water-based polycrylic. Apply with a high-quality brush, keeping the edges wet to prevent lap marks. Two to three thin coats give adequate protection against heat and wear. Allow to cure completely before decorating, which normally takes 48-72 hours.

Style and Decorate Your New Mantel
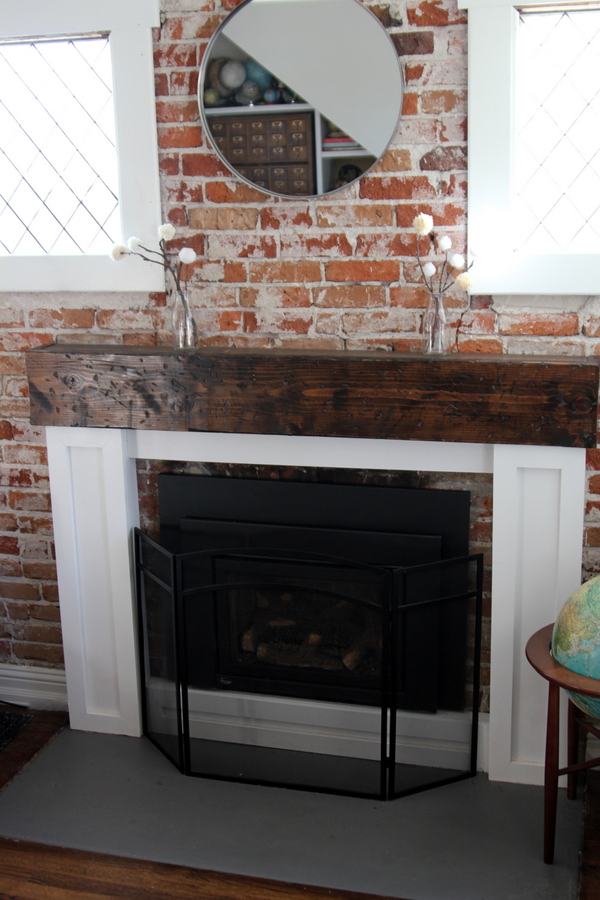
When placing mantel decor, be sure to balance visual weight. I use the rule of thirds to create asymmetrical groupings that feel deliberate. A huge mirror or artwork anchors the center, flanked by objects of varied heights, such as vases or candlesticks. Odd numbers of elements (three or five) tend to appear the best. In my living room, I have a round mirror with two stacked books and a ceramic vase on one side, balanced by a taller plant on the other side.
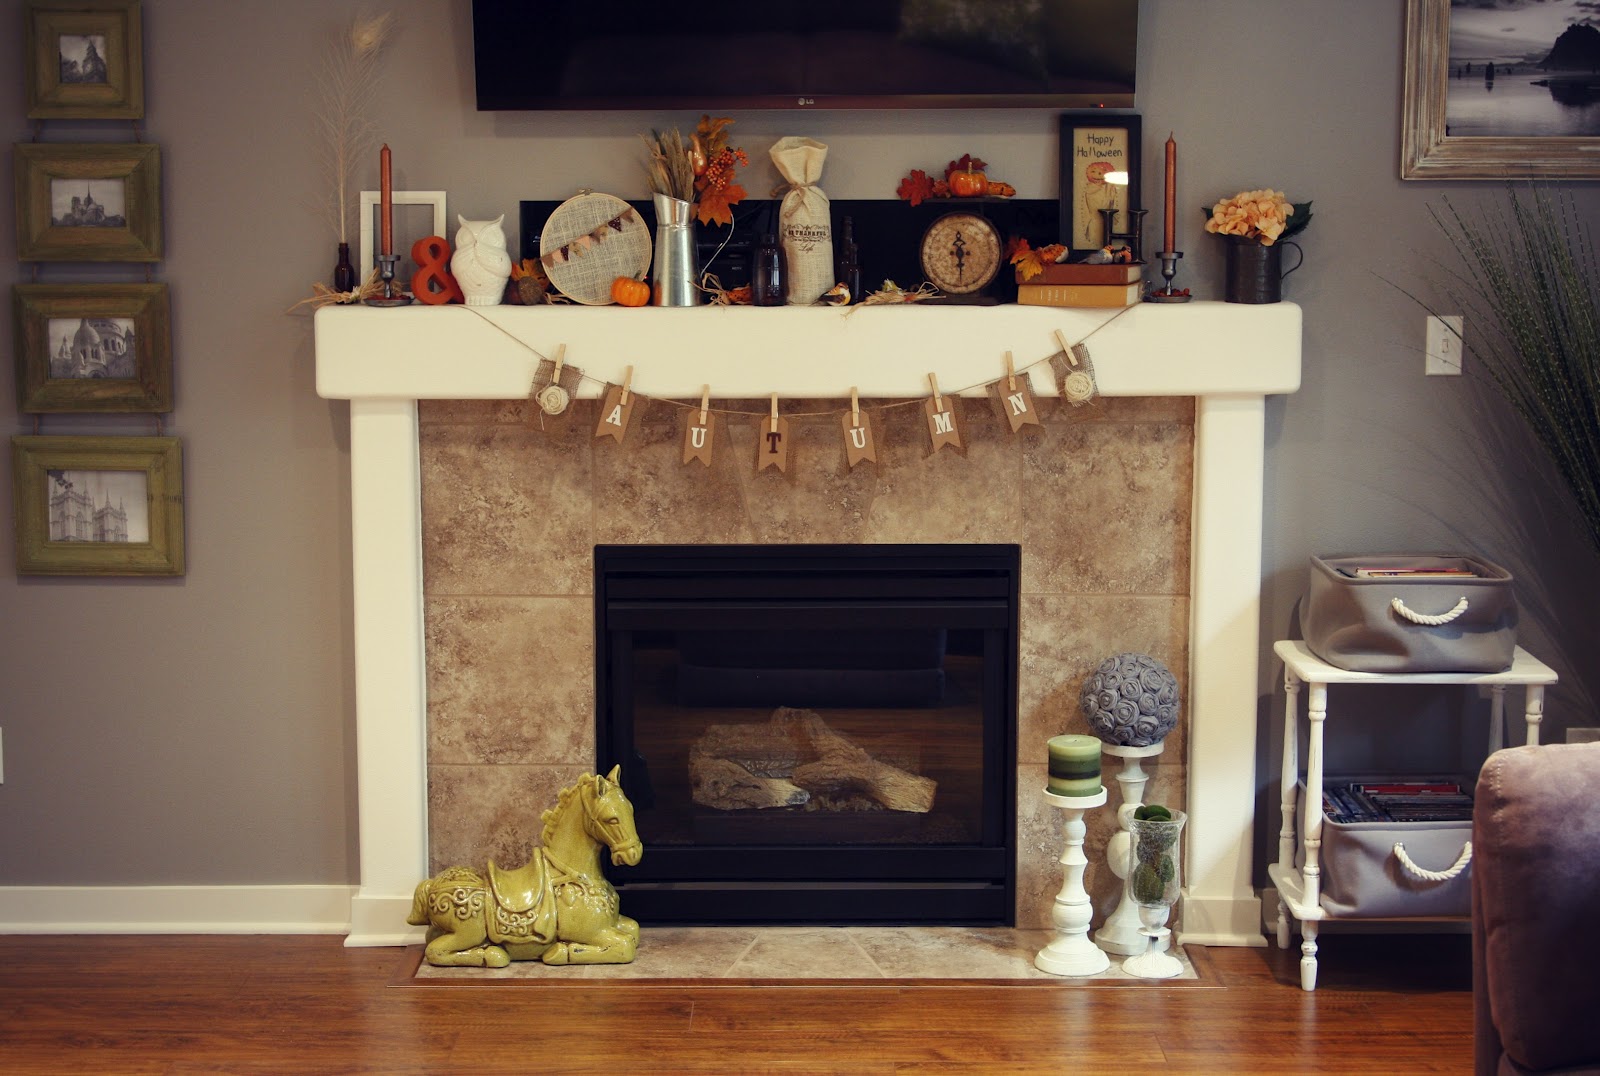
Layer textures to create depth. Combine smooth ceramics with rough wood components, and dazzling metals with matte finishes. Seasonal adjustments keep the exhibit new; I replace summer seashells with autumn branches, then winter evergreen sprigs. A garland running down the front border of the mantel softens strong lines while also adding color. Just keep flammable decorations well above the firebox opening.
Functional features serve a purpose beyond decoration. Mounted sconces give ambient lighting, whereas a mantel clock is functional. I frequently use little trays to organize daily stuff such as remote controllers. The mantel’s flat surface also makes an ideal location for family photos in matching frames. Overcrowding reduces the effect of individual elements, so allow some negative space.

What wood works best for a DIY fireplace mantel?
Pine and poplar are wonderful choices for novices since they are easy to work with and inexpensive. Pine takes stain unevenly yet paints well, whereas poplar stains more uniformly. Oak and maple are stronger but more difficult to work with hand tools. I frequently use Douglas fir because of its strength and lovely grain. Avoid woods like pine that produce sap near heat sources. MDF gives the smoothest finish for painted mantels, but it is not moisture resistant. To avoid warping, always pick kiln-dried lumber.
How much clearance does a wood mantel require above the fireplace?
Building requirements normally need a 6-12 inch distance between the firebox entrance and combustible materials, but verify your local restrictions. For gas fireplaces, adhere to the manufacturer’s recommended clearance, which is often 12 inches or more. My general rule of thumb is to err on the side of caution, particularly with wood-burning heaters. Non-combustible materials, such as stone or metal, can occasionally be fitted closer. When in doubt, speak with a professional before installing.
Can a mantel be built without power tools?
While possible, power tools make the work considerably easier. You can use hand saws, chisels, and manual drills, but the project will take much longer. I once made a small mantel with solely hand tools for a historic property where power equipment were not permitted; it required a lot of patience. I recommend borrowing or renting a miter saw and drill. Clamps are considerably more important without power equipment to ensure tight couplings during glue-up.
How can I safely secure a hefty mantel?
For massive wood mantels, I employ a variety of techniques. First, use lag screws to secure a ledger board to the wall studs. Attach the mantel to the ledger using construction adhesive and screws from underneath or behind. French cleats offer great hidden support for heavy mantels. In masonry, use heavy-duty anchors rated to support the weight of your mantel. To avoid mishaps, always have someone support the mantel during installation. Before decorating, ensure that the structure is stable.
What is the average cost of building your own mantel?
Costs vary depending on materials and size, but a basic wood mantel normally costs $100-$300 in materials. My previous pine mantel with modest details cost approximately $175, including hardware and finish. Fancier hardwoods or huge designs can cost above $500. This is more affordable than pre-made mantels that cost $800-$2000 or more. Save money by choosing construction-grade lumber for concealed structural sections and higher-quality wood for visible surfaces. Do not skimp on quality fasteners and finishes; they assure longevity.
How long does it take to assemble and install a mantel?
A simple mantel requires a weekend: one day for building and finishing, and another for installation and touch-ups. More elaborate designs with intricate details may take 3-4 days to complete, allowing for glue drying time between processes. I divide the process into phases: cutting/assembly on day one, sanding/finishing on day two, and installation once the finish has fully cured. Rushing the process leads to mistakes; take your time and measure twice before cutting once for the best results.

Fireplace Decorating: How to Build a Fireplace Mantel
How to build a fireplace mantel

How to Build a New Fireplace Surround and Mantel
Fireplace Mantel Plans – Woodworking Plans Awesome woodworking ideas, Fireplace mantels

Related Posts: