I stared at the plain wall in my living room for months, envisioning a cozy fireplace that would transform the sterile space into a warm gathering area for my family. Traditional fireplaces weren’t feasible due to structural limitations and local building codes, but I discovered that electric fireplaces offered realistic flames without venting requirements or major construction. The challenge became creating a beautiful mantel surround that would make the electric unit look like a built-in feature rather than an obvious afterthought. This project would test my woodworking skills, design instincts, and patience while teaching me valuable lessons about measuring twice and cutting once throughout the construction process.
Planning my electric fireplace mantel required extensive research into design styles, construction methods, and local building codes that might affect my installation. I spent weeks studying traditional mantel proportions, learning that the opening width should be roughly two-thirds of the mantel shelf length for optimal visual balance. The mantel height needed to accommodate my chosen electric insert while leaving adequate clearance above for decorative items and safe operation. I sketched multiple design variations, settling on a classic colonial style with fluted pilasters and a substantial crown molding that would complement my home’s existing trim work. These planning efforts would prevent costly mistakes and ensure a professional appearance.

Selecting materials for my mantel construction involved balancing quality, cost, and workability within my intermediate skill level as a weekend woodworker. I chose clear pine for its affordability and ease of working, planning to apply a stain finish that would mimic more expensive hardwoods. MDF would handle the painted components like filler panels and trim details that didn’t require wood grain visibility. The electric insert dictated specific interior dimensions, while the overall exterior proportions needed to fit my room’s scale without overwhelming the space. Quality construction lumber would ensure structural integrity, while premium hardware and finishing materials would enhance the final appearance significantly.
Measuring and cutting the components required precision that exceeded my previous woodworking projects, as any errors would be prominently displayed in my living room daily. I created detailed cut lists and templates for complex angles, double-checking every measurement before making irreversible saw cuts. The table saw became my primary tool for straight cuts, while the miter saw handled angled trim pieces that would frame the fireplace opening. Routing decorative edges on the mantel shelf added professional details that distinguished my DIY project from simple box construction. Each component needed to be fitted before final assembly, preventing costly mistakes that would require material replacement.
Building the main structure started with constructing a sturdy frame that would support the mantel shelf and decorative elements while securely mounting to wall studs. I used traditional mortise and tenon joinery for maximum strength, though pocket screws provided backup connections for added security. The frame needed to accommodate the electric insert’s dimensions precisely while allowing easy access for maintenance and seasonal decoration changes. Installing French cleats allowed the entire mantel to hang securely on the wall while remaining removable if future modifications became necessary. This mounting system distributes weight evenly across multiple wall studs, ensuring long-term stability under the mantel’s substantial mass.
Adding decorative details transformed my basic frame into an elegant focal point that appeared professionally built rather than obviously homemade. I routed flutes into the pilaster faces, creating shadow lines that added visual interest and traditional proportions to the design. Crown molding required compound miter cuts that challenged my accuracy, but careful measurement and test cuts in scrap material built my confidence for the final installation. Decorative rosettes at the intersections covered any small gaps while adding authentic period details. The mantel shelf received multiple coats of sanding and progressively finer grits, preparing the surface for the stain finish that would showcase the wood grain beautifully.

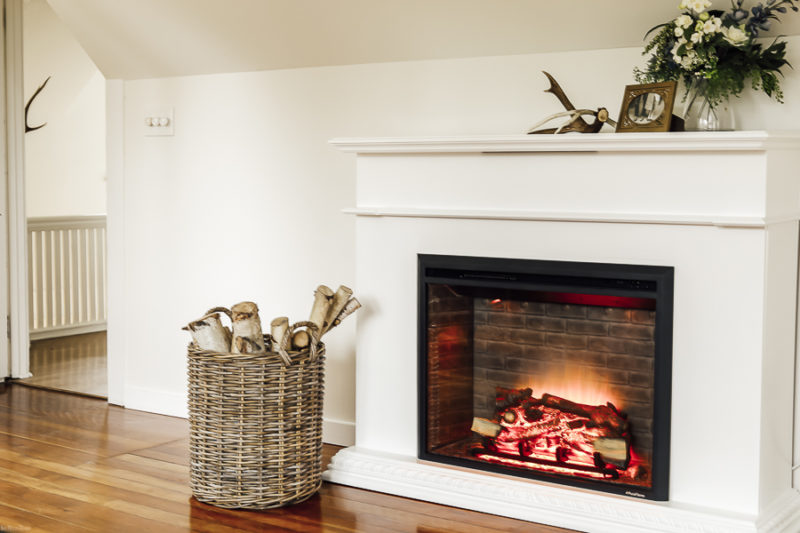
Installing the electric fireplace insert required careful coordination with the mantel construction to ensure proper fit and safe operation according to the manufacturer’s specifications. I built the opening slightly larger than required, using adjustable trim pieces to achieve perfect alignment after the mantel was mounted on the wall. The electrical connections needed professional attention to ensure code compliance and safe operation, so I hired a licensed electrician for this critical phase. Testing the insert’s operation before final trim installation allowed adjustments without dismantling completed work. The realistic flame effects exceeded my expectations, creating a convincing ambiance that rivaled traditional gas fireplaces.
Finishing my mantel involved multiple sanding stages, stain application, and protective topcoats that would preserve the wood while enhancing its natural beauty. I chose a warm walnut stain that complemented my existing furniture while adding richness to the clear pine construction material. The staining process required patience and attention to prevent lap marks or uneven color distribution across the large surfaces. Multiple thin coats built depth and consistency better than single heavy applications that could appear blotchy or artificial. Polyurethane topcoats provided durability against daily wear while maintaining the natural wood appearance I worked hard to achieve throughout the construction process.
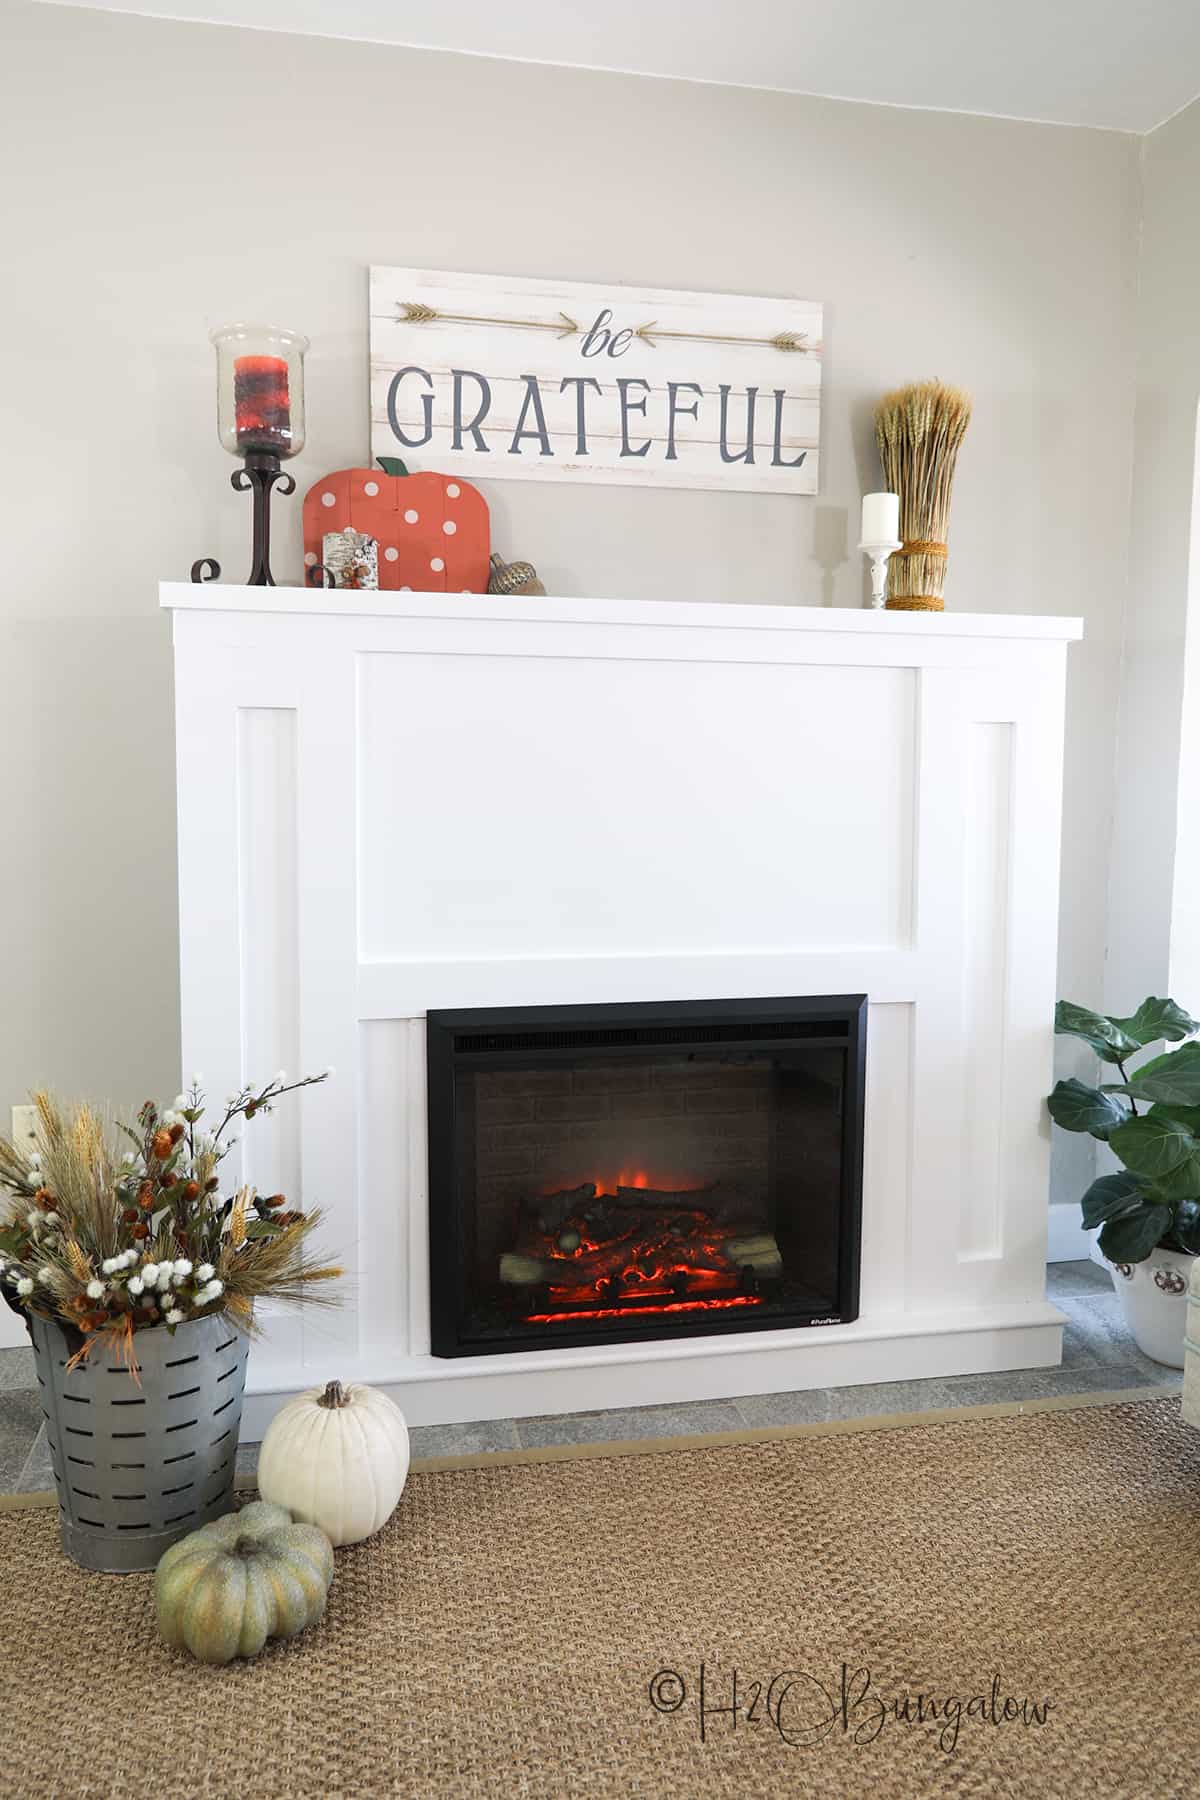
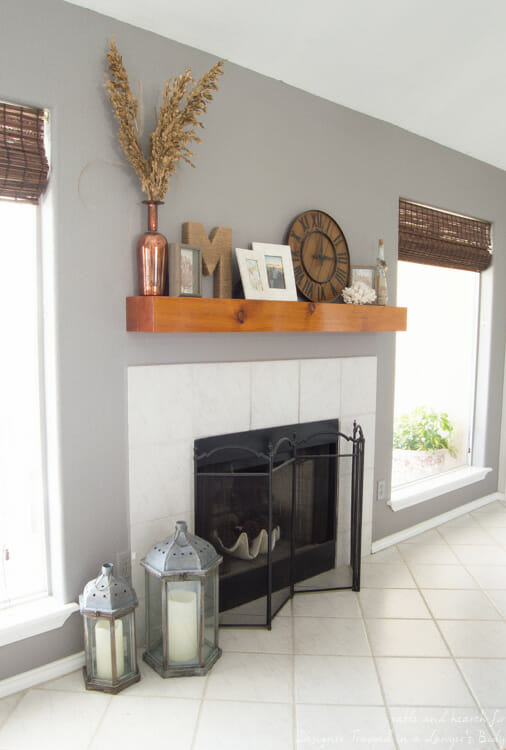
Living with my completed electric fireplace mantel has exceeded every expectation I held during the challenging construction phase, providing daily satisfaction and pride in my craftsmanship. The realistic flames create ambiance for family gatherings and quiet evenings without the maintenance requirements or safety concerns of traditional fireplaces. Guests consistently assume the unit is gas or wood-burning until I demonstrate the remote control features, testament to the convincing appearance achieved through careful construction. The mantel serves as a display space for family photos and seasonal decorations, becoming the natural focal point I envisioned when starting this ambitious project months earlier.
Reflecting on my electric fireplace mantel project, I realize this undertaking taught me valuable lessons about planning, precision, and patience while creating a beautiful addition to my home. The combination of traditional woodworking techniques with modern electric fireplace technology produced results that honor both craftsmanship traditions and contemporary convenience. My living room now has the warm, inviting atmosphere I sought, with a focal point that draws family and friends together for conversation and relaxation. The project cost significantly less than professional installation while providing immense satisfaction from creating something beautiful and functional with my own hands. These skills and confidence will serve me well in future home improvement endeavors.

What tools do I need to build a DIY electric fireplace mantel?
Essential tools include a table saw for straight cuts, a miter saw for angled trim work, a router for decorative edges, a drill for assembly holes, and sanders for surface preparation. Measuring tools like squares, levels, and tape measures ensure accuracy throughout construction. Clamps hold pieces during glue-up and assembly operations. Consider renting specialized tools like biscuit joiners for stronger connections. Safety equipment, including eye protection and dust masks, is mandatory. A pocket screw jig simplifies hidden fastener installation. Quality tools produce better results and make construction more enjoyable, justifying investment in better equipment for ambitious projects like fireplace mantels.
How do I determine the correct proportions for my electric fireplace mantel?
Traditional mantel proportions follow established guidelines where the opening width should be roughly two-thirds of the mantel shelf length for optimal visual balance. The mantel height depends on your electric insert dimensions plus clearance requirements specified by the manufacturer. Side pilasters typically measure 6-8 inches wide for standard residential applications. The mantel shelf should project 6-8 inches from the wall for proper proportion and adequate display space. Consider your room’s scale when adjusting these guidelines, as larger rooms can accommodate more substantial mantels. Sketch different proportions and use cardboard templates to visualize the final appearance before construction begins.
What type of wood should I use for building an electric fireplace mantel?
Pine offers affordability and workability for beginning woodworkers, accepting stain finishes that mimic expensive hardwoods when properly prepared. Oak provides durability and beautiful grain patterns, but requires more advanced woodworking skills for the best results. Maple offers excellent paint-grade surfaces for contemporary designs. MDF works well for painted components and complex profiles that would be expensive in solid wood. Avoid softwoods like cedar near heat sources. Consider your finishing plans when selecting materials, as some woods accept stains better than others. Purchase extra material for practice cuts and potential mistakes, especially for complex joinery or decorative elements.
How do I safely install the electrical components for my electric fireplace?
Electrical work should be performed by licensed electricians to ensure code compliance and safety, even for seemingly simple 120V installations. Most electric fireplaces require dedicated circuits to prevent overloading existing wiring. GFCI protection may be required depending on local codes and installation location. Plan electrical rough-in before mantel construction to hide wiring inside walls whenever possible. Consider adding switched outlets for convenient operation and additional accent lighting. Some units require 240V power for maximum heating capacity. Always follow manufacturer specifications for clearances around electrical connections. Professional installation provides warranty protection and peace of mind for this critical safety component.
What are the advantages of building my own mantel versus buying a prefab unit?
Custom-built mantels allow perfect sizing for your specific space and electric fireplace insert, avoiding awkward gaps or proportional issues common with prefab units. Material selection and finish options are unlimited, enabling perfect matches to existing trim and décor. Construction quality often exceeds mass-produced alternatives, providing better durability and appearance. Cost savings can be substantial, especially for larger or more elaborate designs. Personal satisfaction from creating something beautiful with your own hands adds intangible value. However, prefab units offer convenience and faster installation for those lacking woodworking skills or time. Consider your skill level, available time, and budget when making this decision.
How do I maintain and care for my DIY electric fireplace mantel?
Regular dusting with microfiber cloths prevents buildup that could dull the finish or create fire hazards near the electric insert. Clean the electric fireplace components according to manufacturer instructions, typically involving periodic vacuuming of air vents and cleaning of glass surfaces. Inspect wood finishes annually and apply fresh topcoats as needed to maintain protection and appearance. Avoid placing wet items directly on wood surfaces that could cause water stains or finish damage. Check mounting hardware periodically to ensure continued secure attachment to wall studs. Address any loose joints or damaged components promptly to prevent further deterioration. Professional refinishing may be needed every 5-10 years, depending on use and environmental conditions.
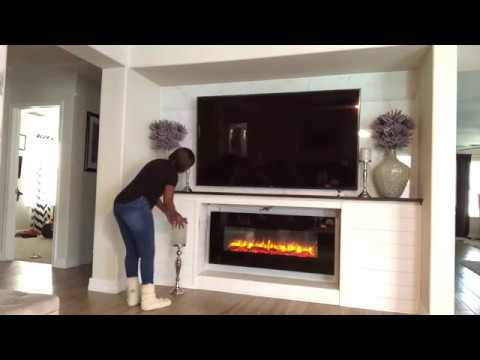
Installation Electric fireplace tv stand, Fireplace tv stand, Fireplace

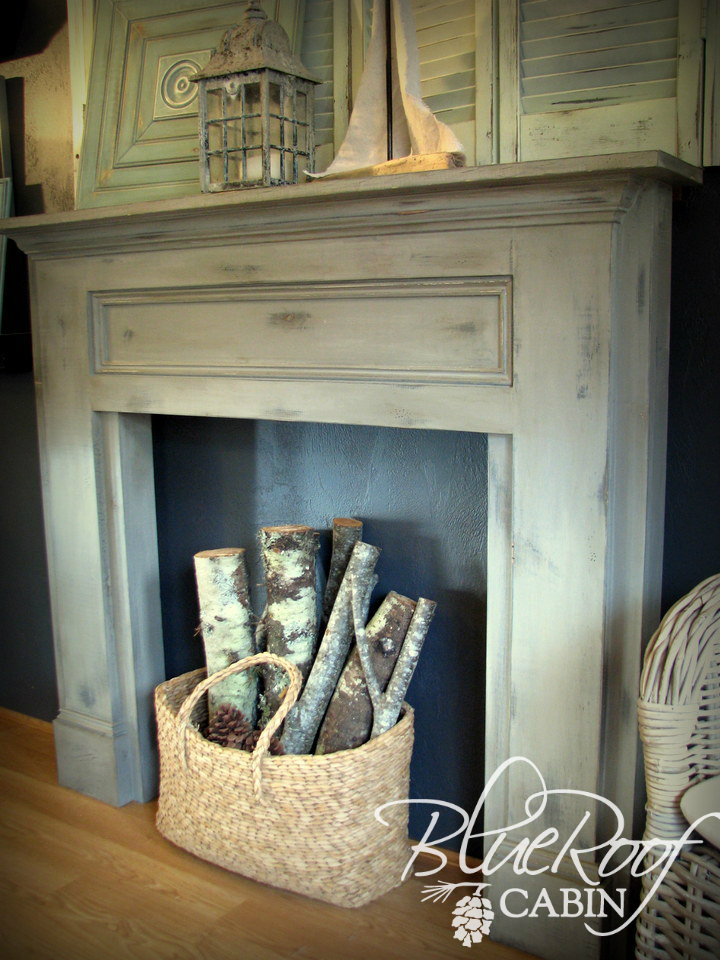
Simple fireplace, Home fireplace, Fireplace mantels

Install an Electric Fireplace With Custom-Built Mantel and Hearth

Beauty Electric Fireplace Mantels : Fireplace Function Where Beauty Meets Utility Angi : The

DIY Fireplace Mantel And Surround FIREPLACE DESIGN IDEAS

Electric Fireplaces – Electric fireplaces, Fire places and Bonfire pits

Related Posts:
- Rustic Stone Electric Fireplace
- Vintage Style Electric Fireplace
- Electric Fireplace Mantel DIY
- Stone And Wood Electric Fireplace
- Electric Fireplace With Stone Mantle
- Wall Mounted Electric Fireplace Ideas
- Country Style Electric Fireplace
- Electric Fireplace Stove
- Industrial Electric Fireplace
- Wall Mount Electric Fireplace